


.h文件:
#ifndef __HELLOWORLD_SCENE_H__
#define __HELLOWORLD_SCENE_H__

#include "cocos2d.h"
//#include "UIScene.h"
class HelloWorld : public cocos2d::Layer
{
public:
    static cocos2d::Scene* createScene();

    virtual bool init();

    // a selector callback
    void menuCloseCallback(cocos2d::Ref* pSender);
	void update(float delta)override;
protected:
	int _count;
	//cocos2d::Layer* _uiLayer;
	//cocos2d::ui::Layout* _widget;
	//cocos2d::ui::Text* _sceneTitle;
    // implement the "static create()" method manually
public:

    CREATE_FUNC(HelloWorld);
};

#endif // __HELLOWORLD_SCENE_H__
.cpp文件:
#include "HelloWorldScene.h"
#include "ui/CocosGUI.h"

USING_NS_CC;
using namespace cocos2d::ui;

Scene* HelloWorld::createScene()
{
    // 'scene' is an autorelease object
    auto scene = Scene::create();

    // 'layer' is an autorelease object
    auto layer = HelloWorld::create();

    // add layer as a child to scene
    scene->addChild(layer);

    // return the scene
    return scene;
}

// on "init" you need to initialize your instance
bool HelloWorld::init()
{
    //
    // 1. super init first
    if ( !Layer::init() )
    {
        return false;
    }

    Size visibleSize = Director::getInstance()->getVisibleSize();
    Vec2 origin = Director::getInstance()->getVisibleOrigin();

    /
    // 2. add a menu item with "X" image, which is clicked to quit the program
    //    you may modify it.

    // add a "close" icon to exit the progress. it's an autorelease object
    auto closeItem = MenuItemImage::create(
                                           "CloseNormal.png",
                                           "CloseSelected.png",
                                           CC_CALLBACK_1(HelloWorld::menuCloseCallback, this));

	closeItem->setPosition(Vec2(origin.x + visibleSize.width - closeItem->getContentSize().width/2 ,
                                origin.y + closeItem->getContentSize().height/2));

    // create menu, it's an autorelease object
    auto menu = Menu::create(closeItem, NULL);
    menu->setPosition(Vec2::ZERO);
    this->addChild(menu, 1);

    /
    // 3. add your codes below...

    // add a label shows "Hello World"
    // create and initialize a label

    auto label = Label::createWithTTF("Hello World", "fonts/Marker Felt.ttf", 24);

    // position the label on the center of the screen
    label->setPosition(Vec2(origin.x + visibleSize.width/2,
                            origin.y + visibleSize.height - label->getContentSize().height));

    // add the label as a child to this layer
    this->addChild(label, 1);

    // add "HelloWorld" splash screen"
   // auto Sprite = Sprite::create("HelloWorld.png");

    // position the sprite on the center of the screen
	//Sprite->setPosition(Vec2(visibleSize.width/2 + origin.x, visibleSize.height/2 + origin.y));


    // add the sprite as a child to this layer
   // this->addChild(Sprite, 0);
	scheduleUpdate();

	//Size widgetSize = _widget->getContentSize();

	// Add the alert
	Text* alert = Text::create("Test LoadingBar Change Direction",
		"fonts/Marker Felt.ttf", 30);
	alert->setColor(Color3B(159, 168, 176));
	alert->setPosition(Vec2(visibleSize.width / 2.0f,
		visibleSize.height / 2.0f - alert->getContentSize().height * 1.75f));
	addChild(alert);

	// Create the loading bar
	LoadingBar* loadingBar = LoadingBar::create("cocosui/sliderProgress.png");
	loadingBar->setTag(0);
	loadingBar->setPosition(Vec2(visibleSize.width / 2.0f,
		visibleSize.height / 2.0f + loadingBar->getContentSize().height / 4.0f));
	//auto loadingBarCopy = (LoadingBar*)loadingBar->clone();
	//loadingBarCopy->setTag(1);
	//loadingBarCopy->setPosition(loadingBar->getPosition()
	//	+ Vec2(0, -40));
	//loadingBarCopy->setDirection(LoadingBar::Direction::RIGHT);

	Button* button = Button::create("cocosui/animationbuttonnormal.png",
		"cocosui/animationbuttonpressed.png");
	button->setPosition(Vec2(visibleSize.width / 2.0f, visibleSize.height / 2.0f + 50));
	button->setTitleText("Click to change direction!");

	button->addTouchEventListener([=](Ref*, Widget::TouchEventType type)
	{
		if (type == Widget::TouchEventType::ENDED)
		{
			if (loadingBar->getDirection() == LoadingBar::Direction::LEFT)
			{
				loadingBar->setDirection(LoadingBar::Direction::RIGHT);
				//loadingBarCopy->setDirection(LoadingBar::Direction::LEFT);
			}
			else
			{
				loadingBar->setDirection(LoadingBar::Direction::LEFT);
				//loadingBarCopy->setDirection(LoadingBar::Direction::RIGHT);
			}
		}
	});
	addChild(loadingBar, 1);
	//addChild(loadingBarCopy, 2);
	addChild(button);

    return true;
}

void HelloWorld::update(float delta)
{
	_count++;
	if (_count > 100)
	{
		_count = 0;
	}
	LoadingBar* loadingBar = static_cast<LoadingBar*>(getChildByTag(0));
	//LoadingBar* loadingBarCopy = static_cast<LoadingBar*>(getChildByTag(1));
	loadingBar->setPercent(_count);
	//loadingBarCopy->setPercent(_count);
}

void HelloWorld::menuCloseCallback(Ref* pSender)
{
    Director::getInstance()->end();

#if (CC_TARGET_PLATFORM == CC_PLATFORM_IOS)
    exit(0);
#endif
}
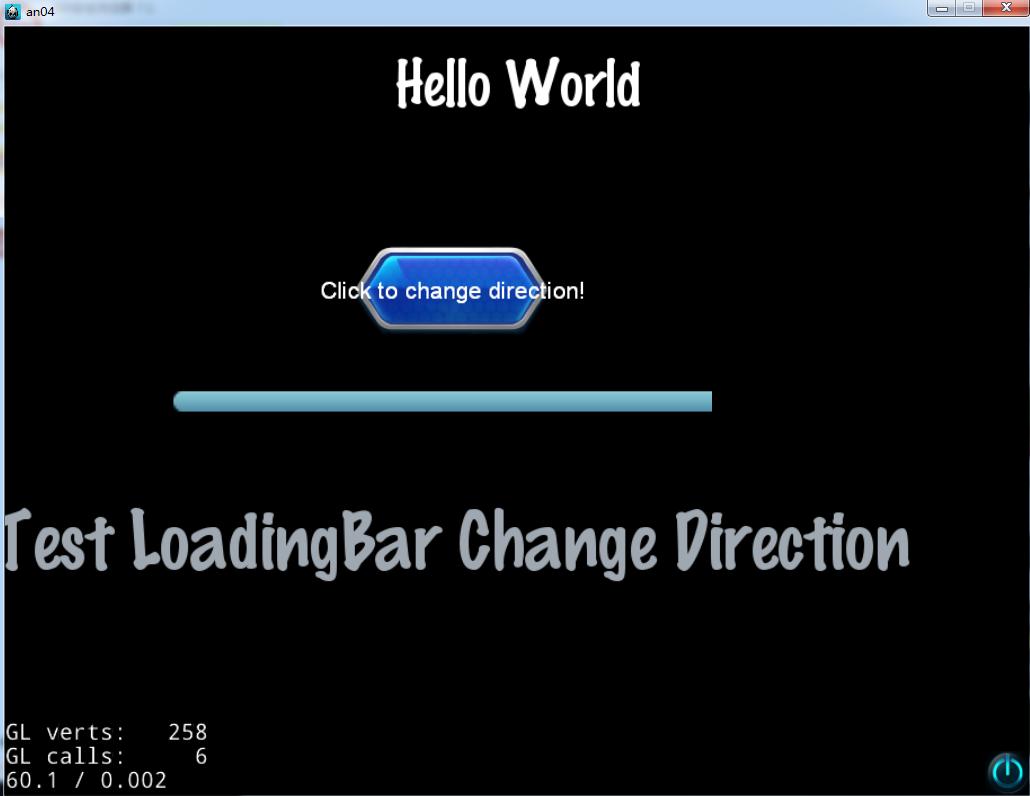
效果:


 1178
1178

 被折叠的 条评论
为什么被折叠?
被折叠的 条评论
为什么被折叠?
 到【灌水乐园】发言


