


Unity 学习笔记汇总
Rigidbody官方API使用文档
1. 碰撞器1
1.1. 前台
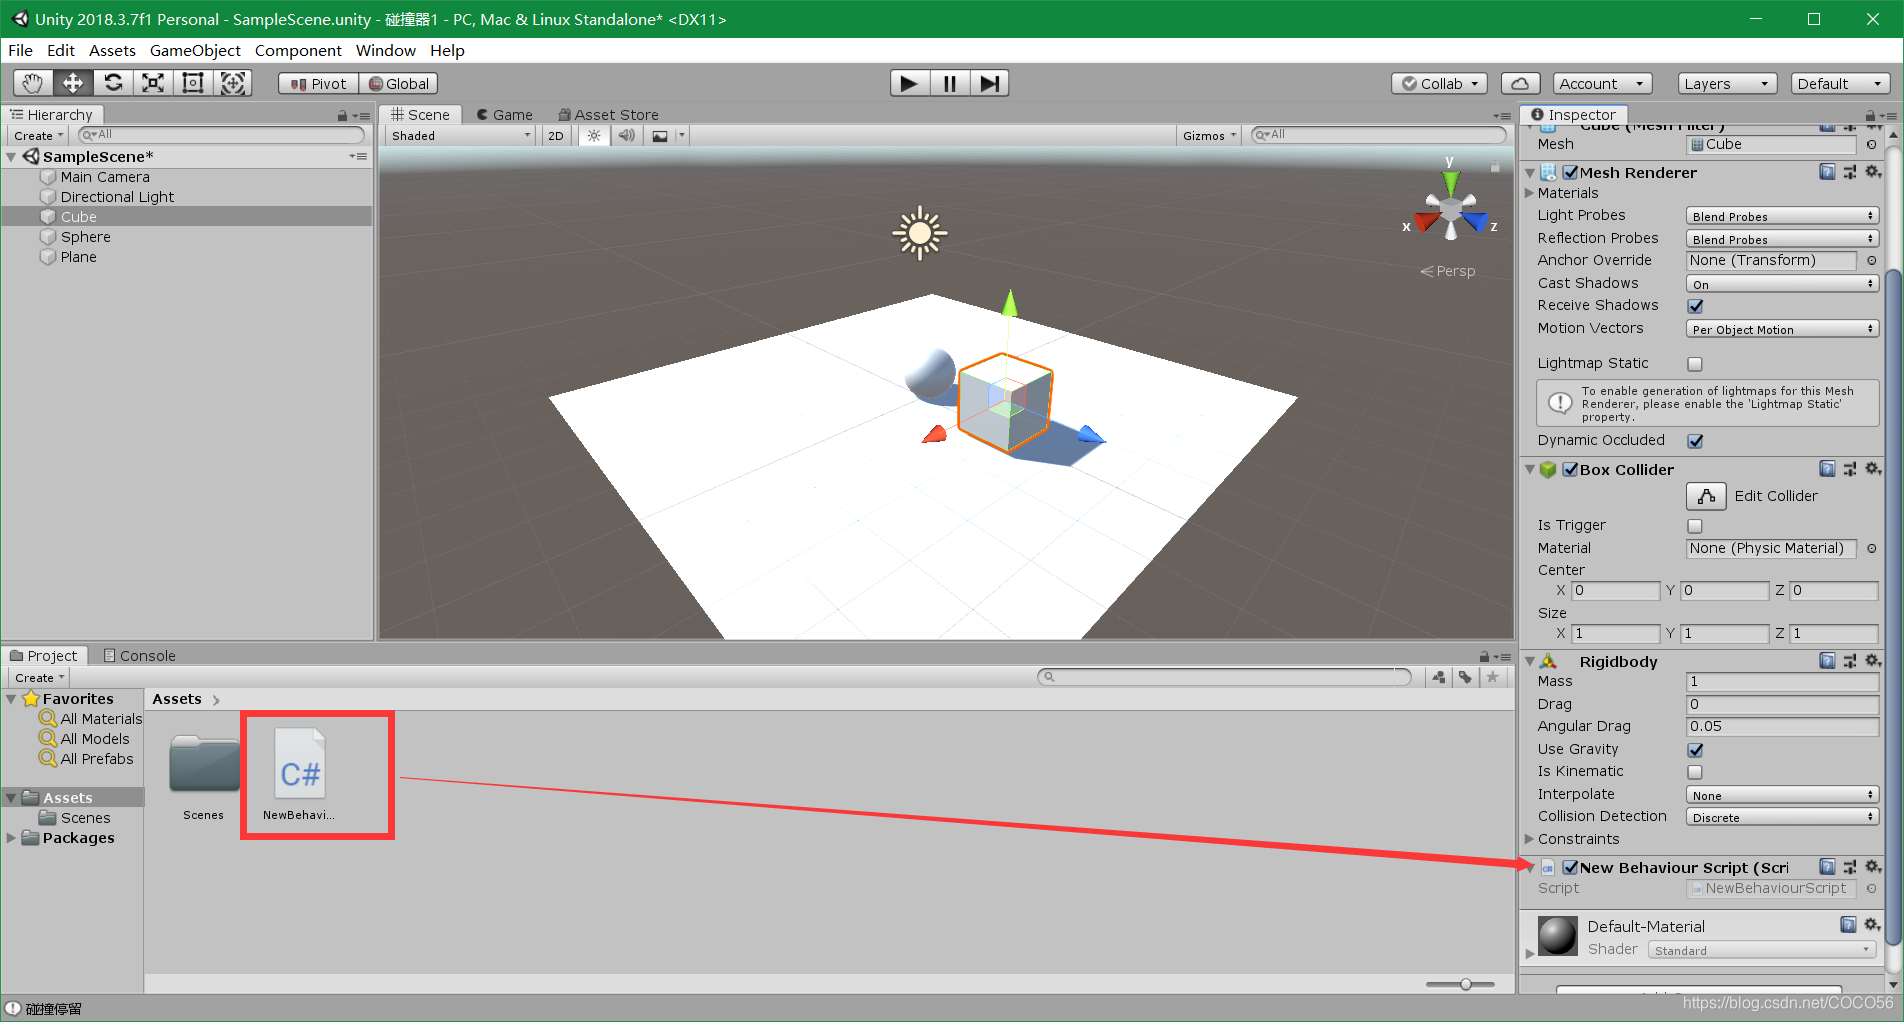
- 创建
GameObject\3D Object\Cube、GameObject\3D Object\Sphere、GameObject\3D Object\Plane - 给
Cube和Sphere添加Component\Physics\Rigidbody - 将C#脚本挂载到
Cube上
1.2. 代码
using System.Collections;
using System.Collections.Generic;
using UnityEngine;

public class NewBehaviourScript : MonoBehaviour
{
    // Start is called before the first frame update
    void Start()
    {

    }

    // Update is called once per frame
    void Update()
    {

    }

    void OnCollisionEnter(Collision collision)
    {
        Debug.Log("检测到了碰撞");
    }

    void OnCollisionStay(Collision collision)
    {
        Debug.Log("碰撞停留");
    }

    void OnCollisionExit(Collision collision)
    {
        Debug.Log("碰撞结束");
    }
}
1.3. 结果
在控制台上会实时输出碰撞状态。
2. 碰撞器2
using System.Collections;
using System.Collections.Generic;
using UnityEngine;

public class NewBehaviourScript : MonoBehaviour
{
    // Start is called before the first frame update
    void Start()
    {

    }

    // Update is called once per frame
    void Update()
    {

    }

    void OnCollisionEnter(Collision collision)
    {
        Debug.Log("检测到了碰撞");

        //collision: 指的是身上没有该函数脚本的那个物体
        Debug.Log(collision.gameObject.name);
        Destroy(collision.gameObject);  //销毁的是未挂载当前脚本的物体
        Destroy(gameObject);  //销毁的是挂载当前脚本的物体
    }

    void OnCollisionStay(Collision collision)
    {
        //Debug.Log("碰撞停留");
    }

    void OnCollisionExit(Collision collision)
    {
        Debug.Log("碰撞结束");
    }
}
3. 碰撞器3
3.1. 前台
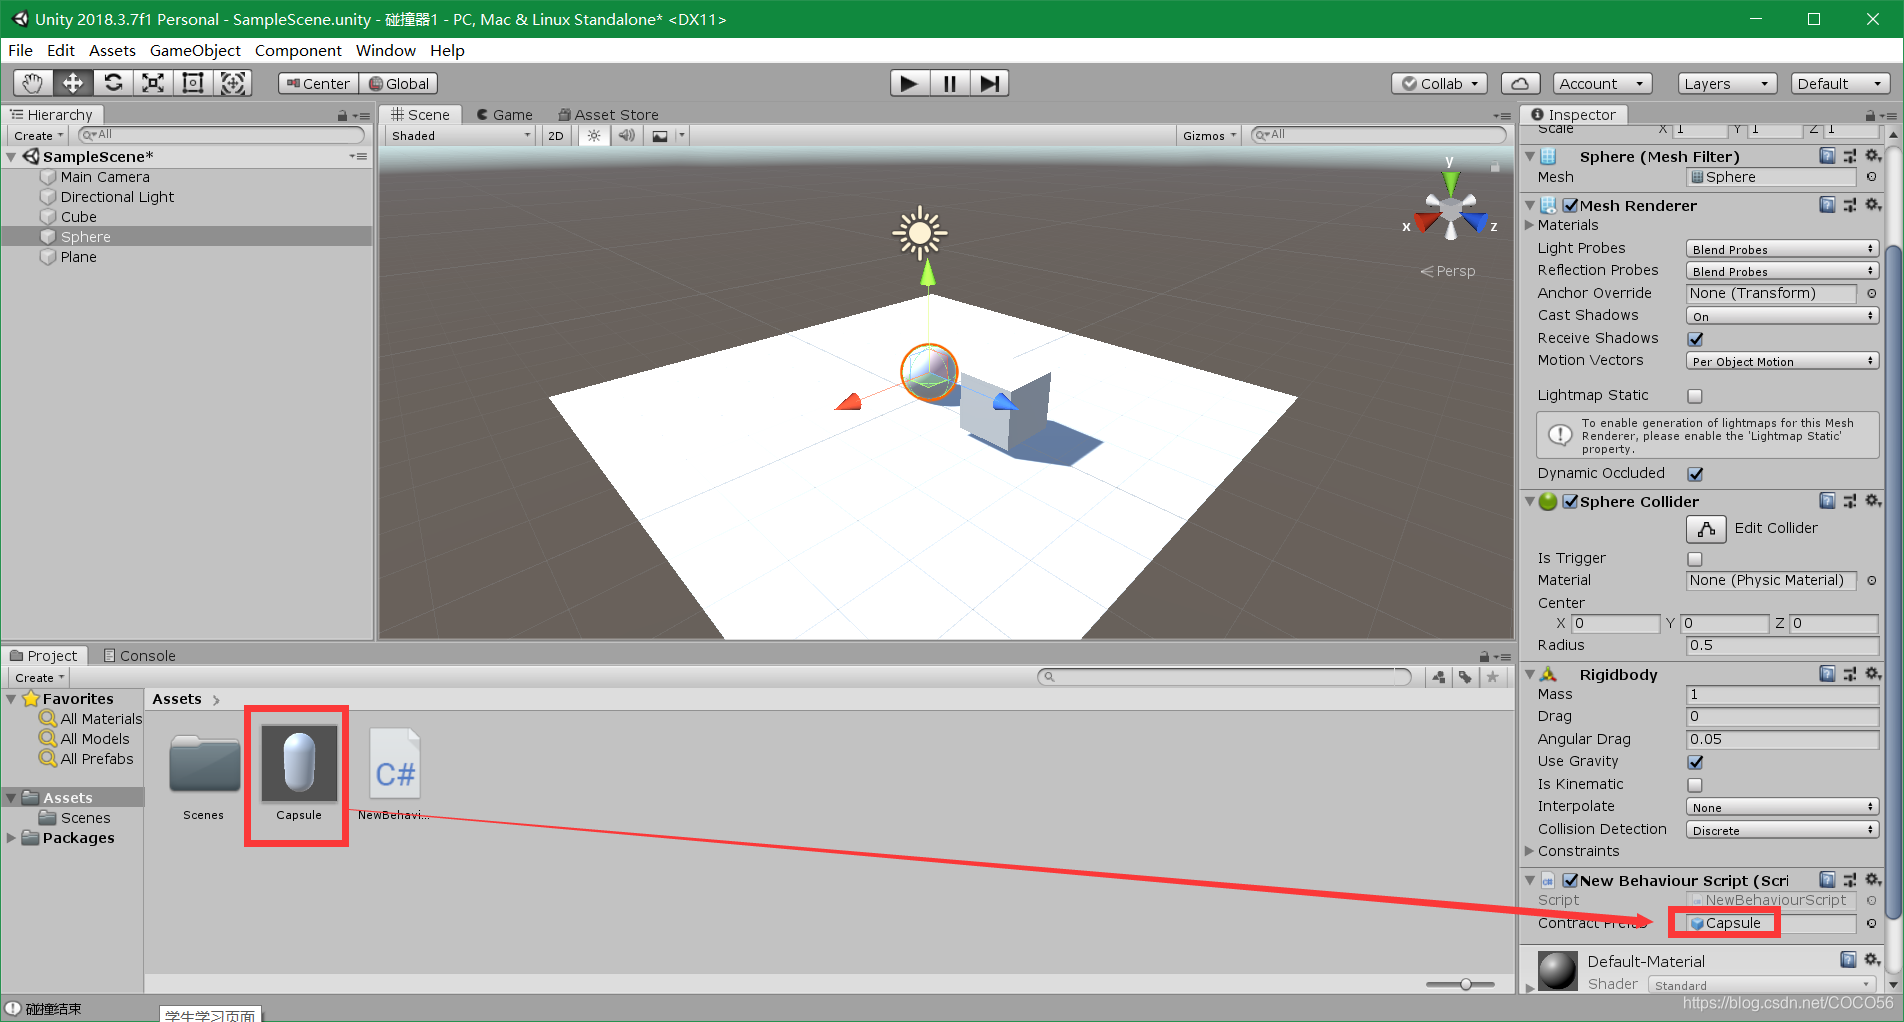
创建一个Capsule的预制体,并与脚本中的变量进行绑定
3.2. 代码
using System.Collections;
using System.Collections.Generic;
using UnityEngine;

public class NewBehaviourScript : MonoBehaviour
{
    public GameObject contractPrefab;
    GameObject clone;
    // Start is called before the first frame update
    void Start()
    {

    }

    // Update is called once per frame
    void Update()
    {

    }

    void OnCollisionEnter(Collision collision)
    {
        //Debug.Log("检测到了碰撞");

        collision: 指的是身上没有该函数脚本的那个物体
        //Debug.Log(collision.gameObject.name);
        //Destroy(collision.gameObject);  //销毁的是未挂载当前脚本的物体
        //Destroy(gameObject);  //销毁的是挂载当前脚本的物体
        ContactPoint[] points = collision.contacts;
        if (clone == null)
        {
            clone = Instantiate(contractPrefab, points[0].point,
                                            contractPrefab.transform.rotation) as GameObject;
        }
        else
        {
            Destroy(clone.gameObject, 0.5f);
            //clone = Instantiate(contractPrefab, points[0].point,
            //                                contractPrefab.transform.rotation) as GameObject;
        }

    }

    void OnCollisionStay(Collision collision)
    {
        //Debug.Log("碰撞停留");
    }

    void OnCollisionExit(Collision collision)
    {
        Debug.Log("碰撞结束");
    }
}
3.3. 结果
Sphere发生碰撞后,会生成一个Capsule的预制体


 1741
1741


 被折叠的 条评论
为什么被折叠?
被折叠的 条评论
为什么被折叠?
 到【灌水乐园】发言


