


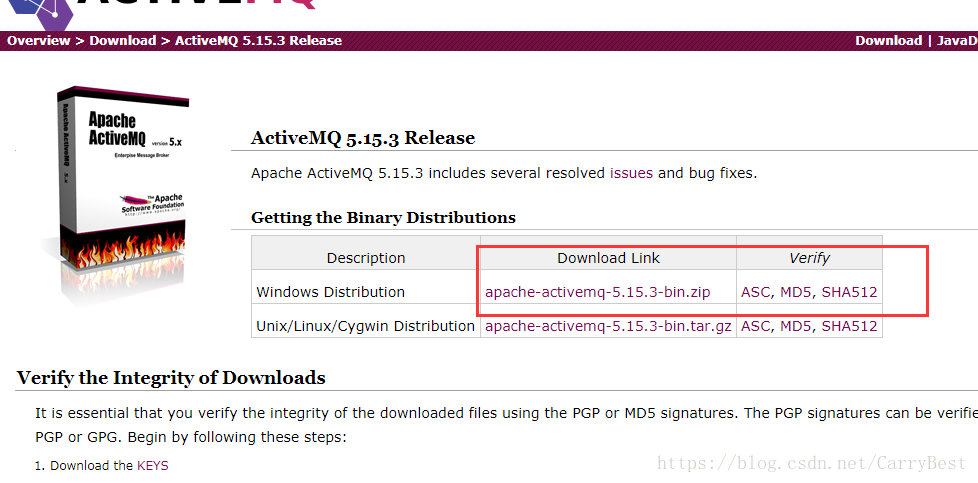
第一步:下载ActiveMQ 地址:http://activemq.apache.org/activemq-5153-release.html
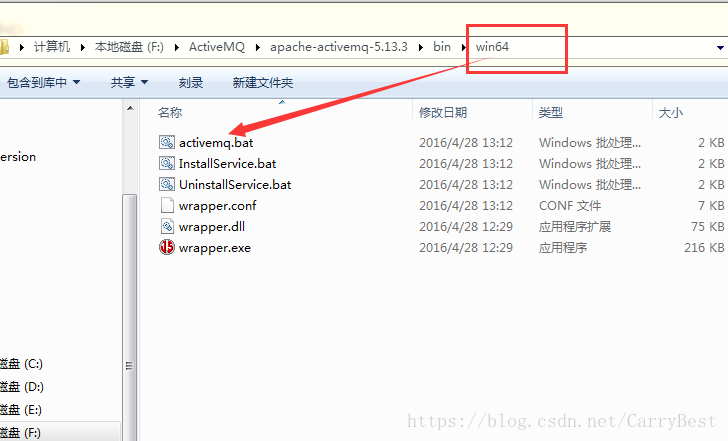
运行ActiveMQ服务,选择自己系统对应的位数,最好用管理员方式运行,可以直接运行activemq.bat(或者运行InstallService.bat,运行这个后需要在自己的服务列表启动activeMQ服务)
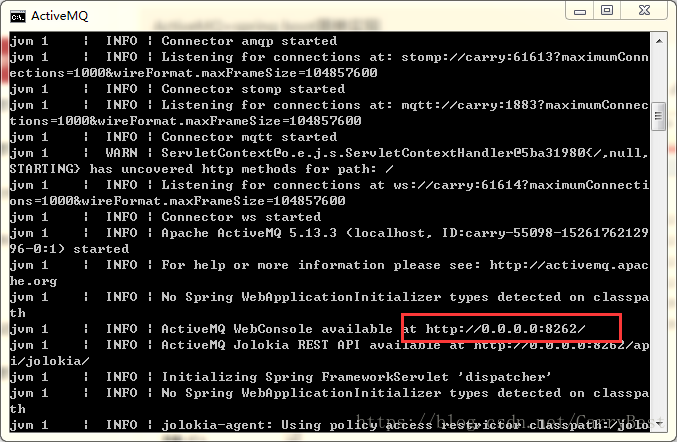
运行activemq.bat截图
输入地址http://127.0.0.1:8262,默认用户名密码都是admin
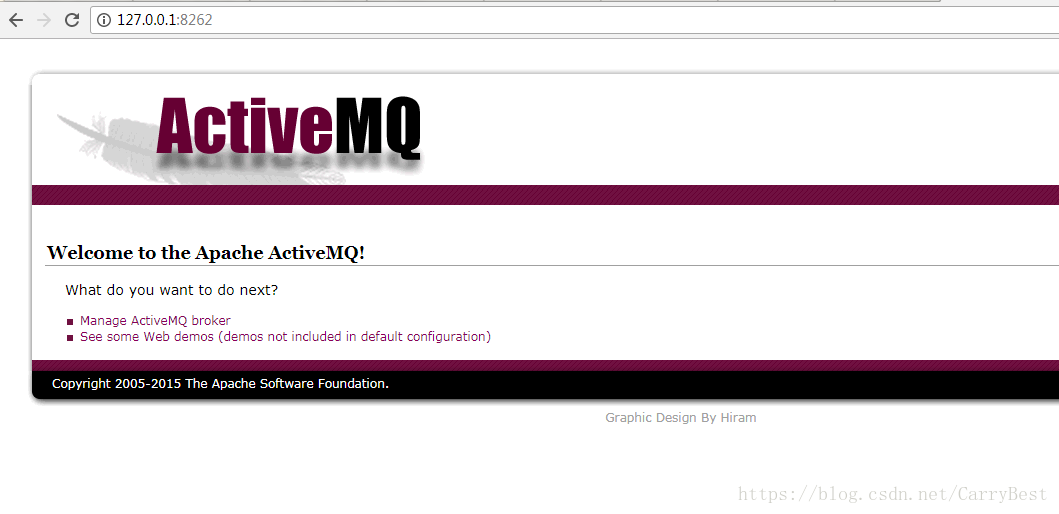
点击manage ctiveMQ broker,再点击topics进入Pub/Sub主题模式界面,如果点击queues则进入PTP点对点界面,此时可以看到主题模式下还没有发布者或者生产者,至此activeMQ服务端配置好了
运行activemq.bat这个界面不能关,关了后服务就停了,所以还可以使用另外一种方式,运行InstallService.bat,这个就方便了,怎么设置看开头
第二步:创建spring boot工程,选中相关依赖,下面是spring boot工程选中后的依赖
<?xml version="1.0" encoding="UTF-8"?>
<project xmlns="http://maven.apache.org/POM/4.0.0" xmlns:xsi="http://www.w3.org/2001/XMLSchema-instance"
xsi:schemaLocation="http://maven.apache.org/POM/4.0.0 http://maven.apache.org/xsd/maven-4.0.0.xsd">
<modelVersion>4.0.0</modelVersion>
<groupId>com.example</groupId>
<artifactId>activemq-demo</artifactId>
<version>0.0.1-SNAPSHOT</version>
<packaging>jar</packaging>
<name>activemq-demo</name>
<description>Demo project for Spring Boot</description>
<parent>
<groupId>org.springframework.boot</groupId>
<artifactId>spring-boot-starter-parent</artifactId>
<version>1.5.6.RELEASE</version>
<relativePath/> <!-- lookup parent from repository -->
</parent>
<properties>
<project.build.sourceEncoding>UTF-8</project.build.sourceEncoding>
<project.reporting.outputEncoding>UTF-8</project.reporting.outputEncoding>
<java.version>1.8</java.version>
</properties>
<dependencies>
<dependency>
<groupId>org.springframework.boot</groupId>
<artifactId>spring-boot-starter-activemq</artifactId>
</dependency>
<dependency>
<groupId>org.apache.activemq</groupId>
<artifactId>activemq-pool</artifactId>
<!-- <version>5.7.0</version> -->
</dependency>
<dependency>
<groupId>org.springframework.boot</groupId>
<artifactId>spring-boot-starter-web</artifactId>
</dependency>
<dependency>
<groupId>org.projectlombok</groupId>
<artifactId>lombok</artifactId>
<optional>true</optional>
</dependency>
<dependency>
<groupId>org.springframework.boot</groupId>
<artifactId>spring-boot-starter-test</artifactId>
<scope>test</scope>
</dependency>
</dependencies>
<build>
<plugins>
<plugin>
<groupId>org.springframework.boot</groupId>
<artifactId>spring-boot-maven-plugin</artifactId>
</plugin>
</plugins>
</build>
</project>
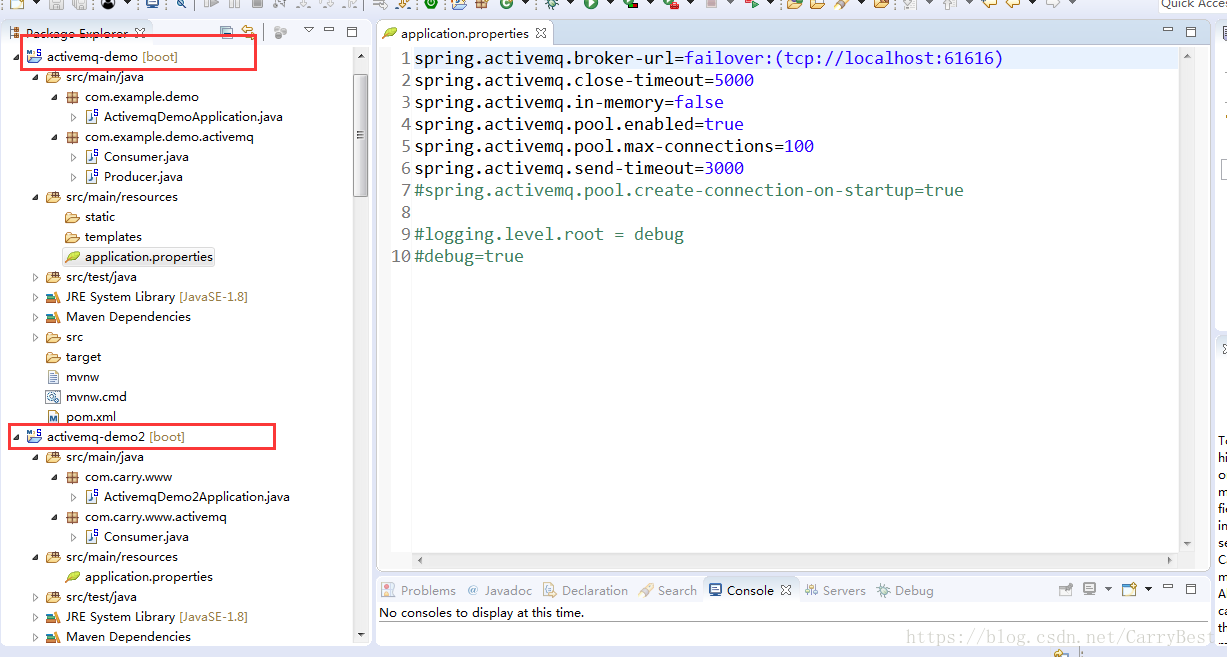
链接activeMQ服务器,在Boot工程下找到application.properties配置文件,增加以下内容
activemq-demo的配置文件
spring.activemq.broker-url=failover:(tcp://localhost:61616)
spring.activemq.close-timeout=5000
spring.activemq.in-memory=false
spring.activemq.pool.enabled=true
spring.activemq.pool.max-connections=100
spring.activemq.send-timeout=3000
下面是项目截图,activemq-demo主要用来发布消息,也可以接收消息,activemq-demo2只接收消息,这里activemq-demo的tomcat端口号为默认的8080,activemq-demo2需要改端口号,我改了8081,怎么改,就在配置文件application,propertis里比上面activemq-demo的多加上这句话,server.port=8081
下面是一些源码:
demo的启动类:
package com.example.demo;
import javax.jms.Queue;
import javax.jms.Topic;
import org.apache.activemq.command.ActiveMQQueue;
import org.apache.activemq.command.ActiveMQTopic;
import org.springframework.boot.SpringApplication;
import org.springframework.boot.autoconfigure.SpringBootApplication;
import org.springframework.context.annotation.Bean;
import org.springframework.jms.annotation.EnableJms;
@SpringBootApplication
@EnableJms
public class ActivemqDemoApplication {
@Bean
public Topic topic() {
return new ActiveMQTopic("simple.topic");
}
public static void main(String[] args) {
SpringApplication.run(ActivemqDemoApplication.class, args);
}
}
demo的发布者Producer.java:
package com.example.demo.activemq;
import javax.jms.Queue;
import javax.jms.Topic;
import org.springframework.beans.factory.annotation.Autowired;
import org.springframework.jms.core.JmsMessagingTemplate;
import org.springframework.web.bind.annotation.RequestMapping;
import org.springframework.web.bind.annotation.RestController;
@RestController
public class Producer {
//新版本的jsmTemplate同时支持queue和topic发送
@Autowired
private JmsMessagingTemplate jmsMessagingTemplate;
@Autowired
private Topic topic;
@RequestMapping("/sendTopic")
public void sendTopic(String msg) {
this.jmsMessagingTemplate.convertAndSend(this.topic, msg);
}
}
demo的订阅者consumer.java
package com.example.demo.activemq;
import javax.jms.ConnectionFactory;
import org.springframework.context.annotation.Bean;
import org.springframework.jms.annotation.JmsListener;
import org.springframework.jms.config.DefaultJmsListenerContainerFactory;
import org.springframework.jms.config.JmsListenerContainerFactory;
import org.springframework.stereotype.Component;
@Component
public class Consumer {
@JmsListener(destination = "sample.queue")
public void receiveQueue(String text) {
System.out.println(text);
}
@Bean
public JmsListenerContainerFactory<?> jmsListenerContainerTopic(ConnectionFactory activeMQConnectionFactory) {
DefaultJmsListenerContainerFactory bean = new DefaultJmsListenerContainerFactory();
bean.setPubSubDomain(true);
bean.setConnectionFactory(activeMQConnectionFactory);
return bean;
}
@JmsListener(destination = "smaple.topic", containerFactory="jmsListenerContainerTopic")
public void receiveTopic(String text) {
System.out.println(text+"我是消费者1");
}
@JmsListener(destination = "smaple.topic", containerFactory="jmsListenerContainerTopic")
public void receiveTopic2(String text) {
System.out.println(text+"我是消费者2");
}
}
demo2的启动类
package com.carry.www;
import javax.jms.Topic;
import org.apache.activemq.command.ActiveMQTopic;
import org.springframework.boot.SpringApplication;
import org.springframework.boot.autoconfigure.SpringBootApplication;
import org.springframework.context.annotation.Bean;
import org.springframework.jms.annotation.EnableJms;
@EnableJms
@SpringBootApplication
public class ActivemqDemo2Application {
@Bean
public Topic topic() {
return new ActiveMQTopic("smaple.topic");
}
public static void main(String[] args) {
SpringApplication.run(ActivemqDemo2Application.class, args);
}
}
demo2的订阅者
package com.carry.www.activemq;
import javax.jms.ConnectionFactory;
import org.springframework.context.annotation.Bean;
import org.springframework.jms.annotation.JmsListener;
import org.springframework.jms.config.DefaultJmsListenerContainerFactory;
import org.springframework.jms.config.JmsListenerContainerFactory;
import org.springframework.stereotype.Component;
@Component
public class Consumer {
@Bean
public JmsListenerContainerFactory<?> jmsListenerContainerTopic(ConnectionFactory activeMQConnectionFactory) {
DefaultJmsListenerContainerFactory bean = new DefaultJmsListenerContainerFactory();
bean.setPubSubDomain(true);
bean.setConnectionFactory(activeMQConnectionFactory);
return bean;
}
@JmsListener(destination = "smaple.topic", containerFactory="jmsListenerContainerTopic")
public void receiveTopic(String text) {
System.out.println(text+"我是跨项目消费者");
}
}
-------------------分割线-------------------------
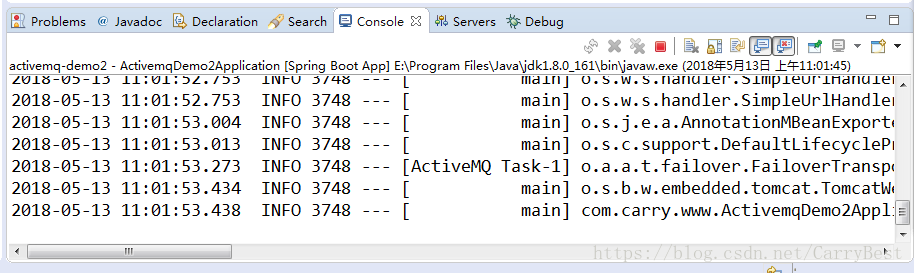
至此都配置好了,需要注意的是,demo2需要先启动,因为它需要先订阅再接受信息,就类似微信公众号,你需要先关注,才能接受信息
先启动demo2,我们发现此时有了一个订阅者(demo2有一个消费者,demo里面我弄了两个消费者),但是还没有发布者发送消息,所以也没有消息被消费
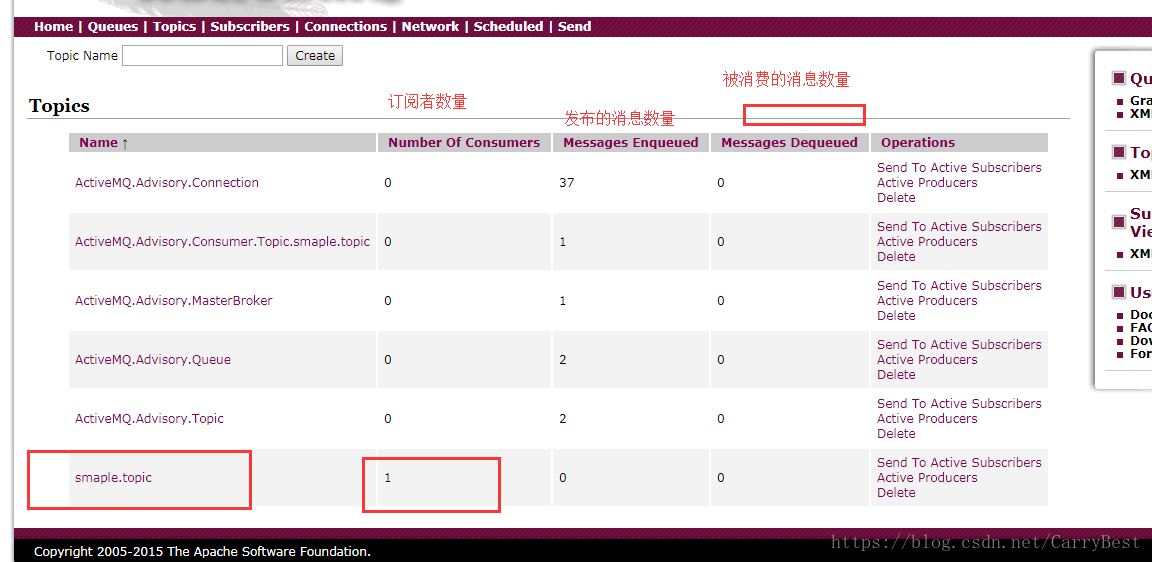
demo2的控制台没有消息打印
再启动demo发现多了2非消费者!
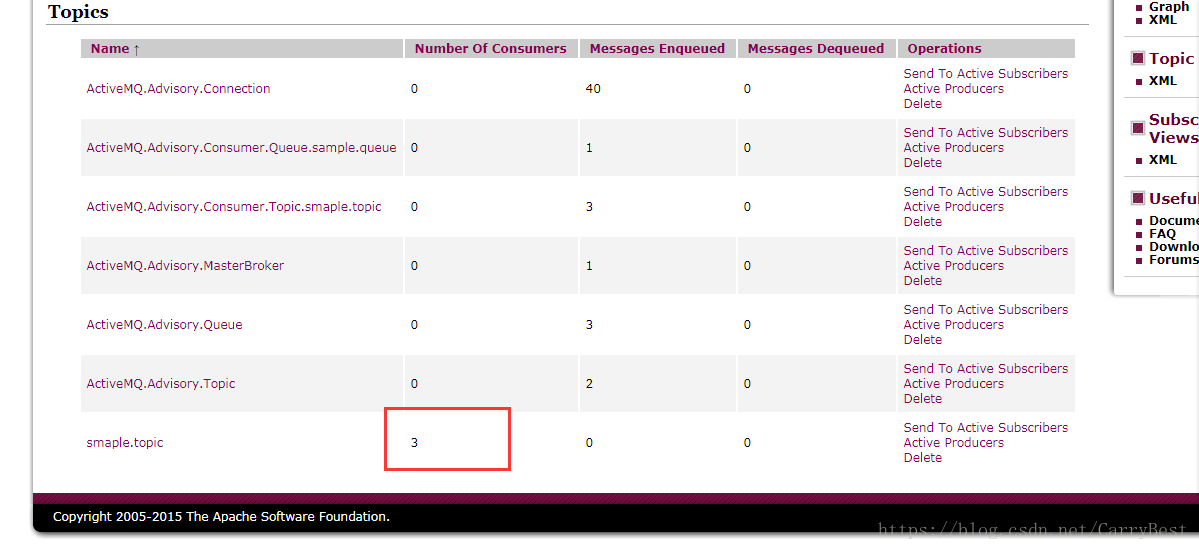
但是为哈还没有发布者发布消息呢?因为这个用的是映射,需要你手动发布消息
浏览器输入http://localhost:8080/sendTopic?msg=我是发布者carry发布的消息
@RequestMapping("/sendTopic")
public void sendTopic(String msg) {this.jmsMessagingTemplate.convertAndSend(this.topic, msg);
} public void sendTopic(String msg) {
this.jmsMessagingTemplate.convertAndSend(this.topic, msg);
}
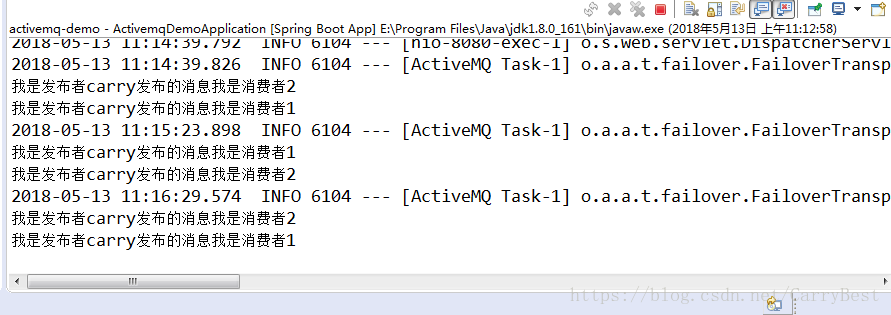
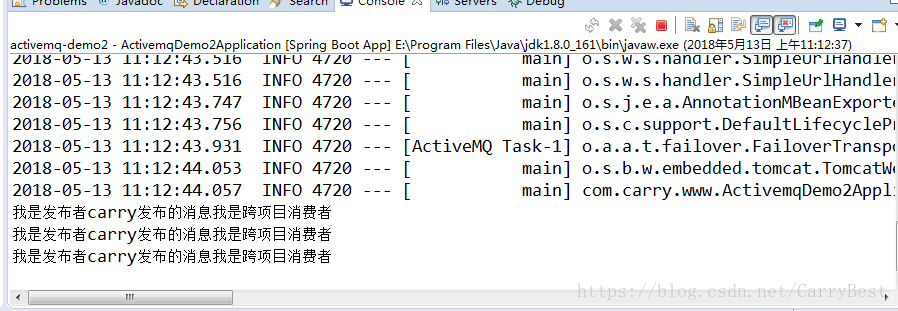
刷新刚才的页面你会发现发布者发布消息了,同时被三个消费者消费了,这里我发布了三次,
demo控制台
demo2控制台


 3116
3116


 被折叠的 条评论
为什么被折叠?
被折叠的 条评论
为什么被折叠?
 到【灌水乐园】发言


