


ViewSwitcher是用于图片之间的轮换,
下面简单的写几个demo:
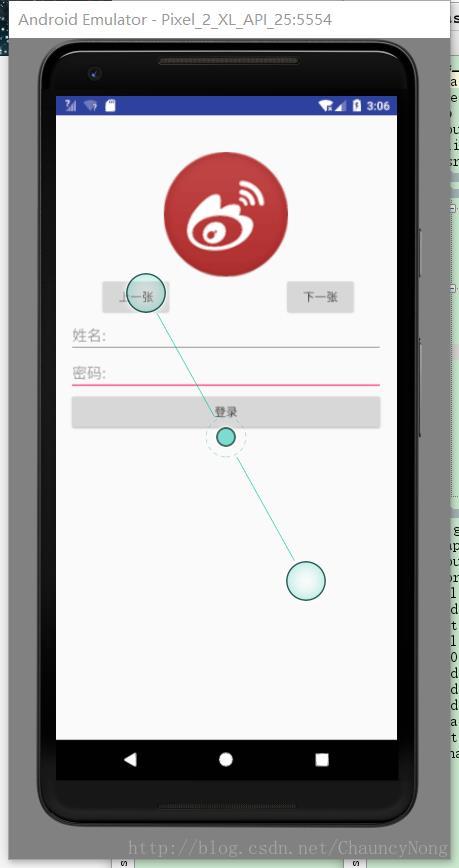
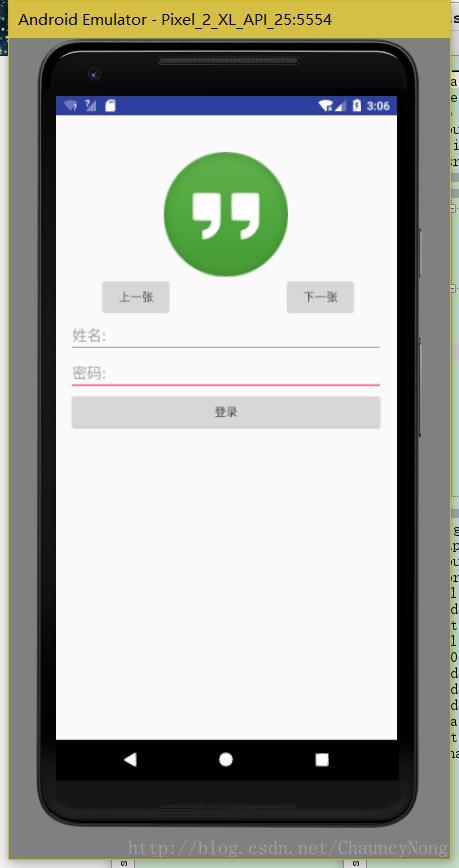
看看代码是怎么写的吧:
Layout代码:
<?xml version="1.0" encoding="utf-8"?>
<RelativeLayout xmlns:android="http://schemas.android.com/apk/res/android"
    xmlns:tools="http://schemas.android.com/tools"
    android:id="@+id/activity_main"
    android:layout_width="match_parent"
    android:layout_height="match_parent"
    android:paddingBottom="@dimen/activity_vertical_margin"
    android:paddingLeft="@dimen/activity_horizontal_margin"
    android:paddingRight="@dimen/activity_horizontal_margin"
    android:paddingTop="@dimen/activity_vertical_margin"
    tools:context="chauncy.example.com.day04_class1220.MainActivity">

    <RelativeLayout
        android:id="@+id/relative_btn"
        android:layout_width="match_parent"
        android:layout_height="wrap_content"
        android:layout_below="@+id/img_head"
        >

        <Button
            android:id="@+id/btn_next"
            android:layout_width="wrap_content"
            android:layout_height="wrap_content"
            android:layout_alignParentEnd="true"

            android:layout_alignParentRight="true"
            android:layout_alignParentTop="true"
            android:layout_marginEnd="32dp"
            android:layout_marginRight="32dp"
            android:text="下一张"
            />

        <Button
            android:id="@+id/btn_pre"
            android:layout_width="wrap_content"
            android:layout_height="wrap_content"
            android:layout_alignParentLeft="true"
            android:layout_alignParentStart="true"
            android:layout_alignParentTop="true"
            android:layout_marginLeft="37dp"
            android:text="上一张"
            />

    </RelativeLayout>

    <EditText
        android:id="@+id/edit_name"
        android:layout_width="match_parent"
        android:layout_height="wrap_content"
        android:layout_below="@+id/relative_btn"
        android:hint="姓名:"
        />

    <EditText

        android:id="@+id/edit_pwd"
        android:layout_width="match_parent"
        android:layout_height="wrap_content"
        android:layout_below="@+id/edit_name"
        android:hint="密码:"
        />

    <Button
        android:id="@+id/btn_login"
        android:layout_width="match_parent"
        android:layout_height="wrap_content"
        android:layout_below="@+id/edit_pwd"
        android:text="登录"
        />

    <ImageView
        android:scaleType="centerCrop"
        android:id="@+id/img_head"
        android:layout_width="150dp"
        android:layout_height="150dp"
        android:layout_marginTop="28dp"
        android:src="@mipmap/ic_launcher"
        android:layout_alignParentTop="true"
        android:layout_centerHorizontal="true" />
</RelativeLayout>
java代码:
package chauncy.example.com.day04_class1220;

import android.content.Intent;
import android.net.Uri;
import android.support.v7.app.AppCompatActivity;
import android.os.Bundle;
import android.view.View;
import android.widget.Button;
import android.widget.EditText;
import android.widget.ImageView;

import com.google.android.gms.appindexing.Action;
import com.google.android.gms.appindexing.AppIndex;
import com.google.android.gms.appindexing.Thing;
import com.google.android.gms.common.api.GoogleApiClient;

public class MainActivity extends AppCompatActivity implements View.OnClickListener {
    //下标
    private int position = 0;
    private ImageView img_head;
    private Button btn_pre, btn_next, btn_login;
    private EditText edit_name, edit_pwd;


    //图片:  数组/集合   ImageView?  Image?  View?  R.mipmap.xxx
    //图片的数组
    private int[] imgs = {R.mipmap.ic_launcher, R.mipmap.w01, R.mipmap.w02, R.mipmap.w03, R.mipmap.w04, R.mipmap.w05};
    /**
     * ATTENTION: This was auto-generated to implement the App Indexing API.
     * See https://g.co/AppIndexing/AndroidStudio for more information.
     */
    private GoogleApiClient client;

    @Override
    protected void onCreate(Bundle savedInstanceState) {
        super.onCreate(savedInstanceState);
        setContentView(R.layout.activity_main);
        img_head = (ImageView) findViewById(R.id.img_head);
        btn_pre = (Button) findViewById(R.id.btn_pre);
        btn_next = (Button) findViewById(R.id.btn_next);
        btn_login = (Button) findViewById(R.id.btn_login);
        edit_name = (EditText) findViewById(R.id.edit_name);
        edit_pwd = (EditText) findViewById(R.id.edit_pwd);

        //设置点击事件
        btn_pre.setOnClickListener(this);
        btn_next.setOnClickListener(this);
        btn_login.setOnClickListener(this);


        // ATTENTION: This was auto-generated to implement the App Indexing API.
        // See https://g.co/AppIndexing/AndroidStudio for more information.
        client = new GoogleApiClient.Builder(this).addApi(AppIndex.API).build();
    }
    /**
     * @param v-->指代的点击的按钮
     */
    @Override
    public void onClick(View v) {
        //3个按钮的点击事件
        //1:判断是哪个按钮
        switch (v.getId()) {
            case R.id.btn_pre:

                //1:找到ImageView
                //2:换IamgeView中的图片
                position--;
                if (position < 0) {
                    position = imgs.length - 1;
                }

                img_head.setImageResource(imgs[position]);
//                Toast.makeText(this, "点击了上一张", Toast.LENGTH_SHORT).show();
                break;
            case R.id.btn_next:
                position++;
                if (position > imgs.length - 1) {
                    position = 0;
                }

                img_head.setImageResource(imgs[position]);
//                Toast.makeText(this, "点击了下一张", Toast.LENGTH_SHORT).show();
                break;
            case R.id.btn_login:

                //跳转页面
                Intent intent = new Intent(MainActivity.this, SecondActivity.class);
                //启动Activity
                MainActivity.this.startActivity(intent);
                break;
        }
    }
    /**
     * ATTENTION: This was auto-generated to implement the App Indexing API.
     * See https://g.co/AppIndexing/AndroidStudio for more information.
     */
    public Action getIndexApiAction() {
        Thing object = new Thing.Builder()
                .setName("Main Page") // TODO: Define a title for the content shown.
                // TODO: Make sure this auto-generated URL is correct.
                .setUrl(Uri.parse("http://[ENTER-YOUR-URL-HERE]"))
                .build();
        return new Action.Builder(Action.TYPE_VIEW)
                .setObject(object)
                .setActionStatus(Action.STATUS_TYPE_COMPLETED)
                .build();
    }

    @Override
    public void onStart() {
        super.onStart();

        // ATTENTION: This was auto-generated to implement the App Indexing API.
        // See https://g.co/AppIndexing/AndroidStudio for more information.
        client.connect();
        AppIndex.AppIndexApi.start(client, getIndexApiAction());
    }

    @Override
    public void onStop() {
        super.onStop();

        // ATTENTION: This was auto-generated to implement the App Indexing API.
        // See https://g.co/AppIndexing/AndroidStudio for more information.
        AppIndex.AppIndexApi.end(client, getIndexApiAction());
        client.disconnect();
    }
}
**
希望这篇博客对你有帮助!谢谢每一个可爱的你!
**


 1922
1922

 被折叠的 条评论
为什么被折叠?
被折叠的 条评论
为什么被折叠?
 到【灌水乐园】发言


