


新增学生功能,首先要实现点击“新增”按钮跳转到新增页面,即如下图所示:
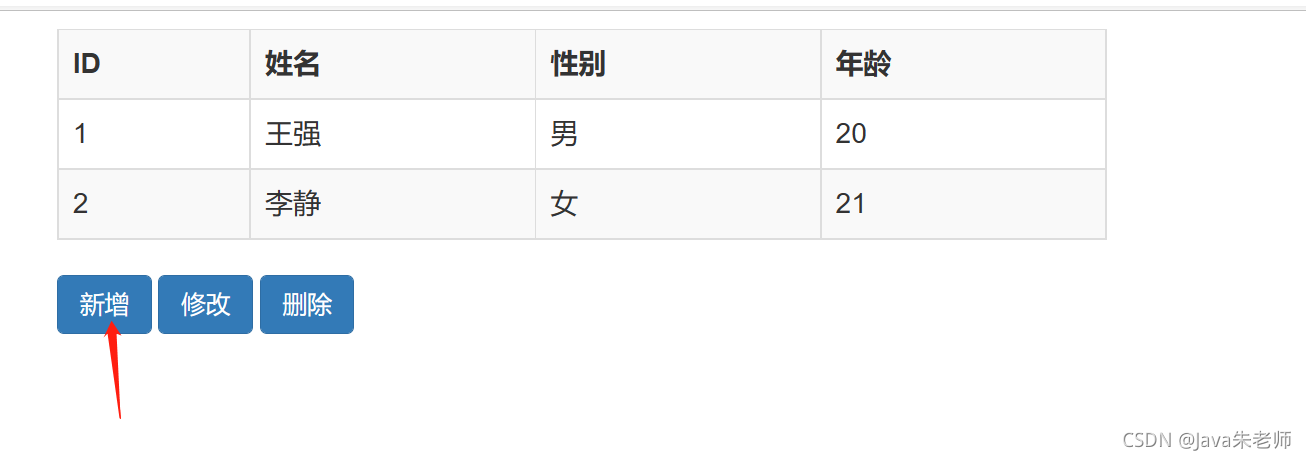
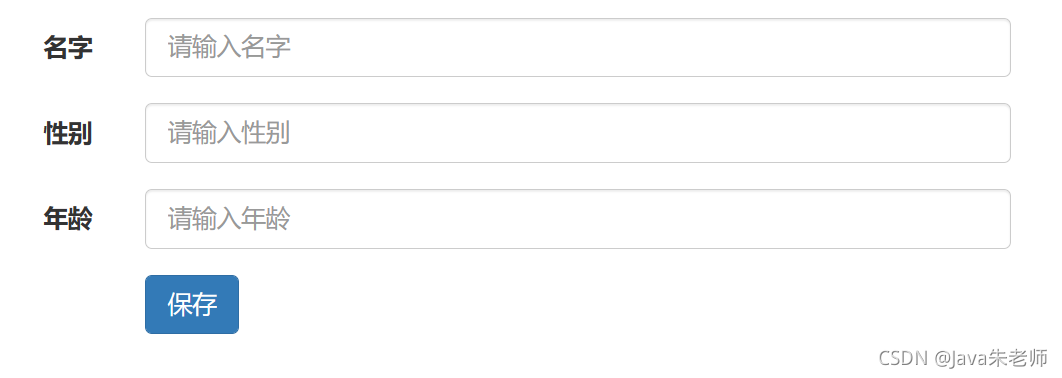
跳转到以下界面:
给新增按钮,设一个id:
<button type="button" class="btn btn-primary" id="showAdd">新增</button>
使用jQuery,给按钮元素注册一个单击事件方法,发放中使用JavaScript DOM编程提供的location对象,实现页面的跳转:
<script>
$(document).ready(function(){
	$("#showAdd").click(function(){
		location.href="stu?type=showAdd";
	})
})
</script>
因为是MVC方式,所有的页面跳转、功能实现,都要经由控制器,所以URL为"stu?type=showAdd",其中设计一个前后台通讯参数type,根据它的取值,决定是做什么功能操作。
这样StudentController的doGet代码需要改造,根据type的取值,去相应的方法中处理,当type为null时,执行查询操作。对应改造为:
public void doGet(HttpServletRequest request, HttpServletResponse response) throws ServletException, IOException {
	String type = request.getParameter("type");
	if (type == null) {
		search(request, response);
	} else if (type.equals("showAdd")) {
	   //展示新增页面
		showAdd(request, response);
	} else if (type.equals("add")) {
	   //进行新增操作
		add(request, response);
	}
}

public void search(HttpServletRequest request, HttpServletResponse response) throws ServletException, IOException {
		StudentDao stuDao = new StudentDao();
		List<Student> list = stuDao.search();
		request.setAttribute("list", list);
		request.getRequestDispatcher("WEB-INF/show.jsp").forward(request, response);
	}

	public void showAdd(HttpServletRequest request, HttpServletResponse response) throws ServletException, IOException {
		request.getRequestDispatcher("WEB-INF/add.jsp").forward(request, response);
	}
add.jsp利用Bootstrap的表单修饰,进行设计,代码如下:
<div id="main">
	<form class="form-horizontal" action="stu">
		<input type="hidden" name="type" value="add" />
		<div class="form-group">
			<label for="firstname" class="col-sm-2 control-label">名字</label>
			<div class="col-sm-10">
				<input type="text" class="form-control" placeholder="请输入名字"
					name="name">
			</div>
		</div>
		<div class="form-group">
			<label for="lastname" class="col-sm-2 control-label">性别</label>
			<div class="col-sm-10">
				<input type="text" class="form-control" placeholder="请输入性别"
					name="gender">
			</div>
		</div>
		<div class="form-group">
			<label for="lastname" class="col-sm-2 control-label">年龄</label>
			<div class="col-sm-10">
				<input type="text" class="form-control" placeholder="请输入年龄"
					name="age">
			</div>
		</div>
		<div class="form-group">
			<div class="col-sm-offset-2 col-sm-10">
				<button type="submit" class="btn btn-primary">保存</button>
			</div>
		</div>
	</form>
</div>
注意设计了一个隐藏域,当点击提交按钮时候,会发送隐藏域的name即type,值是add,那后台就知道是进行添加操作。后台add方法代码为:
public void add(HttpServletRequest request, HttpServletResponse response) throws ServletException, IOException {
		String name = request.getParameter("name");
		String gender = request.getParameter("gender");
		int age = Integer.parseInt(request.getParameter("age"));
		Student stu = new Student();
		stu.setName(name);
		stu.setGender(gender);
		stu.setAge(age);
		StudentDao stuDao = new StudentDao();
		boolean flag = stuDao.add(stu);
		if(flag) {
			response.sendRedirect("stu");
		}else {
			//错误页面
		}
	}
dao层添加一个新增方法,执行insert语句,实现对数据库持久化数据。
public boolean add(Student stu) {
	int rs = 0;// 表示执行sql语句的结果
	// jdbc 七个步骤
	// 1.将数据库jar包拷贝到lib文件夹下

	try {
		// 2.加载驱动
		Class.forName("com.mysql.jdbc.Driver");
		// 3.建立连接
		Connection conn = DriverManager.getConnection("jdbc:mysql://localhost:3306/school_sk1?characterEncoding=utf-8", "root", "123456");
		// 4.建立SQL执行器
		Statement stat = conn.createStatement();

		// 5.执行sql语句
		String sql = "insert into student(name,gender,age)values('" + stu.getName() + "','" + stu.getGender() + "',"
				+ stu.getAge() + ")";
		rs = stat.executeUpdate(sql);
		// 6. 处理结果

		// 7.关闭连接
		conn.close();
	} catch (ClassNotFoundException e) {
		// TODO Auto-generated catch block
		e.printStackTrace();
	} catch (SQLException e) {
		// TODO Auto-generated catch block
		e.printStackTrace();
	}

	return rs > 0;
}


 451
451


 被折叠的 条评论
为什么被折叠?
被折叠的 条评论
为什么被折叠?
 到【灌水乐园】发言


