


haproxy简介
HAProxy是法国开发者 威利塔罗(Willy Tarreau) 在2000年使用C语言开发的一个开源软件,是一款具备高并发(万级以上)、高性能的TCP和HTTP负载均衡器,支持基于cookie的持久性,自动故障切换,支持正则表达式及web状态统计。
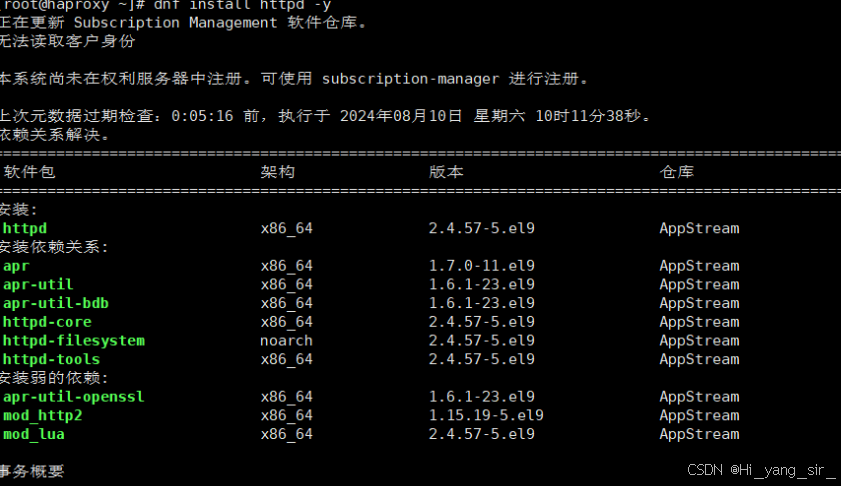
安装软件包
[root@haproxy ~]# dnf install haproxy -y
[root@haproxy ~]# dnf install httpd -y
haproxy基本配置
查询配置文件
rpm -qc haproxy

[root@haproxy ~]# rpm -qc haproxy
/etc/haproxy/haproxy.cfg  ---- 配置文件
/etc/logrotate.d/haproxy   ---- 记录日志的文件
/etc/sysconfig/haproxy  --- 记录haproxy本身属性的文件
[root@haproxy ~]#
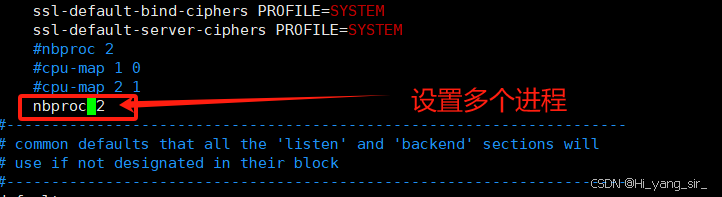
1.全局参数配置及日志分离
测试

查看多进程信息:
[root@haproxy ~]# pstree -p | grep haproxy
           |-haproxy(33767)-+-haproxy(33769)
           |                `-haproxy(33770)
[root@haproxy ~]#

查看多线程
[root@haproxy ~]# systemctl restart haproxy.service
[root@haproxy ~]# pstree -p | grep haproxy
           |-haproxy(33829)---haproxy(33831)---{haproxy}(33832)
[root@haproxy ~]# cat /proc/33831/status | grep -i thread
Threads:    2
Speculation_Store_Bypass:    thread vulnerable
[root@haproxy ~]# vim /etc/haproxy/haproxy.cfg
定向到haproxy的日志
vim /etc/rsyslog.conf

local2.*            /var/log/haproxy.log

socat 工具
配置
listen webcluster
    bind *:80
    mode http
    balance roundrobin
    server web3 192.168.160.10:80
    server web4 192.168.160.20:80
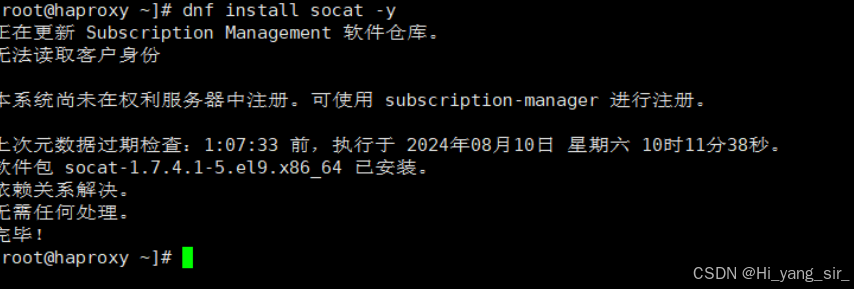
安装socat工具
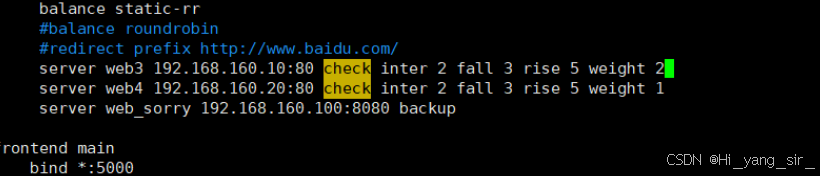
启用backup
vim/etc/haproxy/haproxy.cfg
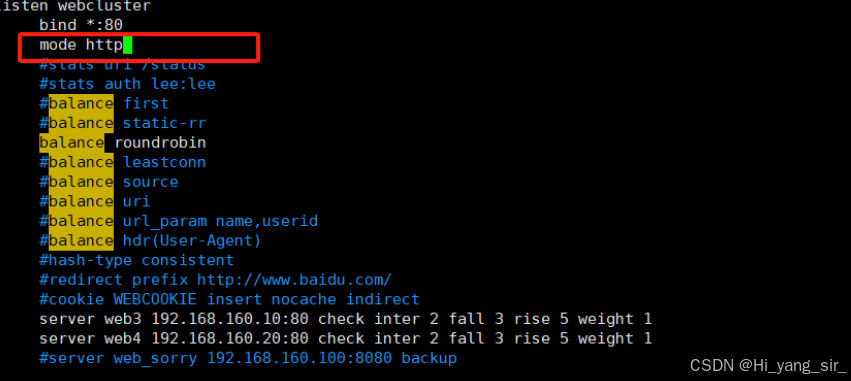
listen webcluster
bind *:80
mode http
balance roundrobin
server web1 192.168.160.10:80 check inter 2 fall 3 rise 5 weight 2
server web2 192.168.160.20:80 check inter 2 fall 3 rise 5 weight 1
server web_sorry 192.168.160.100:8080 backup
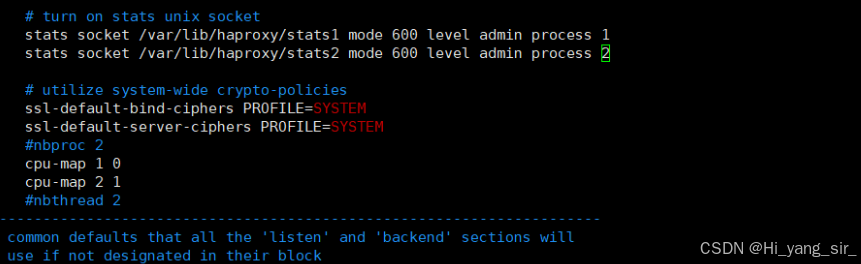
haproxy热处理
vim/etc/haproxy/haproxy.cfg

	stats socket /var/lib/haproxy/stats1 mode 600 level admin process 1
    stats socket /var/lib/haproxy/stats2 mode 600 level admin process 2
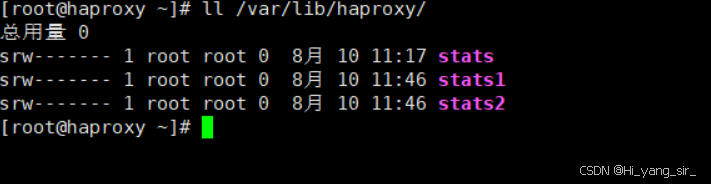
ll /var/lib/haproxy/stats

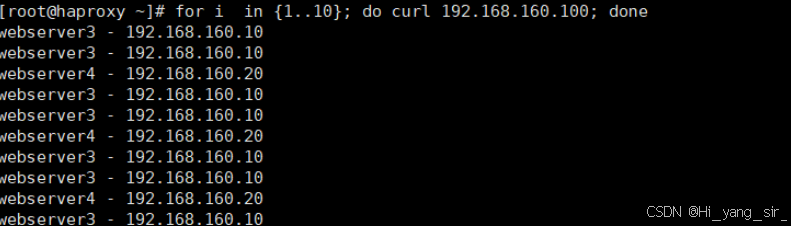
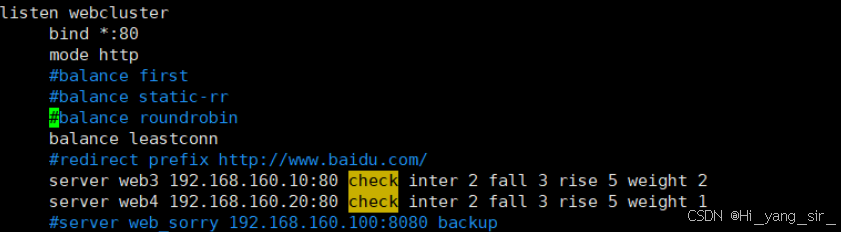
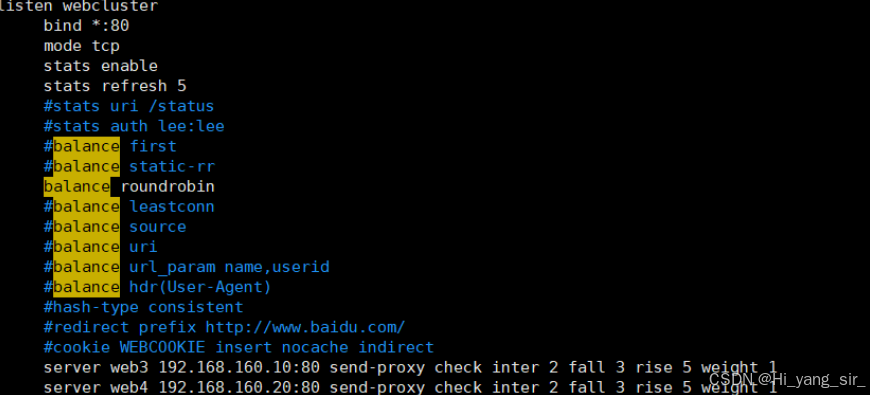
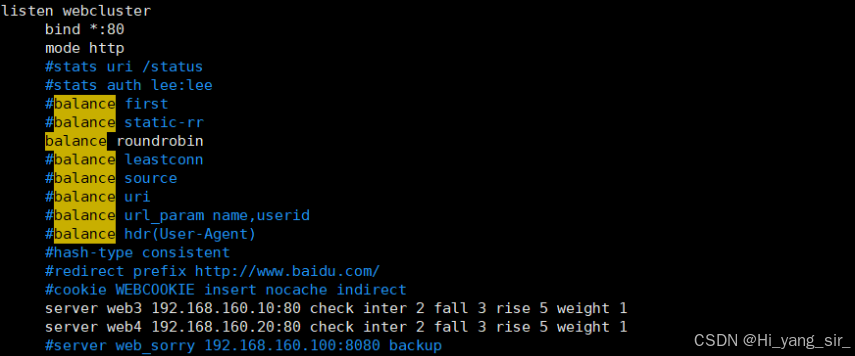
haproxy的算法
静态算法:按照事先定义好的规则轮询公平调度,不关心后端服务器的当前负载、连接数和响应速度等,且无法实时修改权重(只能为0和1,不支持其它值),只能靠重启HAProxy生效。
示例
vim/etc/haproxy/haproxy.cfg

listen webcluster
    bind *:80
    mode http
    balance roundrobin    ---- 动态算法
    server web3 192.168.160.10:80 check inter 2 fall 3 rise 5 weight 2
    server web4 192.168.160.20:80 check inter 2 fall 3 rise 5 weight 1
leastconn 动态算法
eastconn加权的最少连接的动态;支持权重的运行时调整和慢启动,即:根据当前连接最少的后端服务器而非权重进行优先调度;适合长连接的场景使用,比如:MySQL等场景。
示例
listen webcluster
    bind *:80
    mode http
    balance leastconn
    server web3 192.168.160.10:80 check inter 2 fall 3 rise 5 weight 2
    server web4 192.168.160.20:80 check inter 2 fall 3 rise 5 weight 1
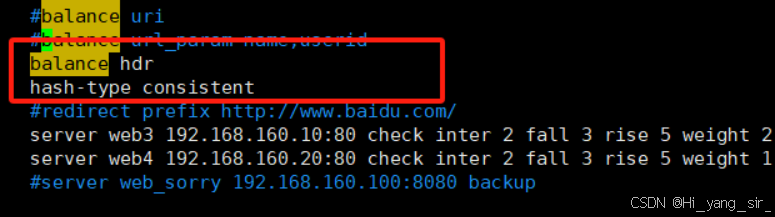
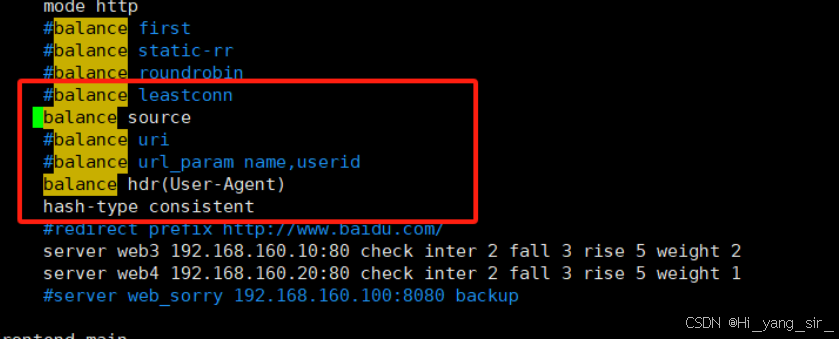
source


url
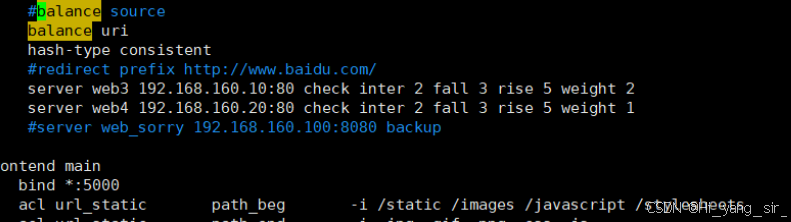

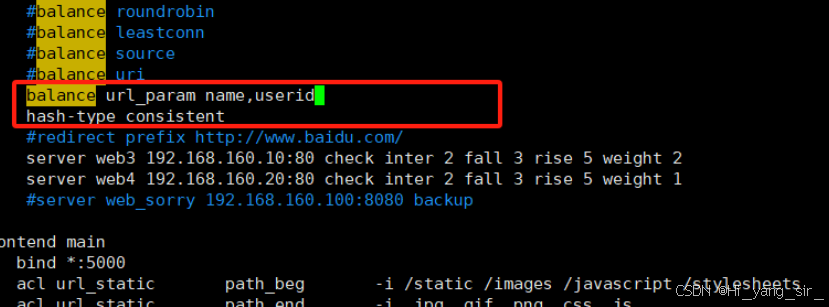


hdr

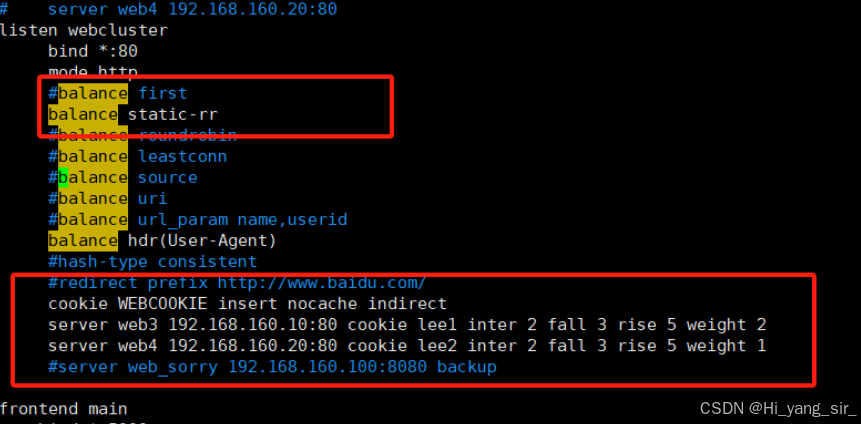

基于cookie会话保持
示例
vim /etc/haproxy/haproxy.cfg

listen webcluster
    bind *:80
    mode http
    balance roundrobin
    cookie WEBCOOKIE insert nocache indirect
    server web3 192.168.160.10:80 cookie lee1 check inter 2 fall 3 rise 5 weight 1
    server web4 192.168.160.20:80 cookie lee2 check inter 2 fall 3 rise 5 weight 1

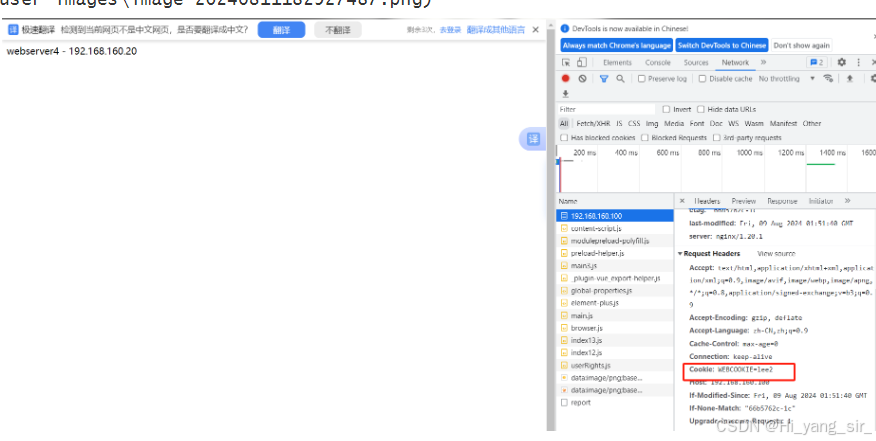
网页访问测试: 访问到之后按F12 选到网络,看cookie值是否改变
curl访问时指定cookie
RS主机访问:
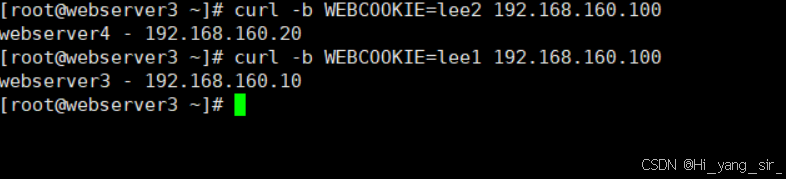
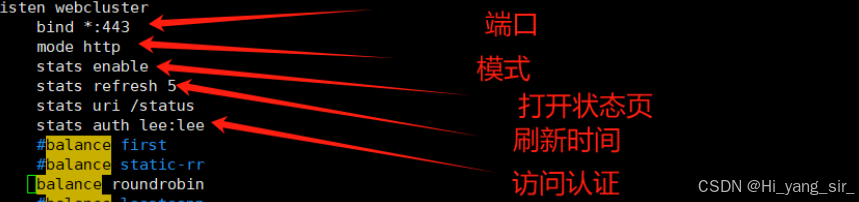
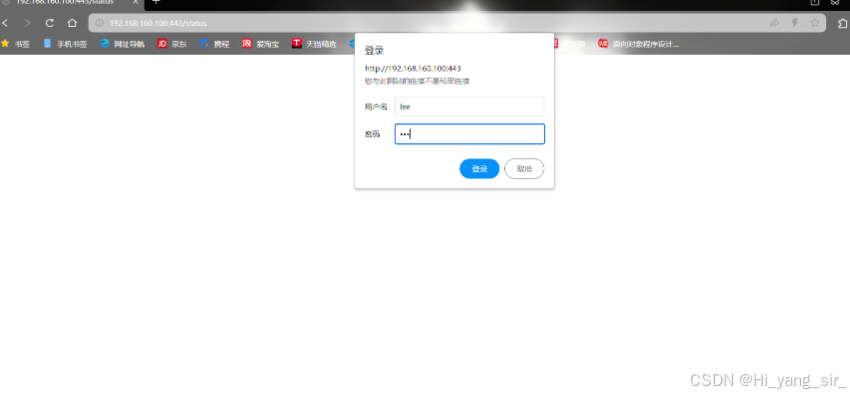
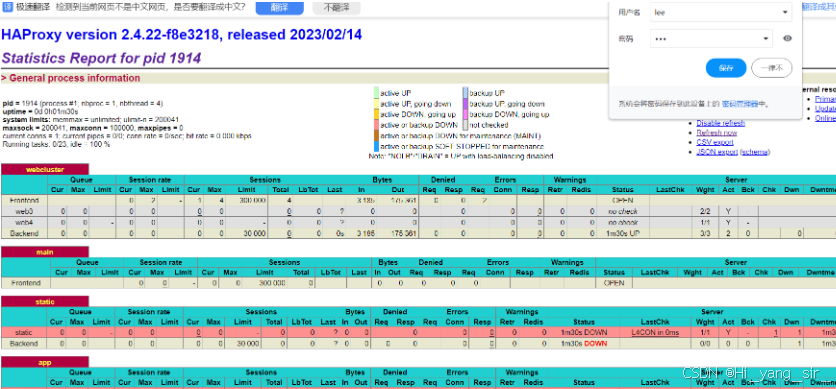
haproxy的状态页面监控
IP透传
haproxy主机上
RS主机上


四层IP透传
七层IP透传
主机测试:cat /var/log/nginx/access.log
haproxy中访问控制列表
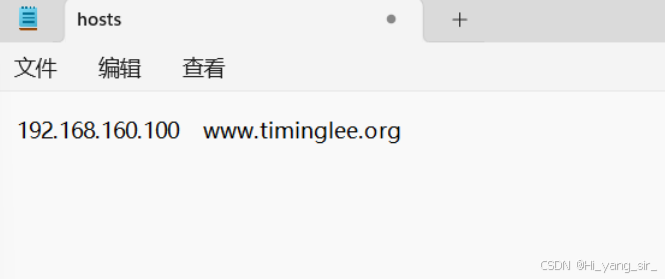
做解析


创建子目录测试
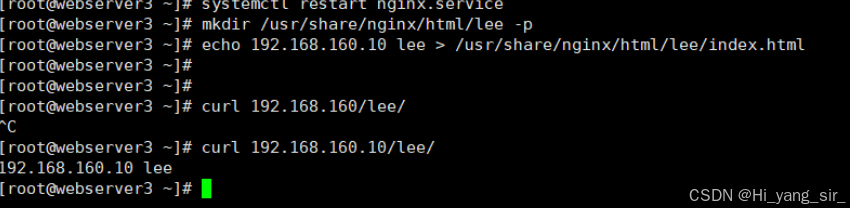
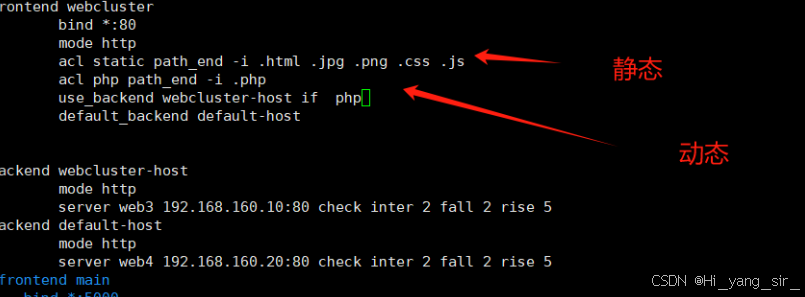
利用ACL做动静分离等访问控制
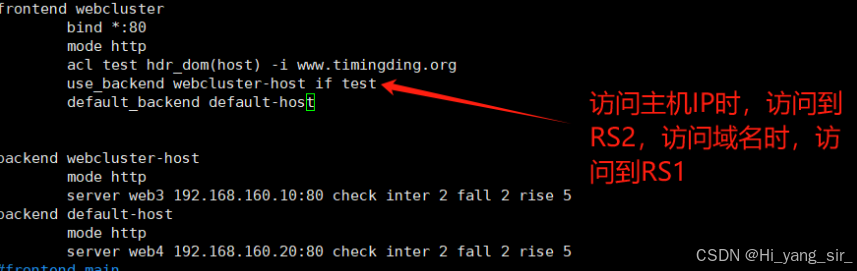
基于域名做动静分离

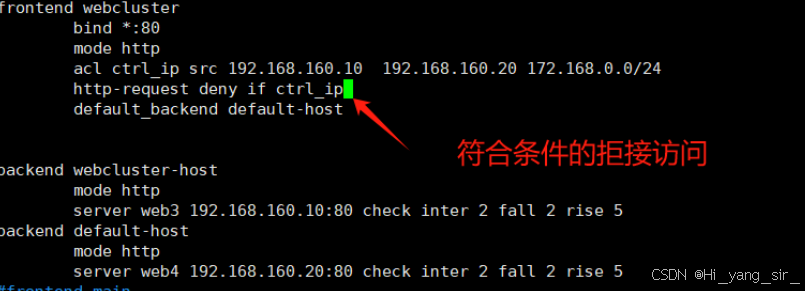
基于源IP或子网调度访问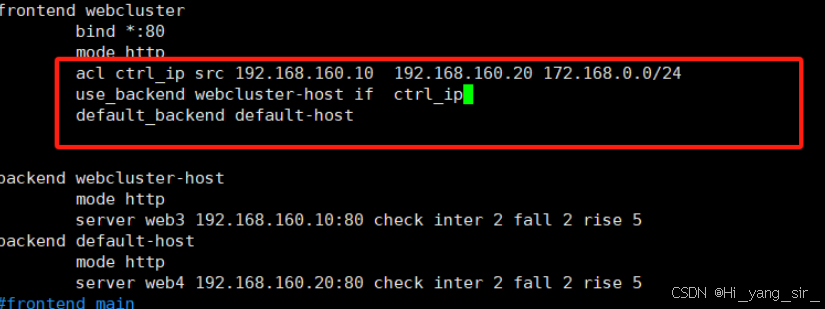
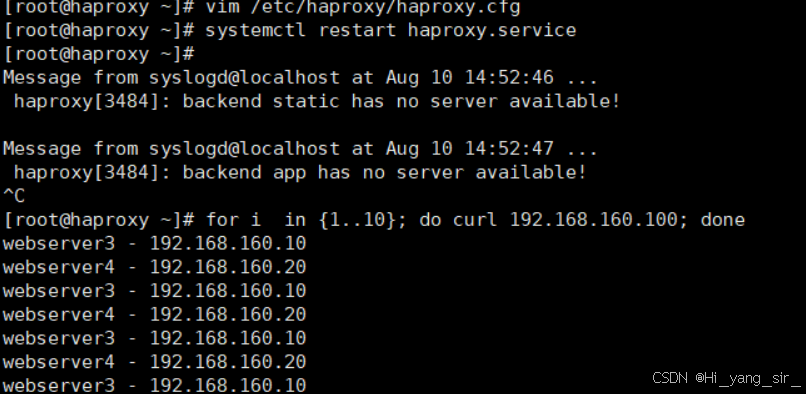
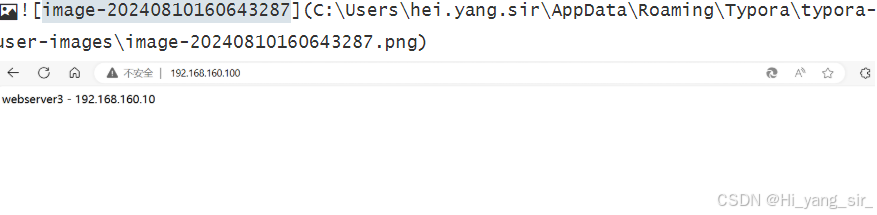
测试

[root@haproxy ~]# curl www.timingding.org
webserver3 - 192.168.160.10
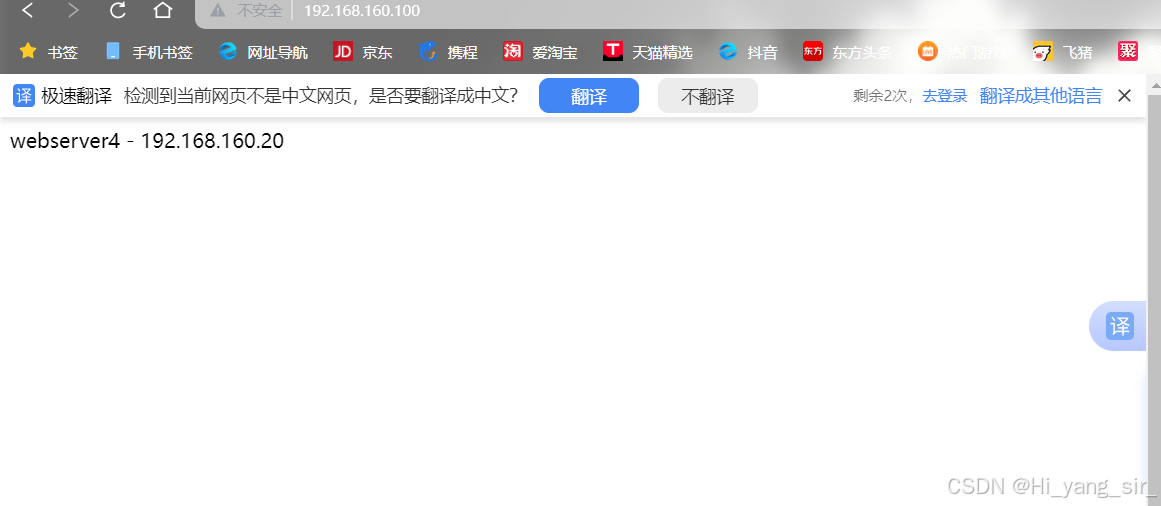
[root@haproxy ~]# curl www.test.com
webserver4 - 192.168.160.20
测试

[root@werserver2 ~]# curl 192.168.160.100
webserver3 - 192.168.160.10
[root@werserver2 ~]# curl 192.168.160.100
<html><body><h1>403 Forbidden</h1>
Request forbidden by administrative rules.
</body></html>
[root@werserver2 ~]#

[root@haproxy ~]# curl www.test.com
webserver4  192.168.160.20
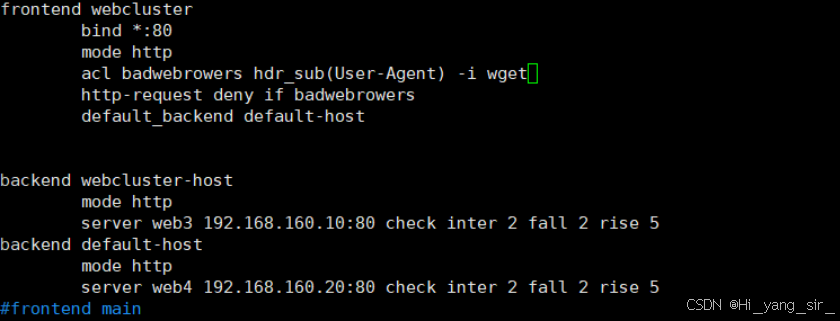
5.4.1.3 基于浏览器的访问控制
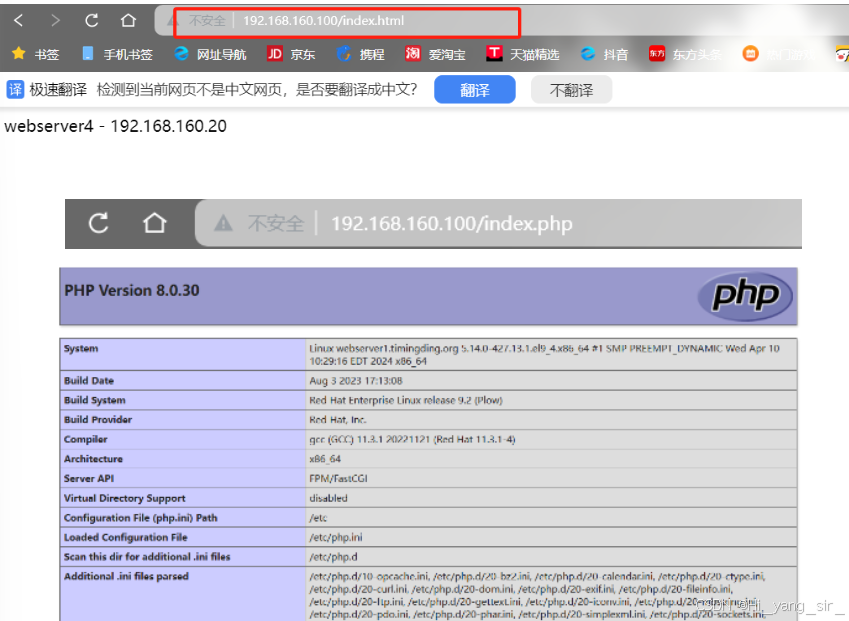
基于文件后缀名实现动静分离
RS主机上:
[root@webserver3 ~]# install php -y
[root@webserver3 ~]# systemctl restart nginx.service
[root@webserver3 ~]#
[root@webserver3 ~]# vim /usr/share/nginx/html/index.php
<?php
        phpinfo();
?>
查看是否能访问到php

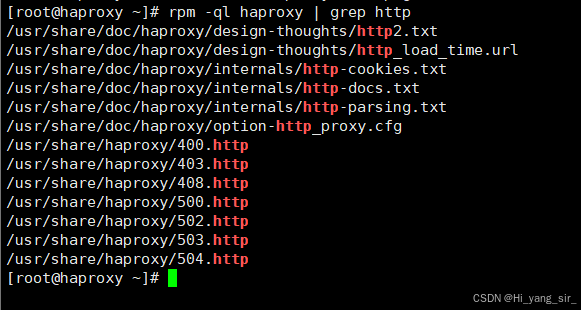
自定义haproxy的错误界面
[root@werserver3 ~]# systemctl stop nginx.service
[root@werserver4 ~]# systemctl stop nginx.service
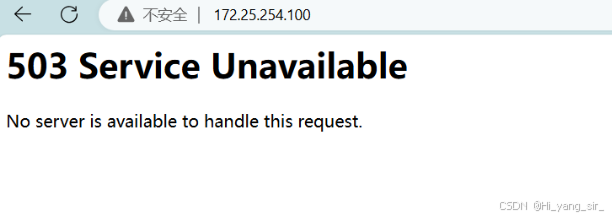
查看错误页面文件路径:

HTTP/1.0 503 Service Unavailable
Cache-Control: no-cache
Connection: close
Content-Type: text/html

<html><body><h1>shenmdongwu</h1>
puhailing!!!
</body></html>

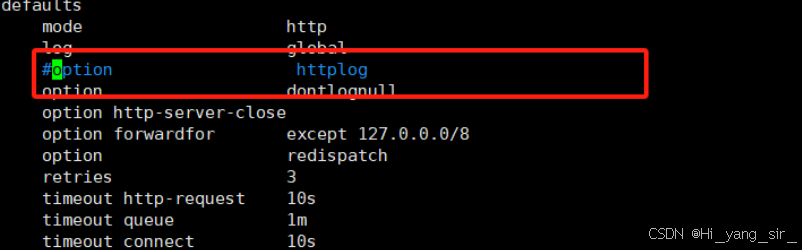
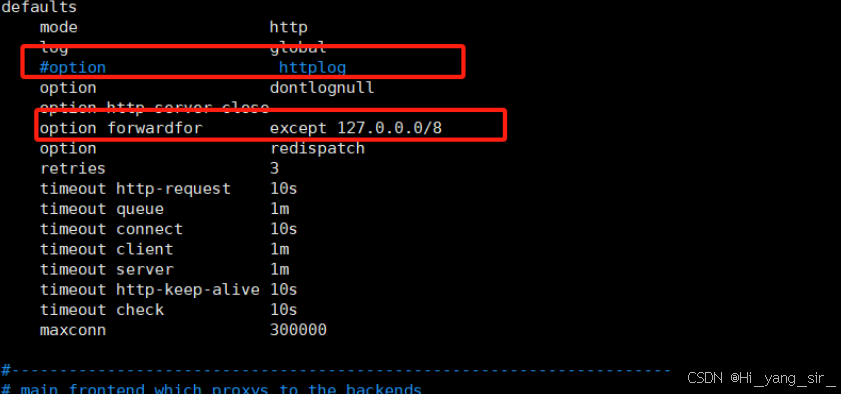
defaults
    mode                    http
    log                     global
    #option                  httplog
    option                  dontlognull
    option http-server-close
    option forwardfor       except 127.0.0.0/8
    option                  redispatch
    retries                 3
    timeout http-request    10s
    timeout queue           1m
    timeout connect         10s
    timeout client          1m
    timeout server          1m
    timeout http-keep-alive 10s
    timeout check           10s
    maxconn                 1000

    errorfile 503  /etc/haproxy/errorpages/503page.http
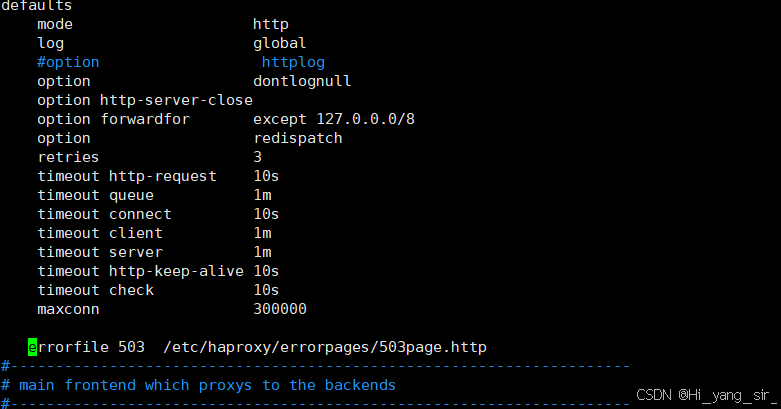
测试

重定向错误文件
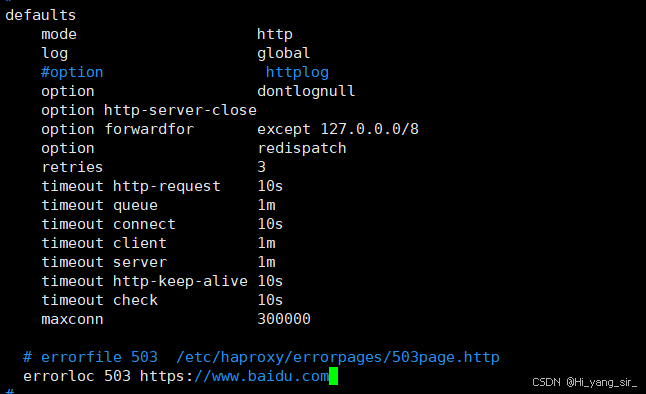
测试
自动转到百度

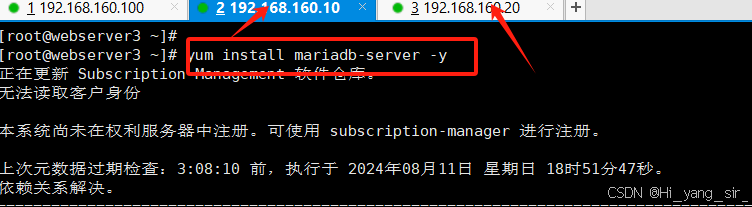
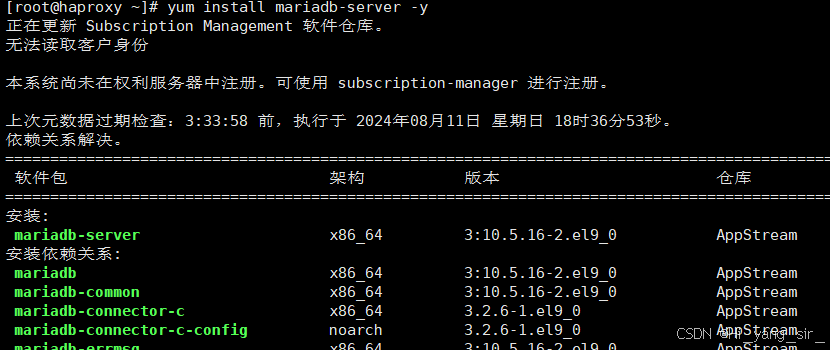
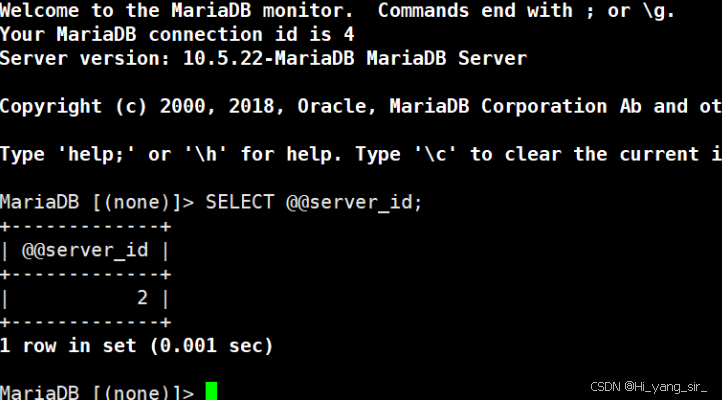
haproxy的四层负载
两台RS主机安装mariadb:
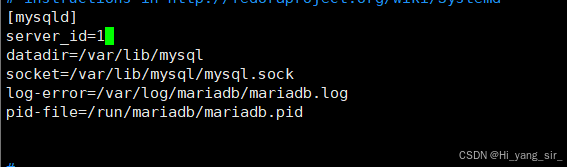
更改配置


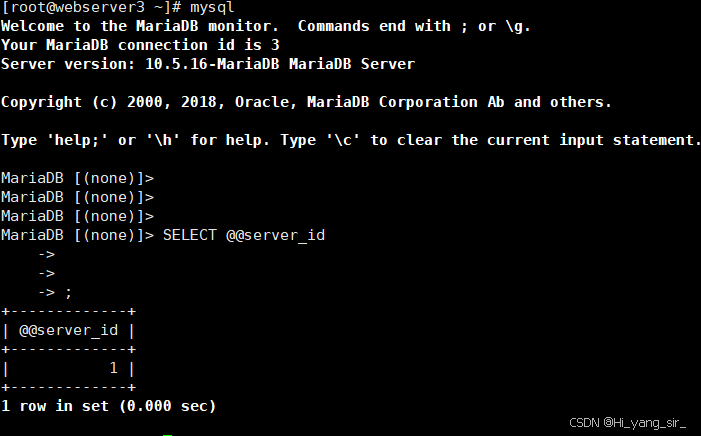
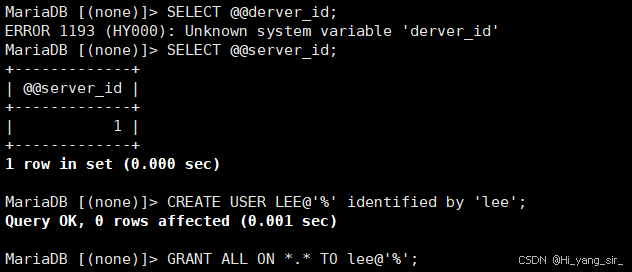
RS主机上创建mariadb远程登录用户
查看端口是否开启

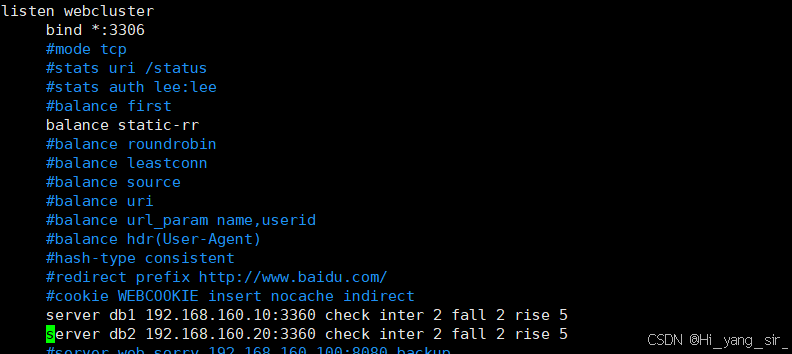
haproxy主机
![]()
主机测试
mysql -ulee -plee -h 192.168.160.100
haproxy中https加密访问
[root@haproxy ~]# mkdir -p /etc/haproxy/certs
[root@haproxy ~]# openssl req -newkey rsa:2048 -nodes -sha256 ?keyout /etc/haproxy/certs/timinglee.org.key-x509 -days 365 -out /etc/haproxy/certs/timinglee.org.cr

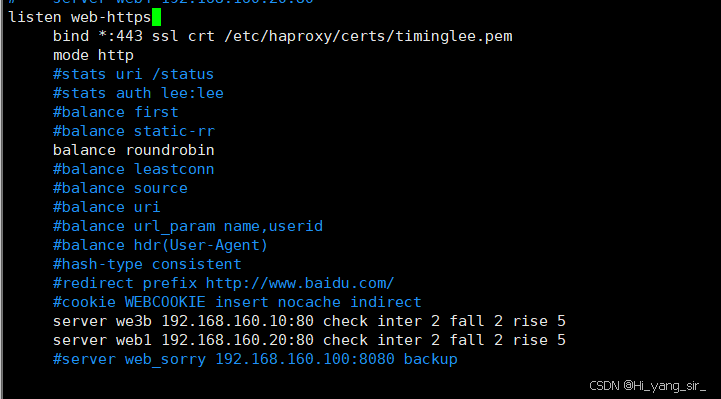
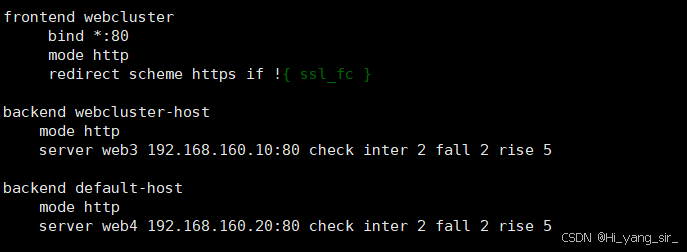
 全站加密:
全站加密:
frontend webcluster
    bind *:80
    mode http
    redirect scheme https if !{ ssl_fc }

backend webcluster-host
    mode http
    server web3 192.168.160:80 check inter 2 fall 2 rise 5

backend default-host
    mode http
    server web4 192.168.160.20:80 check inter 2 fall 2 rise 5
把代码都放到子配置文件里面
[root@haproxy ~]# vim /lib/systemd/system/haproxy.service
子配置文件
/etc/haproxy/conf.d


 778
778

 被折叠的 条评论
为什么被折叠?
被折叠的 条评论
为什么被折叠?
 到【灌水乐园】发言


