


一、准备工作,先创建一个文章表,用于存放书写的文章
1、建表SQL:
CREATE TABLE `article` (
`id` int(10) NOT NULL AUTO_INCREMENT COMMENT 'int文章的唯一ID',
`author` varchar(50) NOT NULL COMMENT '作者',
`title` varchar(100) NOT NULL COMMENT '标题',
`content` longtext NOT NULL COMMENT '文章的内容',
PRIMARY KEY (`id`)
) ENGINE=InnoDB DEFAULT CHARSET=utf8
2、EasyCode自动生成代码(可将除了实体类外所有生成的代码删除,我下面会给出必要的代码)
3、ArticleDao接口下添加四个方法
@Mapper
public interface ArticleDao {
    //查询所有的文章
    List<Article> queryArticles();
    //新增一个文章
    int addArticle(Article article);
    //根据文章id查询文章
    Article getArticleById(int id);
    //根据文章id删除文章
    int deleteArticleById(int id);
}
4、对应的mapper文件
<?xml version="1.0" encoding="UTF-8"?>
<!DOCTYPE mapper PUBLIC "-//mybatis.org//DTD Mapper 3.0//EN" "http://mybatis.org/dtd/mybatis-3-mapper.dtd">
<mapper namespace="com.kk.dao.ArticleDao">

    <resultMap type="com.kk.entity.Article" id="ArticleMap">
        <result property="id" column="id" jdbcType="INTEGER"/>
        <result property="author" column="author" jdbcType="VARCHAR"/>
        <result property="title" column="title" jdbcType="VARCHAR"/>
        <result property="content" column="content" jdbcType="VARCHAR"/>
    </resultMap>

    <!--根据id查询单个文章-->
    <select id="getArticleById" resultMap="ArticleMap">
        select
          id, author, title, content
        from bookstore.article
        where id = #{id}
    </select>


    <!--查询所有文章-->
    <select id="queryArticles" resultMap="ArticleMap">
        select
          id, author, title, content
        from bookstore.article
        <where>
            <if test="id != null">
                and id = #{id}
            </if>
            <if test="author != null and author != ''">
                and author = #{author}
            </if>
            <if test="title != null and title != ''">
                and title = #{title}
            </if>
            <if test="content != null and content != ''">
                and content = #{content}
            </if>
        </where>
    </select>

    <!--添加文章-->
    <insert id="addArticle" keyProperty="id" useGeneratedKeys="true">
        insert into bookstore.article(author, title, content)
        values (#{author}, #{title}, #{content})
    </insert>


    <!--通过id删除文章-->
    <delete id="deleteArticleById">
        delete from bookstore.article where id = #{id}
    </delete>

</mapper>
5、同样ArticleService接口实现对应的方法
public interface ArticleService {
    //查询所有的文章
    List<Article> queryArticles();
    //新增一个文章
    int addArticle(Article article);
    //根据文章id查询文章
    Article getArticleById(int id);
    //根据文章id删除文章
    int deleteArticleById(int id);
}
6、ArticleServiceImpl实现
@Service("articleService")
public class ArticleServiceImpl implements ArticleService {
    @Resource
    private ArticleDao articleDao;
    @Override
    public List<Article> queryArticles() {
        return articleDao.queryArticles();
    }
    @Override
    public int addArticle(Article article) {
        return articleDao.addArticle(article);
    }
    @Override
    public Article getArticleById(int id) {
        return articleDao.getArticleById(id);
    }
    @Override
    public int deleteArticleById(int id) {
        return articleDao.deleteArticleById(id);
    }
}
7、ArticleController
@Controller
@RequestMapping("article")
public class ArticleController {

    @Resource
    private ArticleService articleService;

    /**
     * 添加文章
     * @param article
     * @return
     */
    @PostMapping("/addArticle")
    public String addArticle(Article article) {
        articleService.addArticle(article);
        return "editor/editormd";
    }

}
二、到官网下载MarkDown的资源包
MarkDown官网
在项目resources/static目录下创建一个editormd目录、resources/templates下创建一个editor目录(因为随着项目的扩展,大量的css和js资源混杂,所以建议每个功能模块的静态资源都建一个专门的目录存放,然后改写js和css等资源的路径的时候,记得加上目录名)
在templates的editor目录下新建一个editormd.html文件(作为编辑页面),将资源包的simple.html内容拷贝进去,然后先将下面提到的两个css和两个js静态资源,在资源包中找到之后,导入static的editormd目录下,然后用th命名空间改写editormd.html文件的js和css的引入,还要导入整个资源包下的lib包,导入plugins包,。
<link rel="stylesheet" th:href="@{/editormd/css/style.css}" />
<link rel="stylesheet" th:href="@{/editormd/css/editormd.css}"/>

<script th:src="@{/editormd/js/jquery.min.js}"></script>
<script th:src="@{/editormd/js/editormd.min.js}"></script>
还要改写editormd.html中的function内容的path
$(function() {
    testEditor = editormd("test-editormd", {
        width: "90%",
        height: 640,
        syncScrolling: "single",
        path: "../editormd/lib/"
    });
});
editormd.html
<!DOCTYPE html>
<html lang="zh">
    <head>
        <meta charset="utf-8" />
        <title>Simple example - Editor.md examples</title>
        <link rel="stylesheet" th:href="@{/editormd/css/style.css}"/>
        <link rel="stylesheet" th:href="@{/editormd/css/editormd.css}"/>
        <link rel="shortcut icon" href="https://pandao.github.io/editor.md/favicon.ico" type="image/x-icon" />
    </head>
    <body>
        <div id="layout">
            <header>
                <h1>Simple example</h1>
            </header>
            <div id="test-editormd">
                <textarea style="display:none;"></textarea>
            </div>
        </div>
        <script th:src="@{/editormd/js/jquery.min.js}"></script>
        <script th:src="@{/editormd/js/editormd.min.js}"></script>
        <script type="text/javascript">
			var testEditor;
            $(function() {
                testEditor = editormd("test-editormd", {
                    width: "90%",
                    height: 640,
                    syncScrolling: "single",
                    emoji: true,
                    path: "../editormd/lib/"
                });
            });
        </script>
    </body>
</html>然后添加一个controller跳转过去,访问http://localhost:8080/article/toEditor启动测试一波
@GetMapping("/toEditor")
    public String toEditor(){
    return "editormd/editormd";
}
调试发现,还需要这些静态资源
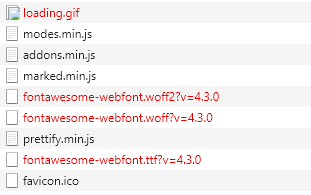
一个个解决
先到资源包找到loading.gif加入到resources/static/editormd目录中images目录下
再把字体包fonts整个导入到resources/static/editormd下
目录结构如图
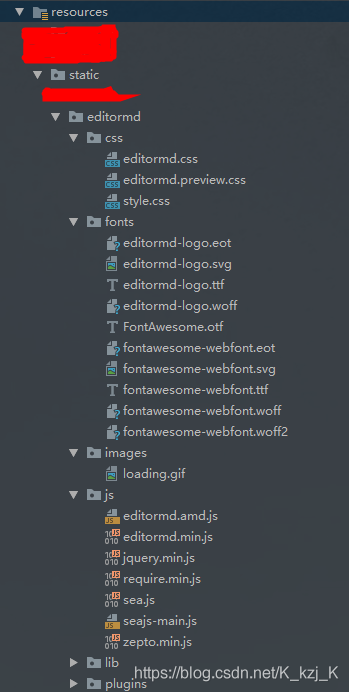
再测试,此时已无缺失的静态资源
然后一个功能一个功能测试过来,

只有上传图片功能没有起作用
接下来实现图片上传功能
先到function中追加图片上传的配置
$(function() {
    testEditor = editormd("test-editormd", {
        width: "90%",
        height: 640,
        syncScrolling: "single",
        path: "../editormd/lib/",
        //图片上传
        imageUpload : true,
        imageFormats : ["jpg", "jpeg", "gif", "png", "bmp", "webp"],
        imageUploadURL : "/file/upload"
    });
});
然后到controller中添加一个controller处理上传
//博客图片上传问题
@RequestMapping("/file/upload")
@ResponseBody
public JSONObject fileUpload(@RequestParam(value = "editormd-image-file", required = true) MultipartFile file, HttpServletRequest request) throws IOException {
    //上传路径保存设置

    //获得SpringBoot当前项目的路径:System.getProperty("user.dir")
    String path = System.getProperty("user.dir")+"/upload/";

    //按照月份进行分类:
    Calendar instance = Calendar.getInstance();
    String month = (instance.get(Calendar.MONTH) + 1)+"月";
    path = path+month;

    File realPath = new File(path);
    if (!realPath.exists()){
        realPath.mkdirs();
    }

    //上传文件地址
    System.out.println("上传文件保存地址:"+realPath);

    //解决文件名字问题:我们使用uuid;
    String filename = "pg-"+ UUID.randomUUID().toString().replaceAll("-", "")+".jpg";
    File newfile = new File(realPath, filename);
    //通过CommonsMultipartFile的方法直接写文件(注意这个时候)
    file.transferTo(newfile);

    //给editormd进行回调
    JSONObject res = new JSONObject();
    res.put("url","/upload/"+month+"/"+ filename);
    res.put("success", 1);
    res.put("message", "upload success!");

    return res;
}
增加一个适配器配置类,在该配置类中定义虚拟路径和真实的物理路径的映射关系。(目的:文件在物理路径下,但是物理路径毕竟过长,不简洁,通过配置适配器,映射到简洁的地址)
适配器友情链接
@Configuration
public class MyMvcConfig implements WebMvcConfigurer {
// 文件保存在真实物理路径/upload/下(即项目的物理地址下:F:\IDEA_Project_Location\自己\bookstore\upload\3月)
// 访问的时候使用虚路径/upload,比如文件名为1.png,就直接/upload/1.png就ok了。
@Override
public void addResourceHandlers(ResourceHandlerRegistry registry) {
//将物理地址upload下的文件映射到/upload下
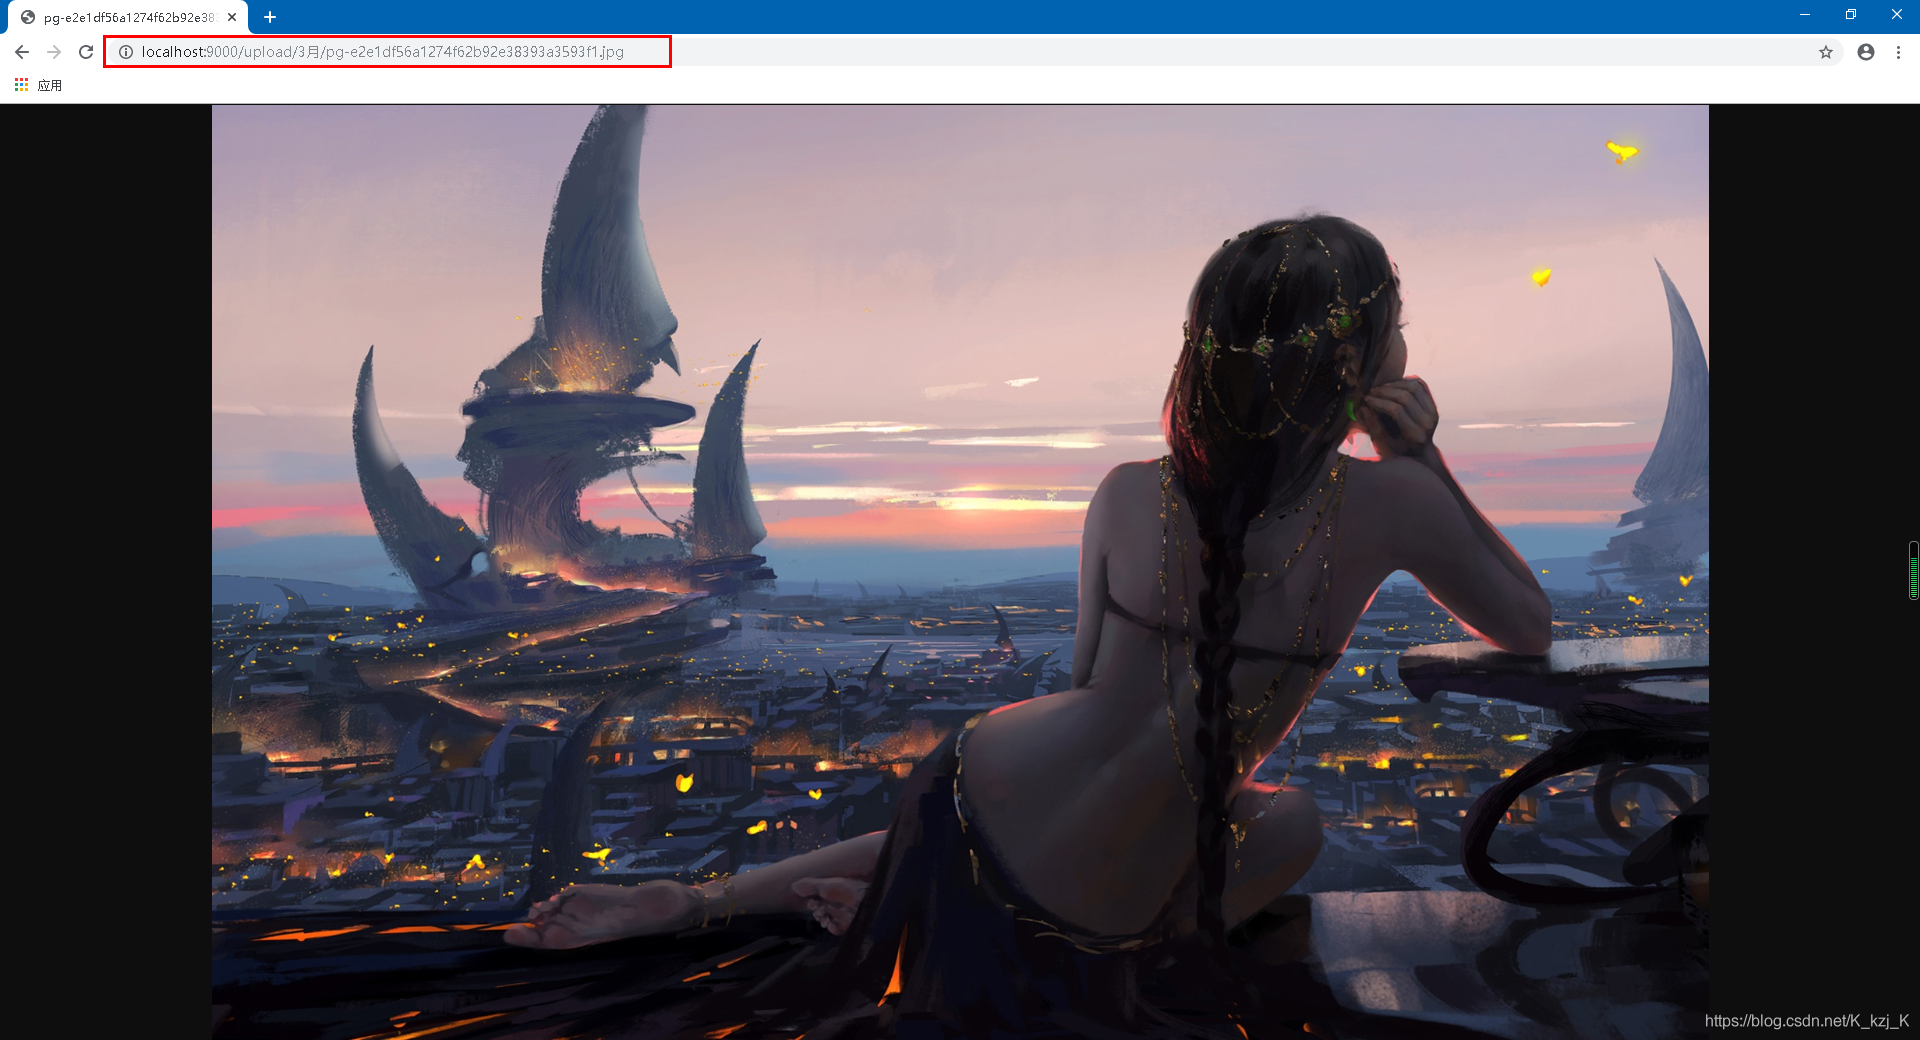
//访问的时候就直接访问http://localhost:9000/upload/文件名
registry.addResourceHandler("/upload/**")
.addResourceLocations("file:"+System.getProperty("user.dir")+"/upload/");
}
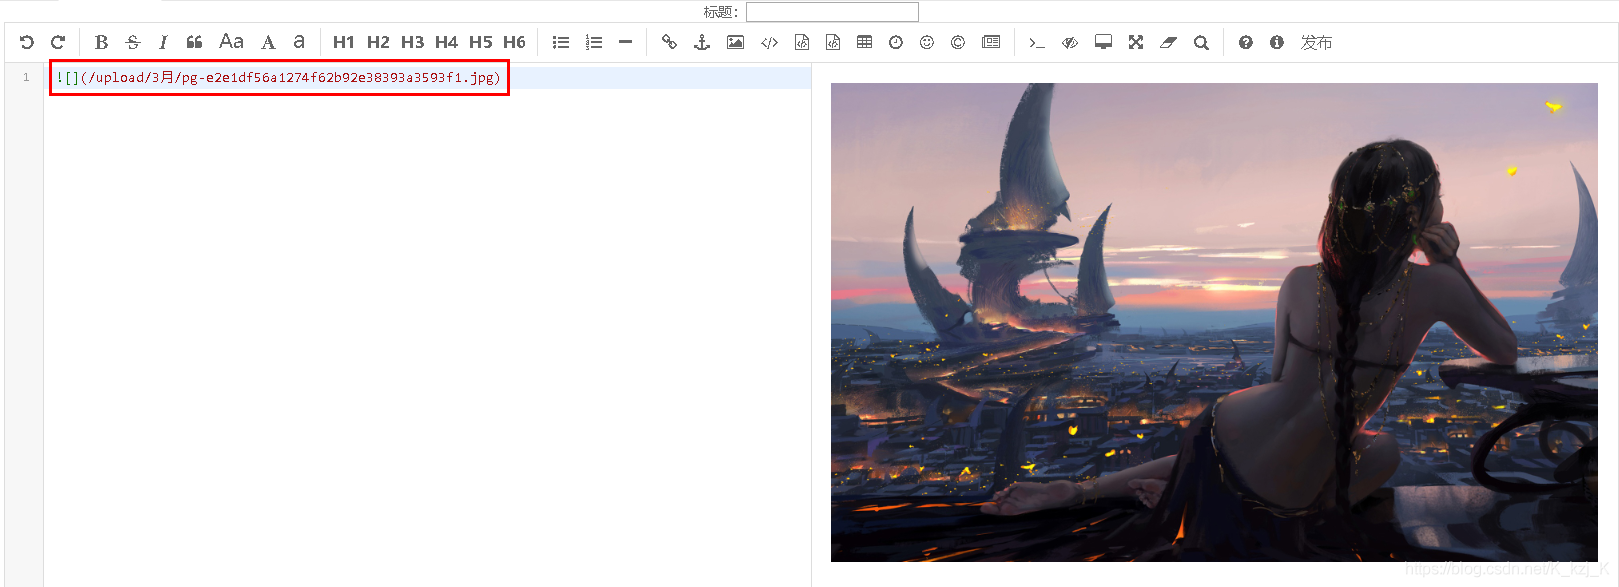
}可以达到以下效果(重点在路径)
最后就是查看文章的页面了
先在数据库中添加一条文章记录
INSERT INTO `article` VALUES ('1', 'kk', '我爱你', '## 走在漆黑的夜里');
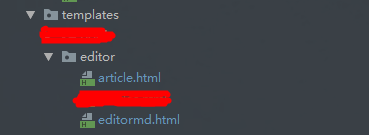
在resources/template/editormd下创建一个article.html页面,作为查看页面
<!DOCTYPE html>
<html lang="en" xmlns:th="http://www.thymeleaf.org">
<head>
    <meta charset="UTF-8">
    <meta name="viewport" content="width=device-width, initial-scale=1, maximum-scale=1">
    <title th:text="${article.title}"></title>
</head>
<body>

<div>
    <!--文章主体内容-->
    <div id="doc-content" style="width: 80%">
        <textarea style="display:none;" placeholder="markdown" th:text="${article.content}"></textarea>
    </div>

</div>

<link rel="stylesheet" th:href="@{/editormd/css/editormd.preview.css}" />
<script th:src="@{/editormd/lib/jquery.min.js}"></script>
<script th:src="@{/editormd/lib/marked.min.js}"></script>
<script th:src="@{/editormd/lib/prettify.min.js}"></script>
<script th:src="@{/editormd/lib/raphael.min.js}"></script>
<script th:src="@{/editormd/lib/underscore.min.js}"></script>
<script th:src="@{/editormd/lib/sequence-diagram.min.js}"></script>
<script th:src="@{/editormd/lib/flowchart.min.js}"></script>
<script th:src="@{/editormd/lib/jquery.flowchart.min.js}"></script>
<script th:src="@{/editormd/lib/editormd.min.js}"></script>

<script type="text/javascript">
    var testEditor;
    $(function () {
        testEditor = editormd.markdownToHTML("doc-content", {//注意:这里是上面DIV的id
            htmlDecode: "style,script,iframe",
            emoji: true,
            taskList: true,
            tocm: true,
            tex: true, // 默认不解析
            flowChart: true, // 默认不解析
            sequenceDiagram: true, // 默认不解析
            codeFold: true
        });
    });
</script>
</body>
</html>
写一个controller跳转到article页面
@GetMapping("/show")
public String show(Model model) {
    Article article = articleService.getArticleById(1);
    model.addAttribute("article", article);
    return "editor/article";
}
http://localhost:8080/article/show
测试成功!


 6万+
6万+


 被折叠的 条评论
为什么被折叠?
被折叠的 条评论
为什么被折叠?
 到【灌水乐园】发言


