


点击上方 前端Q,关注公众号
回复加群,加入前端Q技术交流群
通过本文,你将会收获到:
如何让vscode不会再对
@tailwind,@apply之类的属性报错如何让你的应用既能跟随系统设置,又能手动设置夜间模式
如果本文对你有所帮助,希望你能动动小手点个免费的赞,这会让我更有动力进行写作,谢谢你!
VSCode配置:
这一步可以让你的 @apply 和 @tailwind 之类的 @ 属性都不会报错,并有提示
 image.png
 image.png
在项目根目录下新建
.vscode文件夹配置settings.json
{ "css.customData": [".vscode/tailwind.json"] }配置tailwind.json
{ "version": 1.1, "atDirectives": [ { "name": "@tailwind", "description": "Use the `@tailwind` directive to insert Tailwind's `base`, `components`, `utilities` and `screens` styles into your CSS.", "references": [ { "name": "Tailwind Documentation", "url": "https://tailwindcss.com/docs/functions-and-directives#tailwind" } ] }, { "name": "@apply", "description": "Use the `@apply` directive to inline any existing utility classes into your own custom CSS. This is useful when you find a common utility pattern in your HTML that you’d like to extract to a new component.", "references": [ { "name": "Tailwind Documentation", "url": "https://tailwindcss.com/docs/functions-and-directives#apply" } ] }, { "name": "@responsive", "description": "You can generate responsive variants of your own classes by wrapping their definitions in the `@responsive` directive:\n```css\n@responsive {\n .alert {\n background-color: #E53E3E;\n }\n}\n```\n", "references": [ { "name": "Tailwind Documentation", "url": "https://tailwindcss.com/docs/functions-and-directives#responsive" } ] }, { "name": "@screen", "description": "The `@screen` directive allows you to create media queries that reference your breakpoints by **name** instead of duplicating their values in your own CSS:\n```css\n@screen sm {\n /* ... */\n}\n```\n…gets transformed into this:\n```css\n@media (min-width: 640px) {\n /* ... */\n}\n```\n", "references": [ { "name": "Tailwind Documentation", "url": "https://tailwindcss.com/docs/functions-and-directives#screen" } ] }, { "name": "@variants", "description": "Generate `hover`, `focus`, `active` and other **variants** of your own utilities by wrapping their definitions in the `@variants` directive:\n```css\n@variants hover, focus {\n .btn-brand {\n background-color: #3182CE;\n }\n}\n```\n", "references": [ { "name": "Tailwind Documentation", "url": "https://tailwindcss.com/docs/functions-and-directives#variants" } ] } ] }来源:github.com/tailwindlab…[1]
思路
方案1: 仅使用dark: 切换夜间模式
我们在 tailwind 中可以很轻松地靠类名去实现切换:
<div class="bg-white dark:bg-black">...</div>
但是我们并不希望每个地方都要我们去写,因为如果我们要设置n个属性,就要写2n个类名
<div class="bg-white dark:bg-black" />所以会超出预想的长。
另外的问题是,如果我们将来希望去实现主题色的话,我们还要 bg-white dark:bg-black some-theme:bg-navy (假设有 some-theme: 这个东西),就更多了。
那有什么方法可以帮我们解决这个问题呢?
方案2: 利用 @apply 自定义类名实现切换
换一个思路,如果我们能有一个 bg-theme 这样的类名,自动帮我们做这件事,是不是就解决了呢?
我们利用 @apply 的话就可以很简单地写出来下面的原子CSS:
.bg-theme { @apply bg-white dark:bg-black;}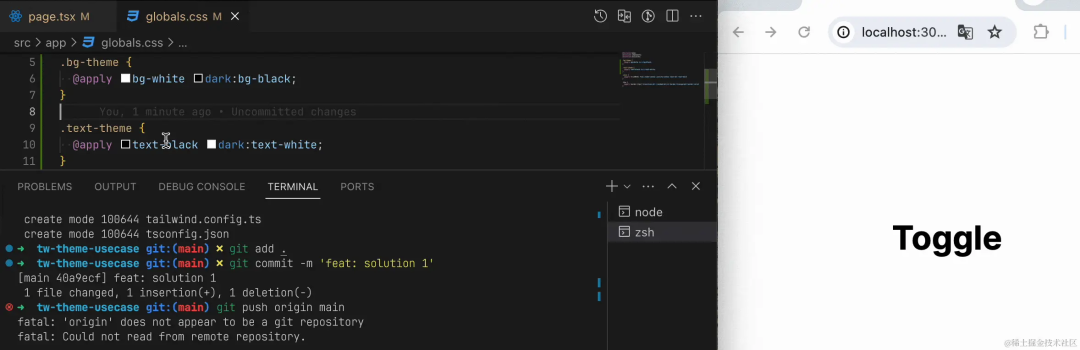
哈!问题解决了…吗?
要知道这样写出来的类名在vscode是没有提示的,因为tailwind并不会自动去找css文件然后扫描里面的看起来像原子CSS的类名的,vscode 的tailwind插件是通过 tailwind.config. 文件工作的,只有在 tailwind.config. 里面有定义的东西才会有提示。
那我们可以这样吗?
// tailwind.config.js module.exports = { ... theme: { extend: { colors: { theme: 'white dark:black' } } } ... }很遗憾,dark:毕竟是类名而不是颜色值,因此tailwind并不支持这样的写法。
但是!Tailwind是支持CSS变量的。比如你可以写成
// tailwind.config.js ... colors: { theme: 'var(--theme-color)' } ...有了这个功能,这里就可以引入第三个方案
方案3:媒体查询 + CSS变量
我们知道如果用户的系统设置为深色模式的话,我们是可以通过媒体查询属性 prefers-color-shceme: dark读取到的,因此我们就能以此为根据写出日间/夜间模式两套变量
:root {  --theme-color: white;}@media (prefers-color-scheme: dark) {  :root {    --theme-color: black;  }}
    // tailwind.config.js            colors: {              theme: 'var(--theme-color)',            },
这样写出来的tailwind配置,不仅可以直接给bg / text / … 等等属性使用,更重要的是,vscode这会儿有提示了!
 Kapture 2023-12-16 at 18.57.21.gif
这是一件非常棒的事情!并且,当我们使用css变量之后,我们要切换主题也很方便。
:root {  --blue-400: #4489f6;  --blue-500: #0070f3;}@media (prefers-color-scheme: dark) {  :root {    --blue-400: #2d79f0;    --blue-500: #063784;  }}
    // tailwind.config.js            colors: {              theme: 'var(--theme-color)',              blue: {                400: 'var(--blue-400)',                500: 'var(--blue-500)',              }            },
当然,你也可以不修改颜色,而是更改类名对应的色值
:root {      --theme-blue: #4489f6;    }    @media (prefers-color-scheme: dark) {      :root {        --theme-blue: #0070f3;        }    }
    // tailwind.config.js            colors: {              theme: 'var(--theme-color)',              'theme-blue': 'var(--theme-blue)'            },
你还可以设置同名的属性名分别给文本和背景
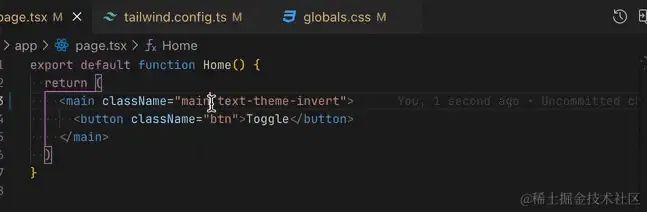
// tailwind.config.js textColor: { 'theme': 'var(--theme-color-invert)' }, backgroundColor: { 'theme': 'var(--theme-color)', },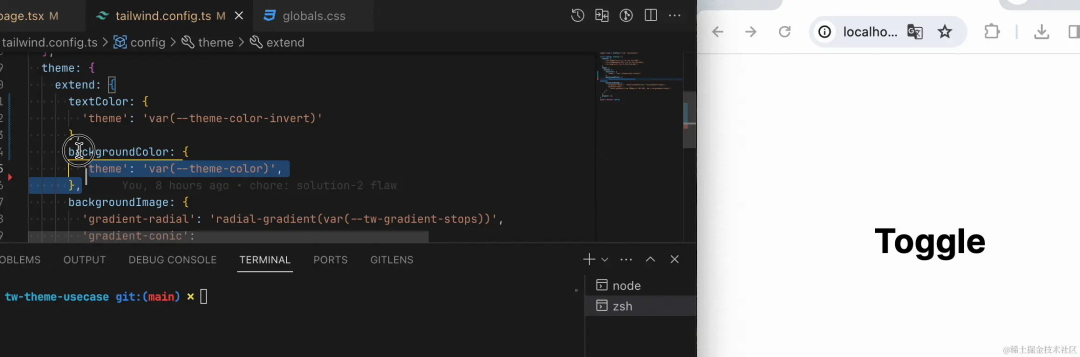
这个方案最大的缺点就是,本来只需要一个tailwind.config 的文件,现在还需要多个 css 文件(main.css / theme-light.css / theme-dark.css / …
即使我们可以使用一个入口main.css引入其余的css,这也会导致项目中需要多一行 import 'my-tailwind.css' 之类的文件,所以我个人认为仍然是有优化空间的。
方案4: 类名 + 媒体查询 + css变量
实际上,通过前面的流程,我们已经可以比较完美地支持系统的深色模式了,但是有的时候我们的用户可能只希望在我们的网站上开启深色模式,所以我们要提供给用户手动切换的能力。
这个时候dark就要以类名的形式添加在html上,而不是单纯使用媒体查询了,那我们可以大概思考一下我们的需求:
刚进入页面时的夜间模式要以用户的设置为准
用户可以手动切换日间/夜间模式
用户手动切换之后,仍然可以跟随系统进行变化
由此,我们可以写一个hook useDark 做下面的事情:
获取当前系统的dark mode是否开启,设为
systemDark,做useState默认值const [dark, setDark] = useState(systemDark)const toggleDark = () => setDark(!dark),用来手动切换日间/夜间模式监听 mediaQuery ,让 dark 跟随用户系统设定变化而变化
声明并暴露 dark变量 以及 toggleDark 方法
最后我们的成果如下:
该 useDark 可以参考这里[2]
使用state导致的问题
如果有两个组件A和B同时使用useDark的话,那么就可能会有bug。因为此时dark是组件内部的state,这就导致了组件A点击之后,只有组件A自己的dark变化了,组件B的dark是不会跟着变的。
如何解决这个问题,各位自由发挥就好了😄localStorage,全局状态管理,或者别的什么方法,都可以。
方案对比
至此,我们来对比下上述的几个方法
| 方案对比 | 仅使用 dark: 选择器 | @apply 自定义类名 | 媒体查询+css变量 | 类名+监听媒体查询+css变量 |
|---|---|---|---|---|
| 配置简单 | 🌟🌟🌟 | 🌟🌟 | 🌟🌟 | 🌟 |
| 开发友好 | 🌟 | 🌟 | 🌟🌟🌟 | 🌟🌟🌟 |
| 主题拓展 | 🌟 | 🌟 | 🌟🌟 | 🌟🌟🌟 |
| 适配性(系统 / 用户设置) | 🌟🌟 | 🌟🌟 | 🌟🌟 | 🌟🌟🌟 |
思考:如何实现 useTheme?
我们现在是基于类名实现深色模式的,那我们其实也很容易切换主题。比如
:root { --theme-color: white;}.dark { --theme-color: black;}.violet { --theme-color: violet;}只要我们对useDark稍作改动,就可以变为useTheme了!至于如何实现,大家也可以自己尝试。
总结
建议使用类名+监听媒体查询+css变量的形式,除了刚开始的配置较为复杂,其余时候都很爽快。无论是开发使用的方便程度还是主题的拓展性。
由于我们项目中接入了 next-themes ,所以也省去了自己开发 useDark ,毕竟它自带了 useTheme 的钩子。最后的解决方案就是
base.css 配置色值、字号等变量
theme-.css 配置各个主题下的设计类名
main.css 引入
tailwind.config. 配置别名
如果你觉得本文有错误,也欢迎你在评论区指出,我们可以友好讨论😄
仓库地址:github.com/evanryuu/tw… 可以直接切换到对应的commit查看各个方案
在线预览:tw-dark-usecase.vercel.app/ (可能需要魔法)
作者:evanryuu
原文:https://juejin.cn/post/7312727134297210914

往期推荐


最后
欢迎加我微信,拉你进技术群,长期交流学习...
欢迎关注「前端Q」,认真学前端,做个专业的技术人...


点个在看支持我吧


 33
33


 被折叠的 条评论
为什么被折叠?
被折叠的 条评论
为什么被折叠?
 到【灌水乐园】发言


