React中 路由怎样携带参数跳转呢?

【路由组件】------>【路由组件】

(1)从路由A页面  (-----跳转----> )  到路由B页面。

this.props.history.push( ' /product/detail ' )

(2)从路由A页面  (-----跳转,并且携带相应的参数----> )  到路由B页面,

 this.props.history.push(' /product/detail ',{ product })         #  product是携带的对象参数 

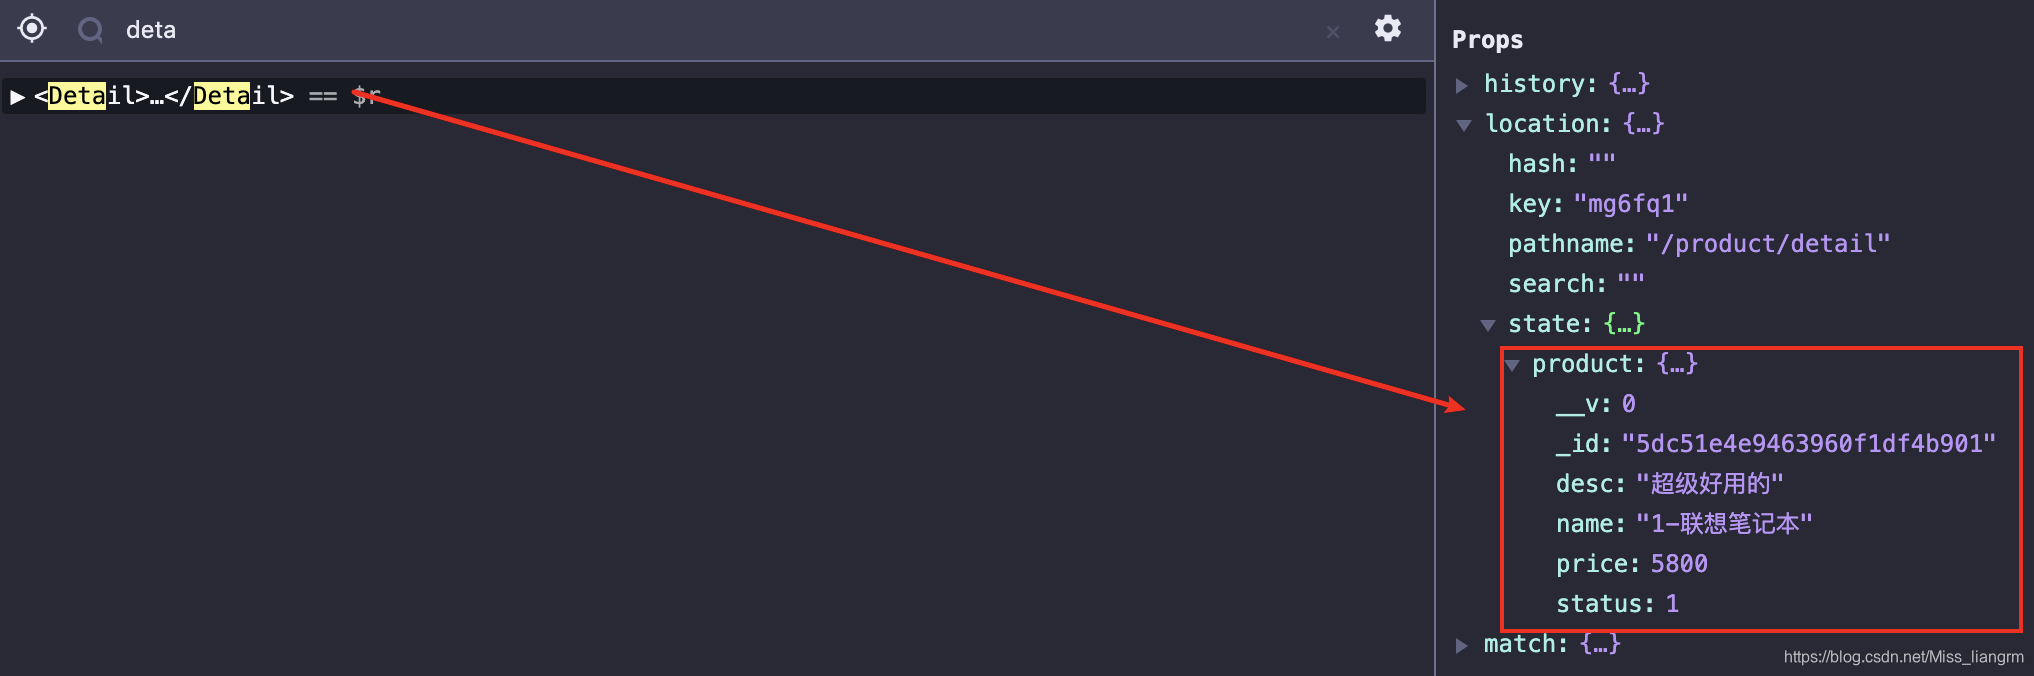
在路由B页面查看,传过来的参数,并且接收该参数:

const { product } = this.props.location.state

【路由组件】------->【非路由组件】

记得将非路由组件 转换成路由组件,然后在使用以上的方法。

------完。

  • 0
    点赞
  • 1
    收藏
    觉得还不错? 一键收藏
  • 打赏
    打赏
  • 0
    评论
在 umi 实现路由权限可以通过以下几个步骤: 1. 在路由配置文件定义路由时,可以添加一个 `authority` 属性来标识该路由需要的权限。比如: ``` routes: [ { path: '/', component: '@/pages/index', authority: ['admin', 'user'] }, ... ] ``` 2. 在应用程序,可以通过一些方式获取当前用户的权限列表。比如从后端接口获取、从浏览器缓存获取等等。 3. 在应用程序,可以编写一个 `Authorized` 组件来控制路由是否可以渲染。该组件可以接收一个权限列表作为参数,然后根据当前用户的权限列表和路由配置的权限要求,来判断当前路由是否可以渲染。比如: ``` import React from 'react'; import { Redirect, Route } from 'umi'; const Authorized = ({ children, authority }) => { // 获取当前用户的权限列表 const currentUserAuthority = ['admin', 'user']; // 判断当前路由是否可以渲染 if (authority.some(item => currentUserAuthority.includes(item))) { return children; } else { return <Redirect to="/403" />; } }; export default Authorized; ``` 4. 在路由配置文件使用 `Authorized` 组件来包装需要进行权限控制的路由即可。比如: ``` routes: [ { path: '/', component: '@/layouts/index', routes: [ { path: '/', component: '@/pages/index', authority: ['admin', 'user'], wrapper: Authorized }, ... ] }, ... ] ``` 这样,只有当当前用户的权限列表包含该路由需要的权限时,该路由才会被渲染出来。否则,用户将被重定向到 403 页面

“相关推荐”对你有帮助么?

  • 非常没帮助
  • 没帮助
  • 一般
  • 有帮助
  • 非常有帮助
提交
评论
添加红包

请填写红包祝福语或标题

红包个数最小为10个

红包金额最低5元

当前余额3.43前往充值 >
需支付:10.00
成就一亿技术人!
领取后你会自动成为博主和红包主的粉丝 规则
hope_wisdom
发出的红包

打赏作者

柠檬不萌只是酸i

你的鼓励将是我创作的最大动力

¥1 ¥2 ¥4 ¥6 ¥10 ¥20
扫码支付:¥1
获取中
扫码支付

您的余额不足,请更换扫码支付或充值

打赏作者

实付
使用余额支付
点击重新获取
扫码支付
钱包余额 0

抵扣说明:

1.余额是钱包充值的虚拟货币,按照1:1的比例进行支付金额的抵扣。
2.余额无法直接购买下载,可以购买VIP、付费专栏及课程。

余额充值