


工程简介:
在SpringCloud2组件之Config详解中,我们通过配置中心Config远程获取GitHub仓库的配置文件。如果我们改变了仓库中的配置文件,本地工程所获取的配置文件内容没有更新,还是改变前的内容。这时,我们就要重新启动工程,来获取最新的仓库配置文件。但是,重新启动工程耗费时间较长,这时我们就可以不用重新启动工程,通过总线Bus来获取仓库最新文件。
开发环境:
- 开发工具:IntelliJ IDEA
- Java版本:1.8
- Spring Boot版本:2.1.6.RELEASE
- Spring Cloud版本:Greenwich.SR1
- Kafka版本:2.11-2.0.1
1、改造client-config微服务
(1)pom.xml添加下列依赖:
<dependency>
  <groupId>org.springframework.boot</groupId>
   <artifactId>spring-boot-starter-actuator</artifactId>
</dependency>
<dependency>
   <groupId>org.springframework.cloud</groupId>
   <artifactId>spring-cloud-starter-bus-kafka</artifactId>
</dependency>
(2)bootstrap.yml:
#系统优先加载bootstrap.yml文件,一般用于配置系统级别的参数
spring:
  kafka:
    #配置kafka地址端口
    bootstrap-servers: 192.168.230.128:9092
  #服务名称
  application:
    name: config-client
  cloud:
    config:
      #配置开发环境
      profile: dev
      #config服务端serviceId
      discovery:
        #开启config服务发现
        enabled: true
        #config服务端serviceId,即client-config的服务名称
        service-id: config-server
      #设置分支
      label: feature
    bus:
      trace:
        #开启跟踪总线
        enabled: true
management:
  endpoints:
    web:
      exposure:
        #actuator监控对外暴露bus-refresh端点,默认情况下,只会暴露health和info端点
        include: health, info, bus-refresh
eureka:
  client:
    service-url:
      #客户端服务域
      defaultZone: http://localhost:9000/eureka/
(3)ConfigController:
package com.ming.config.controller;

import org.springframework.beans.factory.annotation.Value;
import org.springframework.cloud.context.config.annotation.RefreshScope;
import org.springframework.web.bind.annotation.RequestMapping;
import org.springframework.web.bind.annotation.RestController;

@RestController
@RefreshScope  //更新区域,实现配置热加载
public class ConfigController {

    @Value("${username}")
    private String username;

    @Value("${password}")
    private String password;

    @RequestMapping("/getMsg")
    public String getMsg() {
        return "username: " + username + "  password: " + password;
    }
}
2、工程测试
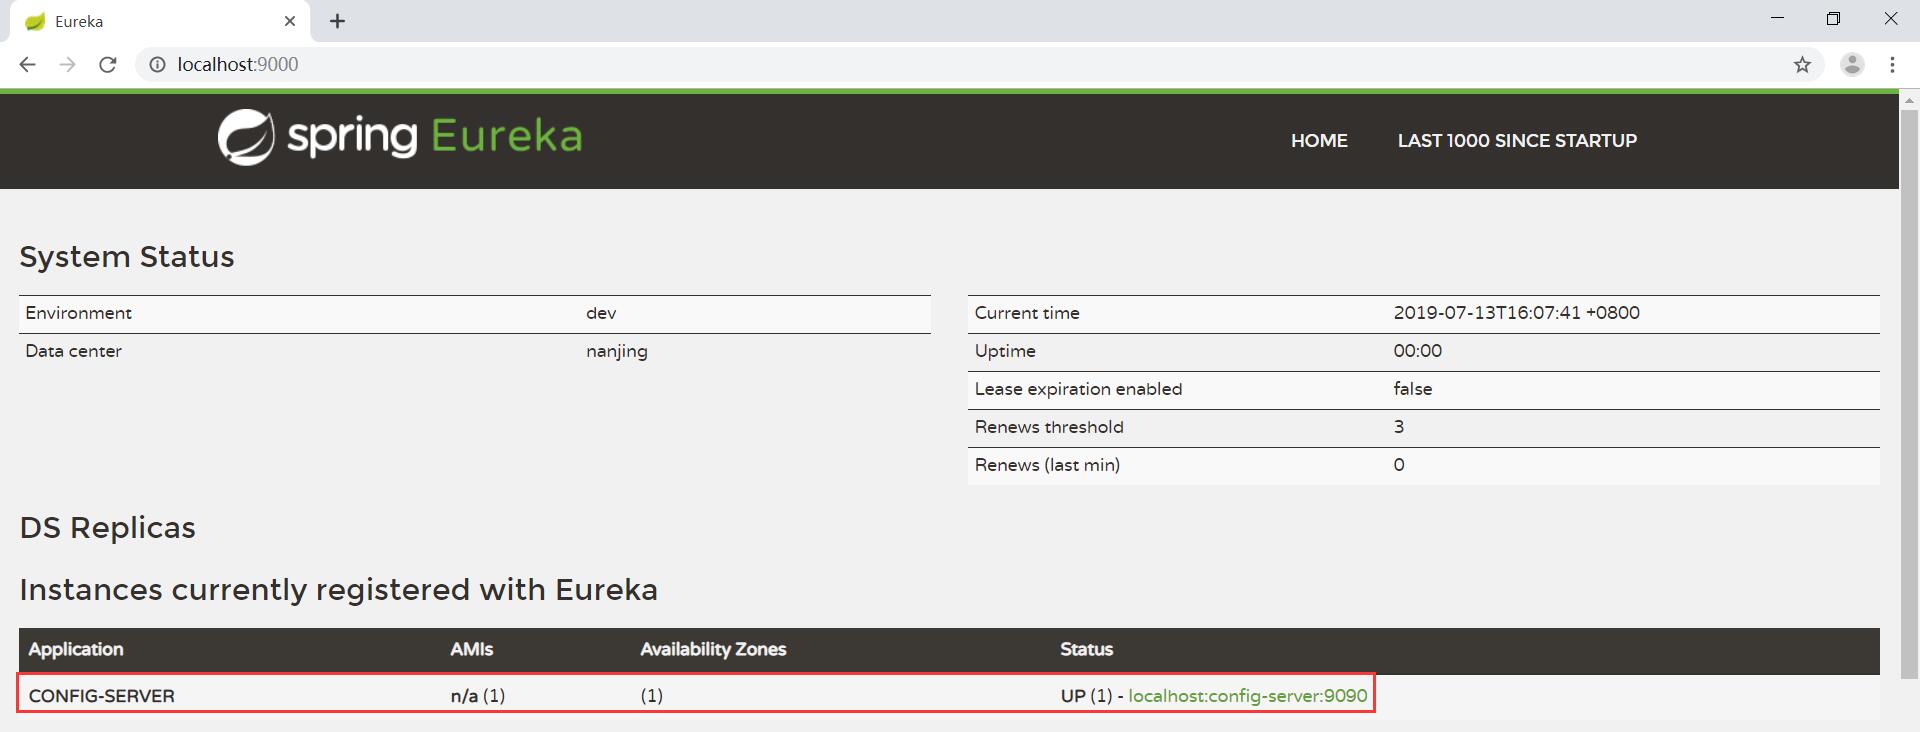
先依次点击ServerEurekaApplication、ServerConfigApplication,工程启动成功后。在浏览器地址栏访问 http://localhost:9000,其结果如下(两个微服务实例启动正常):
再点击ServerConfigApplication,工程启动完成后。在浏览器地址栏访问 http://localhost:9091/getMsg, 其结果如下:
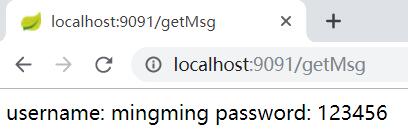

刷新完成后,再次在浏览器地址栏访问 http://localhost:9091/getMsg, 其结果变化如下:


 341
341


 被折叠的 条评论
为什么被折叠?
被折叠的 条评论
为什么被折叠?
 到【灌水乐园】发言


