


学习目标:
工作中呢,领导提出了一个不使用小程序自带API(wx.chooseImage)去完成录像功能的这样一个需求
解决方法:
这时候我想到使用小程序组件 camera 去完成开发需求,具体步骤如下
步骤:
1.进行布局,引入组件调整布局
<camera device-position="back" flash="off" binderror="error" id="camera"></camera>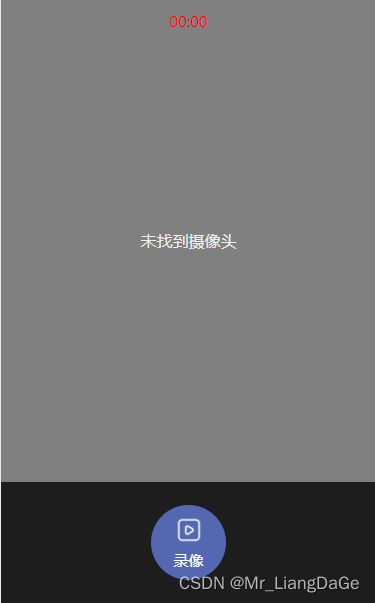
调整页面布局与样式,单位为 vh 具体长度为顶部画面为80vh;底部按钮区域为20vh
2.创建 camera 上下文 CameraContext 对象。在js文件 onLoad 方法中引入
onLoad(options) {
    var that = this
    var ctx = wx.createCameraContext();
    that.setData({
      ctx:ctx
    });
},
3.完成录像按钮样式,在录像按钮中写入点击方法
<view bindtap="startRecord" style="background: #5468b2;">
        <image src="../../../utils/img/photo/0.png" class="btn_icon"></image>
        <text style="color: #fff;">录像</text>
</view>
录像点击事件方法如下
startRecord() {
    var that = this;
    that.data.ctx.startRecord({
      timeout:20,
      success: (res) => {
        that.start()   // 此方法为定时器方法,可删掉
        that.setData({
          type:'2'
        })
      },
      fail:(res) => {
        app.wxAlert('录制失败,请重新录制');
      },
      complete:(res) => {

      }
    })
 },
4.视频录制结束辣,录像终止方法附上
 stopRecord() {
    var that = this;
    that.setData({
      mask:true
    })
    that.stop();
    app.wxAlert('压缩中...')
    that.data.ctx.stopRecord({
      compressed: true, //压缩视频
      success: (res) => {
        that.setData({
          type:'4',
          src: res.tempThumbPath,
          videoSrc: res.tempVideoPath   // 请注意,这里是所拍视频文件的临时路径,需上传到服务器
        })
      },
      fail:(res) => {
        console.log('停止失败')
      },
      complete: function (res) {
        wx.hideToast();
        that.setData({
          mask: false,
        })
      }
    })
  },
5.拍摄的视频不满意,需重新录制,怎么办,代码如下。这里需要重新去定义 CameraContext 对象,对象重定义需写入延时器中,否则重定义无效,已亲测,项目已上线。
 // 重新录制
  againRecord(){
    var that = this;
    that.setData({
      type:'2',
      videoSrc:'',
      ctx:''
    });
    var ctx = wx.createCameraContext()
    setTimeout(function(){
      that.setData({
        ctx:ctx
      });
      that.startRecord();
    },500)
  },
6.视频录制完成后,利用 wx.uploadFile 将我们需要将所拍视频上传到服务器里面
submit(){
    var that = this;
    var video = that.data.videoSrc
    wx.uploadFile({
      url: app.globalData.api,  // 上传路径,请自定义
      filePath: video,
      name: 'myFile',
      formData: {},
      success(re) {
        wx.hideLoading();
        var data = JSON.parse(re.data)
        app.wxAlert('上传成功');
        console.log(data.message)
      }
    })
  },
7.到这里呢,相信小伙伴们对我们的录像功能就已大致明白该如何去进行开发了


 1781
1781

 被折叠的 条评论
为什么被折叠?
被折叠的 条评论
为什么被折叠?
 到【灌水乐园】发言


