


作者:

声明:转发本文,请联系作者授权
移动增强现实已经最近成为趋势,它已经被在许多应用中被实现,提供了更多的交互,分享给人们有趣的体验。因此,主要增强现实框架,例如ARKit,让开发者能够简单地提高复杂的计算机视觉特性进入到他们的应用程序中,使AR在移动设备上成为现实?。
然而,ARKit和类似的框架不能用增强现实组件简化录制视频的过程,尽管用户喜欢分享他们有趣的体验当使用增强现实特性时(指的是面部滤镜和像AR热狗这样的趋势),这导致开发人员采用屏幕记录或屏幕截图等替代解决方案。
在这篇指南中,我们将展示如何录制视频和GIF,包括增强现实组件没有使用屏幕记录或截图。为此,我们将使用专门构建的框架来简化渲染和录制ARKit视频的过程,这个框架叫做ARVideoKit。这个框架使用了苹果的ARKit,AVFoundation,Metal和CoreMedia拿走使用设备的相机流渲染ARSCNView或ARSKView内容的复杂部分。
让我们开始吧!
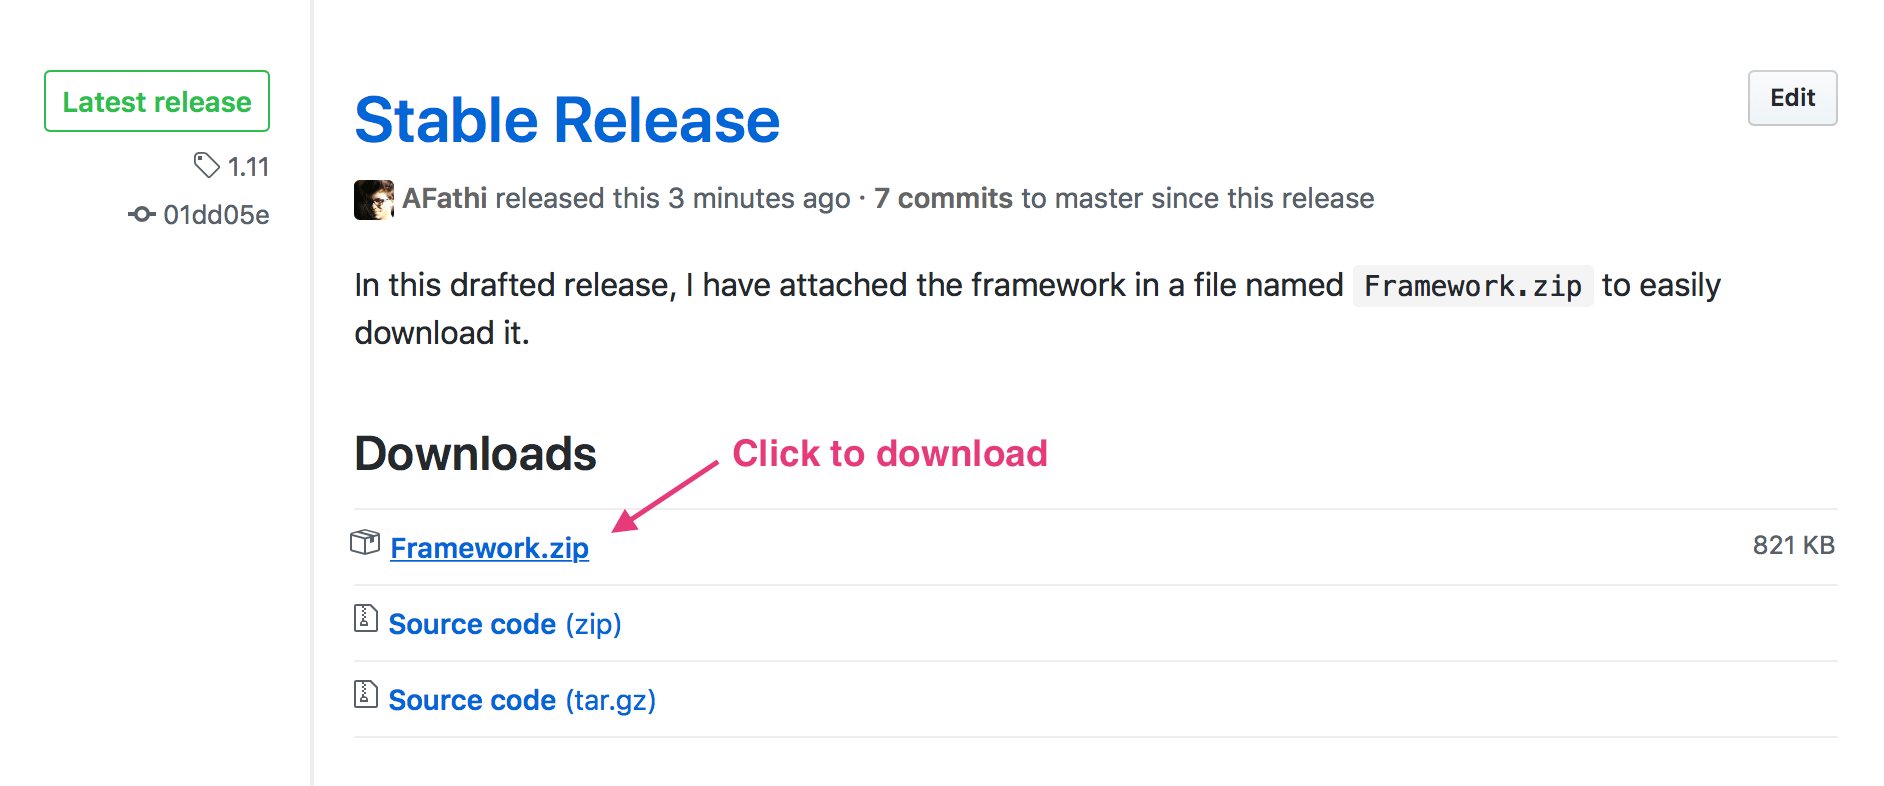
首先,我们将下载ARVideoKit最新稳定版本,通过仓库稳定页面并下载Framework.zip文件。
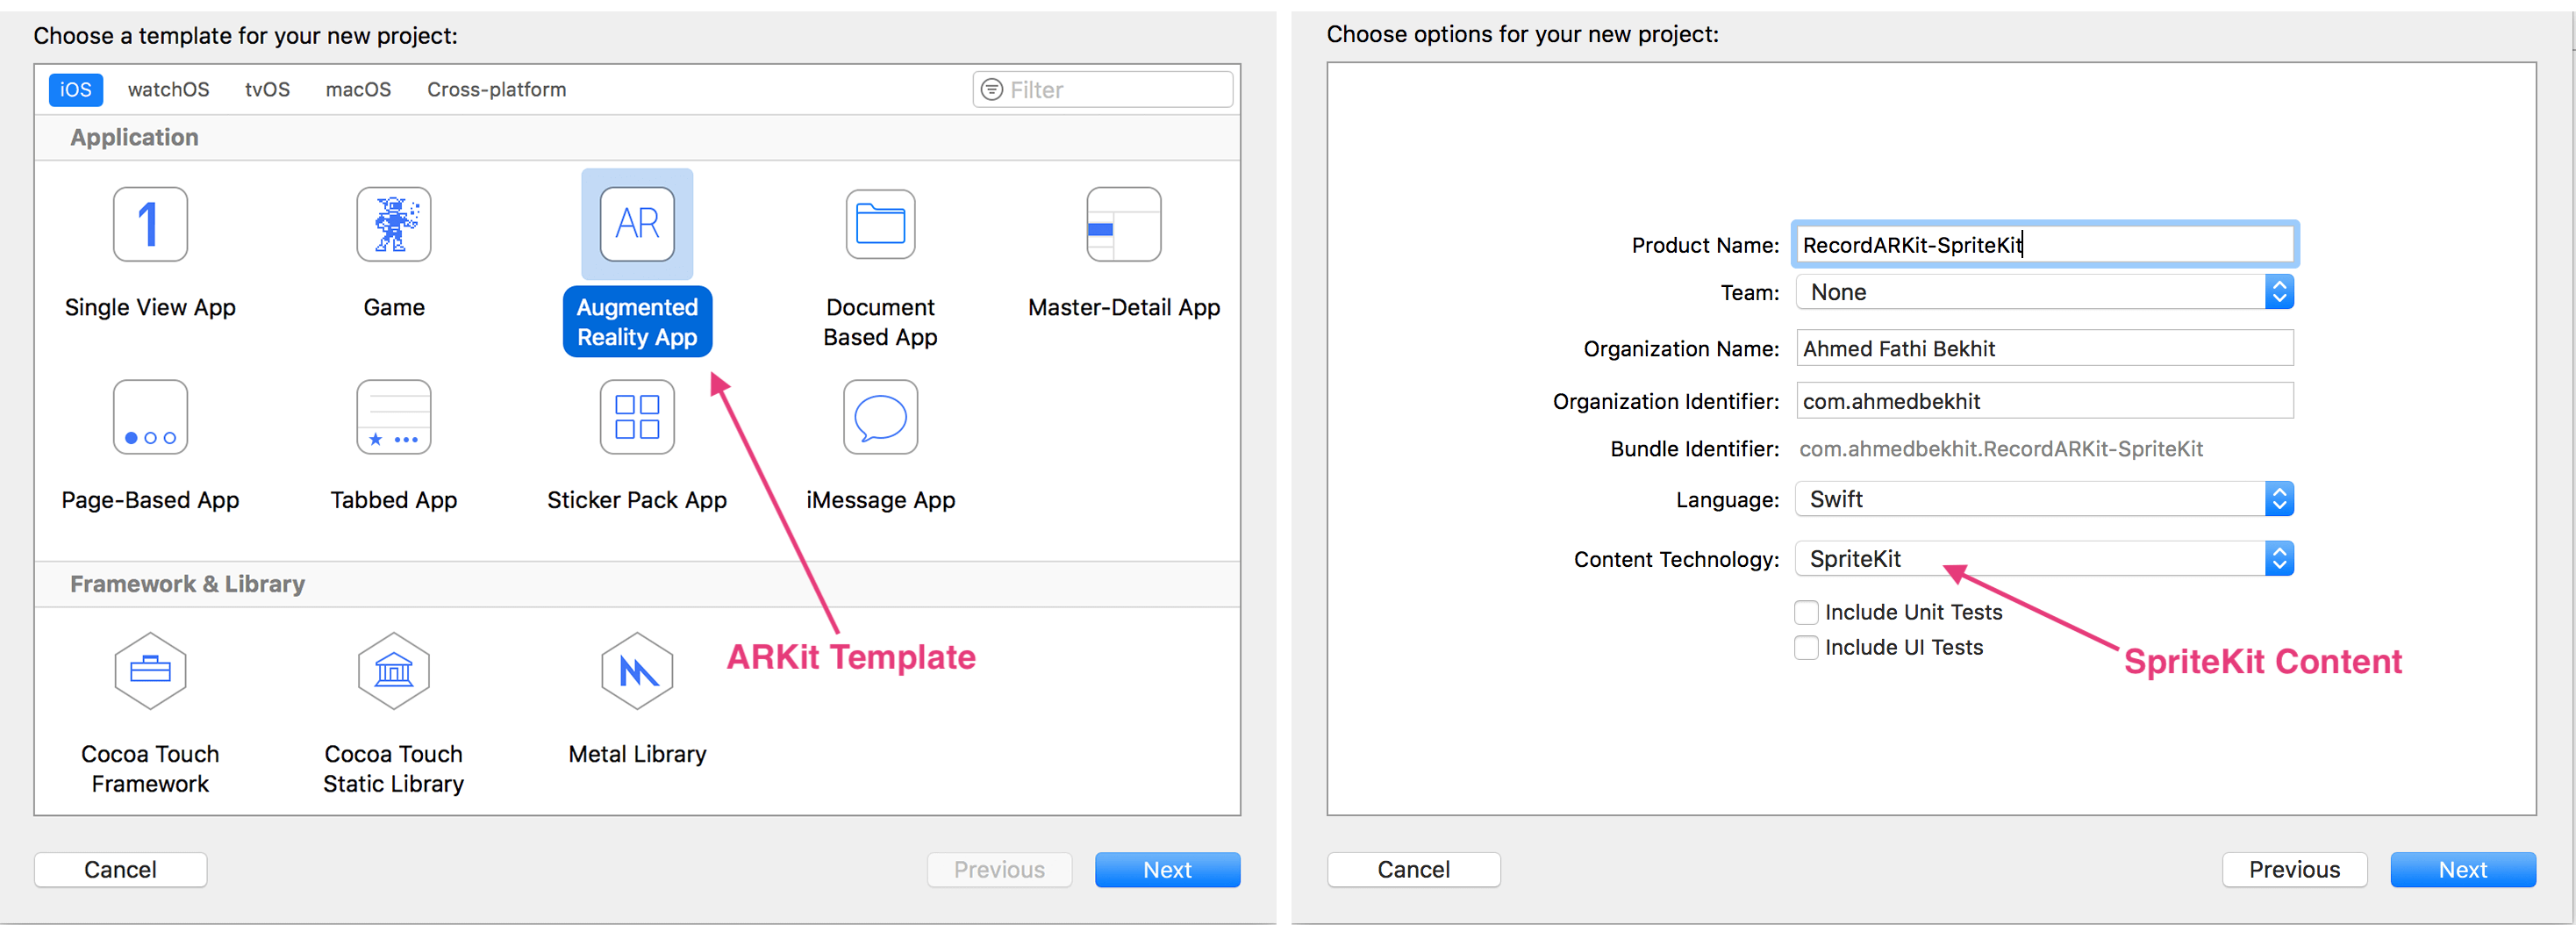
然后我们将在Xcode上创建一个新的ARKit项目。对于这篇指南,我们将创建ARKit+SpriteKit项目
当项目被创建后,Xcode将自动产生一个样例SpriteKit代码供使用。尽管它是一个好的demo,但是我们将一点点修改它来添加我们的用户界面,视频录制,GIF录制,现实更多不同的emoji?!
添加框架
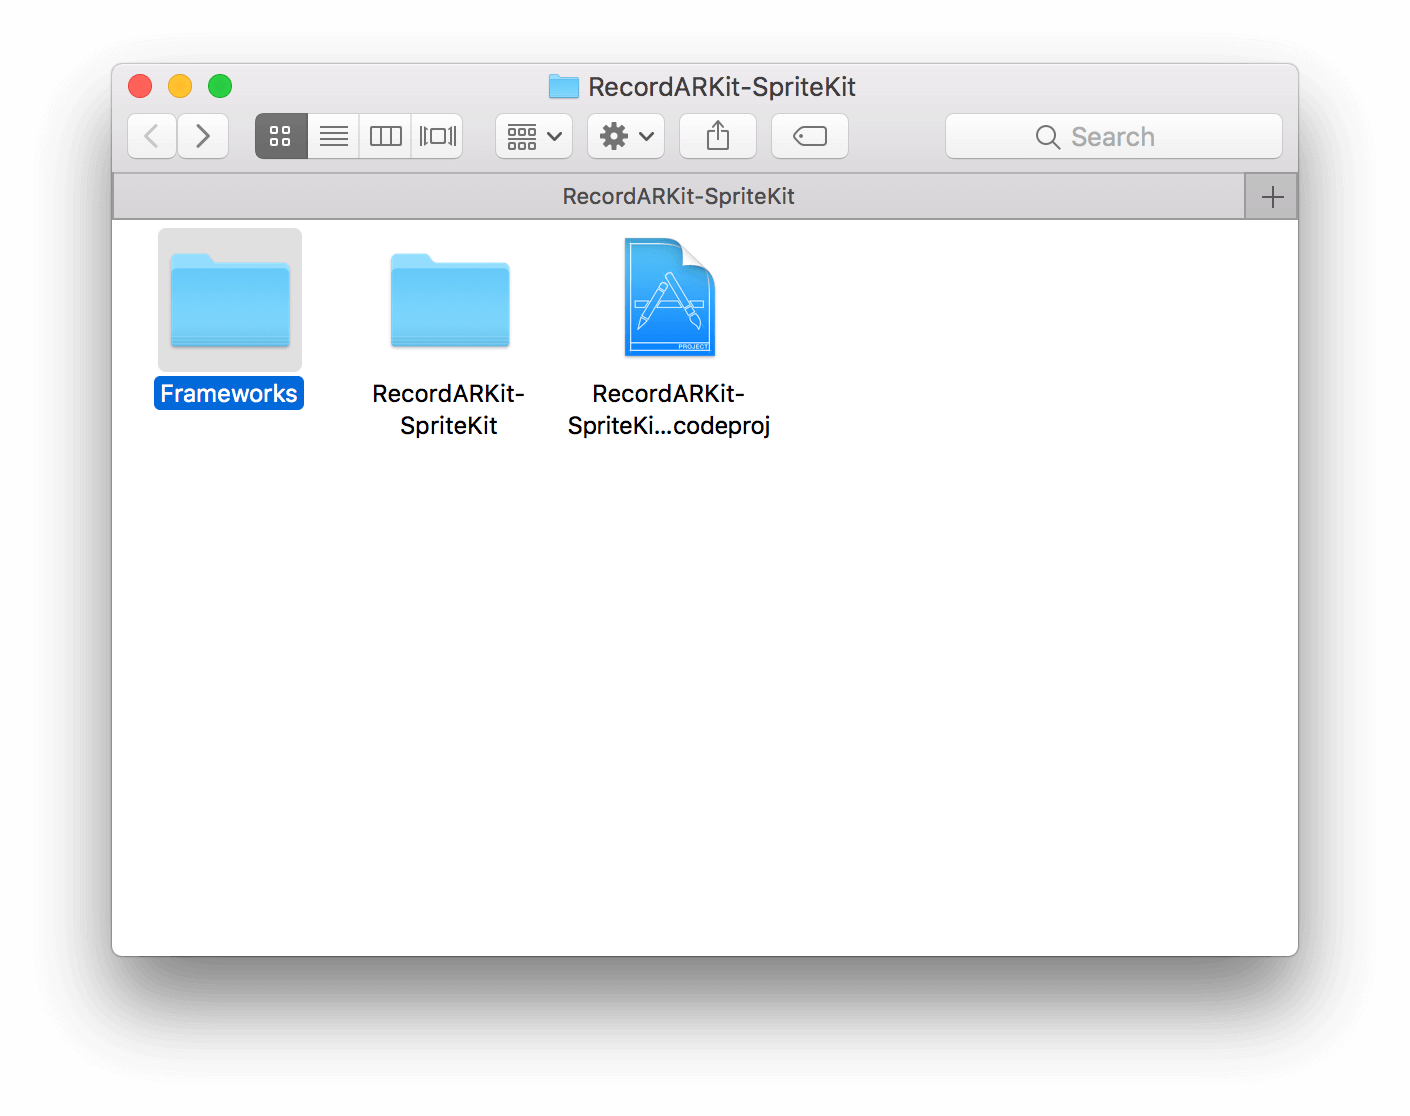
我们将通过添加ARVideoKit来开始我们的项目!正确地添加框架,通过以下步骤:
- 创建一个名为
Frameworks的文件夹在你的项目文件夹中。
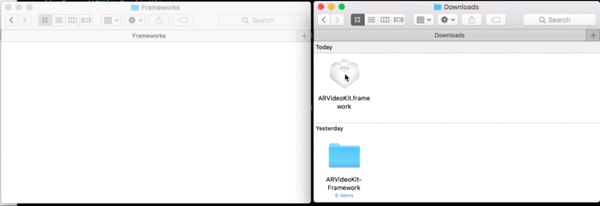
- 拷贝已经下载好的
ARVideoKit.framework到Frameworks的文件夹中。
- 拖拽
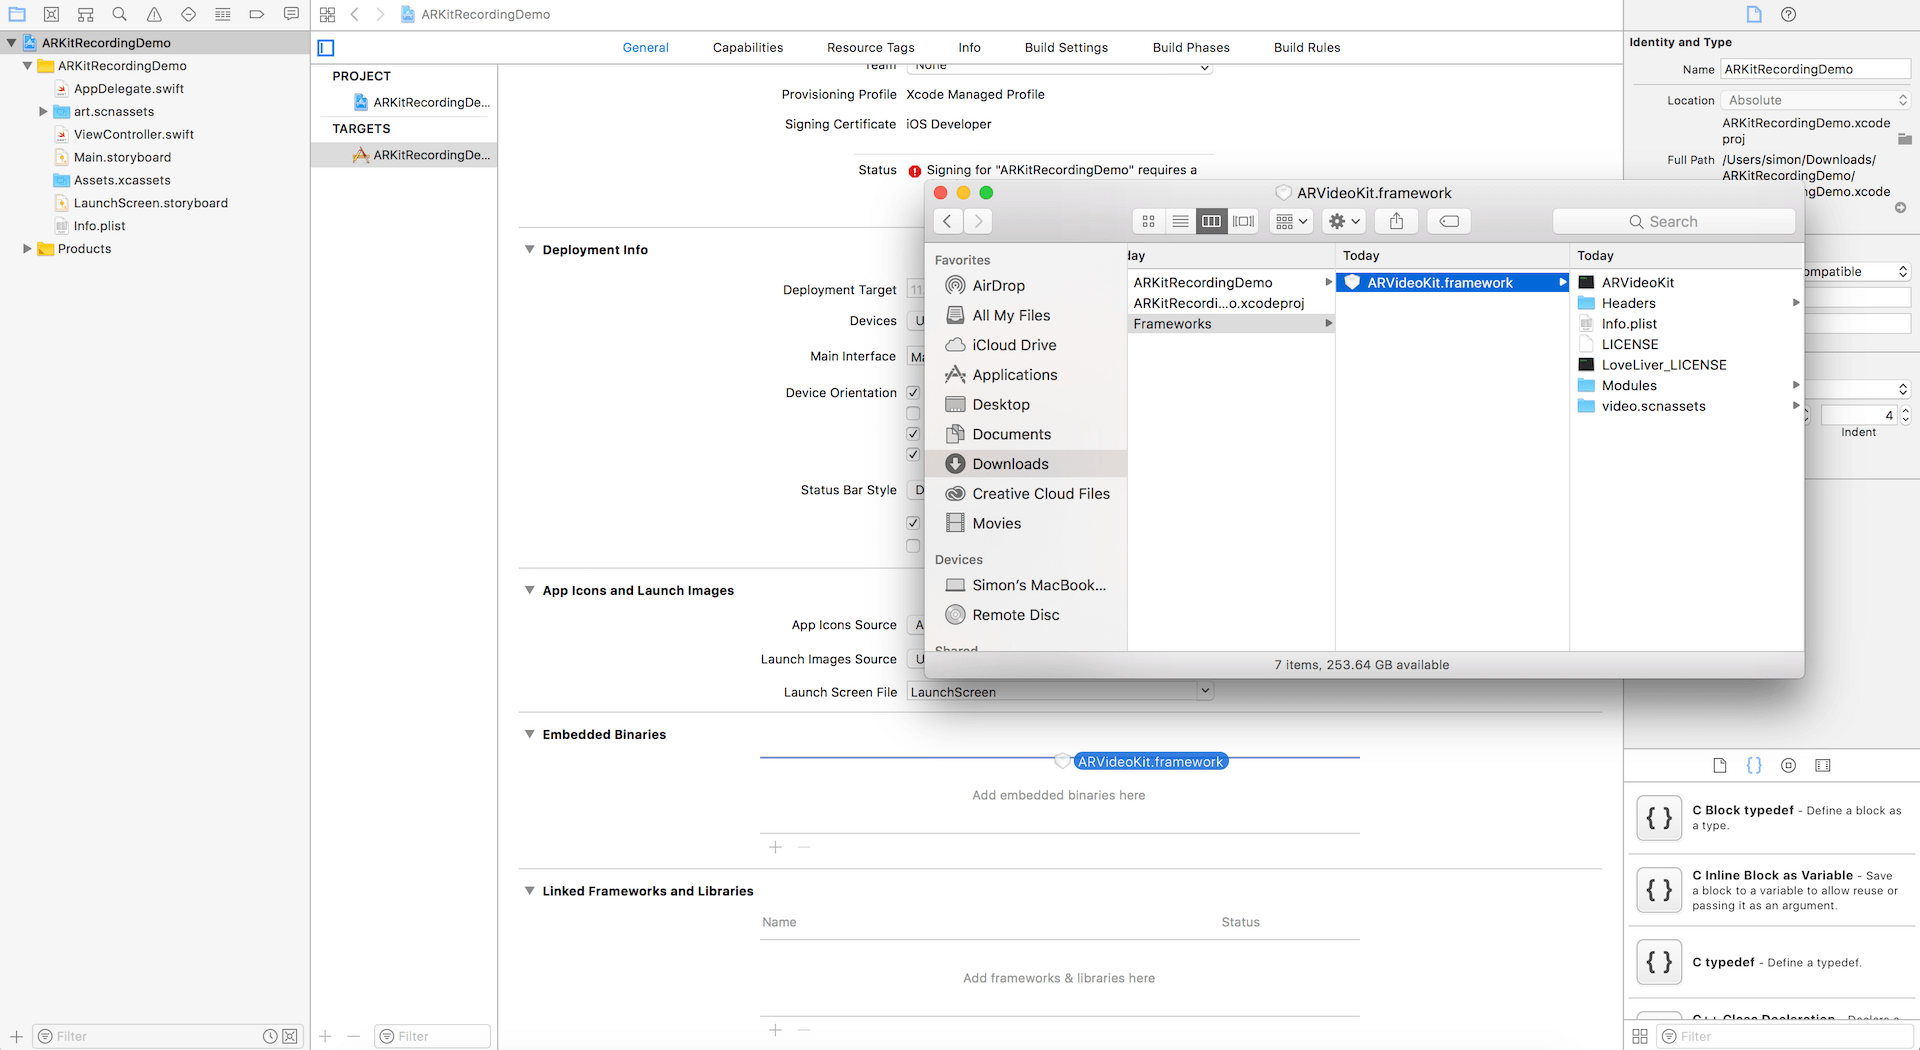
ARVideoKit.framework进入到你的项目target的embedded binaries。确保勾选了“Copy items if needed”。
现在让我们配置框架在我们的应用程序的delegate中,通过以下步骤:
导入ARVideoKit在AppDelegate.swift中,通过添加以下语句:
import ARVideoKit添加下列方法在AppDelegate.swift类去允许录制视频和Gif以不同的方向。
func application(_ application: UIApplication, supportedInterfaceOrientationsFor window: UIWindow?) -> UIInterfaceOrientationMask {
    return ViewAR.orientation
}
你的应用程序delegate文件应当看起来像这样:
import UIKit
import ARVideoKit

@UIApplicationMain
class AppDelegate: UIResponder, UIApplicationDelegate {

    var window: UIWindow?


    func application(_ application: UIApplication, didFinishLaunchingWithOptions launchOptions: [UIApplicationLaunchOptionsKey: Any]?) -> Bool {
        // Override point for customization after application launch.
        return true
    }

    func applicationWillResignActive(_ application: UIApplication) {
        // Sent when the application is about to move from active to inactive state. This can occur for certain types of temporary interruptions (such as an incoming phone call or SMS message) or when the user quits the application and it begins the transition to the background state.
        // Use this method to pause ongoing tasks, disable timers, and invalidate graphics rendering callbacks. Games should use this method to pause the game.
    }

    func applicationDidEnterBackground(_ application: UIApplication) {
        // Use this method to release shared resources, save user data, invalidate timers, and store enough application state information to restore your application to its current state in case it is terminated later.
        // If your application supports background execution, this method is called instead of applicationWillTerminate: when the user quits.
    }

    func applicationWillEnterForeground(_ application: UIApplication) {
        // Called as part of the transition from the background to the active state; here you can undo many of the changes made on entering the background.
    }

    func applicationDidBecomeActive(_ application: UIApplication) {
        // Restart any tasks that were paused (or not yet started) while the application was inactive. If the application was previously in the background, optionally refresh the user interface.
    }

    func applicationWillTerminate(_ application: UIApplication) {
        // Called when the application is about to terminate. Save data if appropriate. See also applicationDidEnterBackground:.
    }


    func application(_ application: UIApplication, supportedInterfaceOrientationsFor window: UIWindow?) -> UIInterfaceOrientationMask {
        return ViewAR.orientation
    }

}
添加用户界面
我们将以编程方式构建用户界面,而不是使用Interface Builder。为了让事情简单,我们将创建3个简单的按钮:录制/停止,暂停/继续,录制GIF。
为此,请在ViewController类中声明以下属性:
// Recorder UIButton. This button will start and stop a video recording.
var recorderButton:UIButton = {
    let btn = UIButton(type: .system)
    btn.setTitle("Record", for: .normal)
    btn.setTitleColor(.black, for: .normal)
    btn.backgroundColor = .white
    btn.frame = CGRect(x: 0, y: 0, width: 110, height: 60)
    btn.center = CGPoint(x: UIScreen.main.bounds.width/2, y: UIScreen.main.bounds.height*0.90)
    btn.layer.cornerRadius = btn.bounds.height/2
    btn.tag = 0
    return btn
}()

// Pause UIButton. This button will pause a video recording.
var pauseButton:UIButton = {
    let btn = UIButton(type: .system)
    btn.setTitle("Pause", for: .normal)
    btn.setTitleColor(.black, for: .normal)
    btn.backgroundColor = .white
    btn.frame = CGRect(x: 0, y: 0, width: 60, height: 60)
    btn.center = CGPoint(x: UIScreen.main.bounds.width*0.15, y: UIScreen.main.bounds.height*0.90)
    btn.layer.cornerRadius = btn.bounds.height/2
    btn.alpha = 0.3
    btn.isEnabled = false
    return btn
}()

// GIF UIButton. This button will capture a GIF image.
var gifButton:UIButton = {
    let btn = UIButton(type: .system)
    btn.setTitle("GIF", for: .normal)
    btn.setTitleColor(.black, for: .normal)
    btn.backgroundColor = .white
    btn.frame = CGRect(x: 0, y: 0, width: 60, height: 60)
    btn.center = CGPoint(x: UIScreen.main.bounds.width*0.85, y: UIScreen.main.bounds.height*0.90)
    btn.layer.cornerRadius = btn.bounds.height/2
    return btn
}()
接下来,添加按钮作为ViewController的子视图。在viewDidLoad()方法中插入以下代码:
self.view.addSubview(recorderButton)
self.view.addSubview(pauseButton)
self.view.addSubview(gifButton)
为了控制按钮动作,我们然后创建三个动作方法:
// Record and stop method
@objc func recorderAction(sender:UIButton) {

}
// Pause and resume method
@objc func pauseAction(sender:UIButton) {

}
// Capture GIF method
@objc func gifAction(sender:UIButton) {

}现在,回到viewDidLoad()中,添加按钮的目标和链接他们到上面创建的方法中:
recorderButton.addTarget(self, action: #selector(recorderAction(sender:)), for: .touchUpInside)
pauseButton.addTarget(self, action: #selector(pauseAction(sender:)), for: .touchUpInside)
gifButton.addTarget(self, action: #selector(gifAction(sender:)), for: .touchUpInside)
在我们移动到下一部分之前,让我们运行应用程序,看看到目前为止你已经构建了什么。如果你正确地跟着我,你将有一个屏幕上带有三个按钮的简单ARKit应用。记住你不得不在真机上测试应用而不是模拟器。
实现ARVideoKit框架
现在是时候开启录制特性!我们将实现ARVideoKit框架到ViewController.swift中。第一步是导入框架:
import ARVideoKit接下来,创建一个RecordAR类型的变量。RecordAR是一个ARView子类,渲染一个由设备相机流产生的视频,图片,动图或GIF等的ARSCNView或ARSKView内容。
var recordder: RecordAR?在viewDidLoad()方法中,用ARSKView初始化RecordAR和指定支持的方向:
// Initialize with SpriteKit scene
recorder = RecordAR(ARSpriteKit: sceneView)

// Specifiy supported orientations
recorder?.inputViewOrientations = [.portrait, .landscapeLeft, .landscapeRight]准备录制器,插入下列语句在viewWillAppear(_ animated: Bool)方法:
recorder?.prepare(configuration)最后,当视图消失时“休息”记录器,在viewWillDisappear(_ animated:Bool)方法中插入以下代码行:
recorder?.rest()开发录制/停止和暂停/继续功能
既然RecordAR变量已经准备好了,让我们开始录制与停止特性的实现。
对于录制动作的方法,更新方法像这样:
@objc func recorderAction(sender:UIButton) {

    if recorder?.status == .readyToRecord {
        // Start recording
        recorder?.record()

        // Change button title
        sender.setTitle("Stop", for: .normal)
        sender.setTitleColor(.red, for: .normal)

        // Enable Pause button
        pauseButton.alpha = 1
        pauseButton.isEnabled = true

        // Disable GIF button
        gifButton.alpha = 0.3
        gifButton.isEnabled = false
    }
    else if recorder?.status == .recording || recorder?.status == .paused
    {
        // Stop recording and export video to camera roll
        recorder?.stopAndExport()

        // Change button title
        sender.setTitle("Record", for: .normal)
        sender.setTitleColor(.black, for: .normal)

        // Enable GIF button
        gifButton.alpha = 1
        gifButton.isEnabled = true

        // Disable Pause button
        pauseButton.alpha = 0.3
        pauseButton.isEnabled = false
    }

}
在上述代码块中,我们正在检查视频录制器是否是准备录制的状态。应用程序将开始录制一个ARKit场景的视频。否则,如果录制器当前正在录制或者暂停,应用程序将停止视频录制并导出相机胶卷完全渲染的视频。
下面,我们将实现暂停/继续特性进入pauseAction(sender:UIButton)方法中,通过更新pauseAction方法像这样:
@objc func pauseAction(sender:UIButton) {
    if recorder?.status == .recording {
        // Pause recording
        recorder?.pause()

        // Change button title
        sender.setTitle("Resume", for: .normal)
        sender.setTitleColor(.blue, for: .normal)
    } else if recorder?.status == .paused {
        // Resume recording
        recorder?.record()

        // Change button title
        sender.setTitle("Pause", for: .normal)
        sender.setTitleColor(.black, for: .normal)
    }
}
上面的代码块很简单。我们首先检查是否录制器被当前正在录制状态。然后应用将暂停视频当用户选择暂停按钮。否则,它继续录制。
现在我们有一些东西测试!在你的iOS设备运行该程序之前,我们需要确保添加相机,麦克风和图片库的使用描述在应用程序的Info.plist中。
这样做,添加下列内容到plist源码中:
<key>NSCameraUsageDescription</key>
<string>AR Camera</string>
<key>NSPhotoLibraryAddUsageDescription</key>
<string>Export AR Media</string>
<key>NSPhotoLibraryUsageDescription</key>
<string>Export AR Media</string>
<key>NSMicrophoneUsageDescription</key>
<string>Audiovisual Recording</string>
另外,你可以添加属性使用属性编辑器:

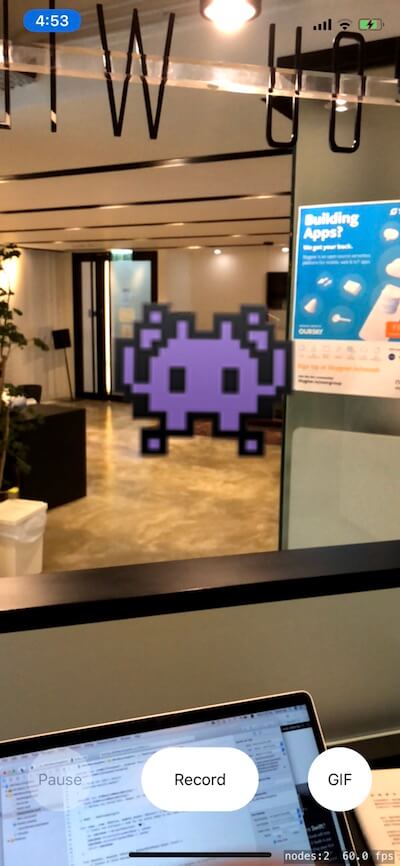
现在让我们运行它!!!?? 点击录制按钮并开始录制你的AR视频。
录制GIFs
最终,让我们实现GIFs功能以便你可以录制动态GIFs。更新gifAction方法像这样:
    @objc func gifAction(sender:UIButton) {
        self.gifButton.isEnabled = false
        self.gifButton.alpha = 0.3
        self.recorderButton.isEnabled = false
        self.recorderButton.alpha = 0.3

        recorder?.gif(forDuration: 1.5, export: true) { _, _, _ , exported in
            if exported {
                DispatchQueue.main.sync {
                    self.gifButton.isEnabled = true
                    self.gifButton.alpha = 1.0
                    self.recorderButton.isEnabled = true
                    self.recorderButton.alpha = 1.0
                }
            }
        }
    }
修改SpriteKit内容
在最后的部分中,我们将修改SpriteKit内容来在AR空间中展示一些不同的emojis????。
我们将首先创建一个变量,它从emojis数组中返回一个随机emoji。通过使用基于C的arc4random_uniform()函数,我们将能够获取一个随机数从0到数组个数。
为了做这个,创建以下变量作为一个全局变量(把它按在gifButton的后面)在ViewController类中:
var randoMoji: String {
    let emojis = ["?", "?", "?", "?", "?", "?", "?", "?", "?", "?"]
    return emojis[Int(arc4random_uniform(UInt32(emojis.count)))]
}
接下来,编辑view(_ view: ARSKView, nodeFor anchor: ARAnchor) -> SKNode?方法像这样:
func view(_ view: ARSKView, nodeFor anchor: ARAnchor) -> SKNode? {
    // Create and configure a node for the anchor added to the view's session.
    let labelNode = SKLabelNode(text: randoMoji)
    labelNode.horizontalAlignmentMode = .center
    labelNode.verticalAlignmentMode = .center
    return labelNode;
}我们仅仅用新创建的randoMoji替换了SKLabelNode的静态文本。
好了!玩得开心
![]()
你现在可以运行应用程序在你的设备上并使用它来记录ARKit视频和GIFs!下载完整的项目,你可以从GitHub下载


 1224
1224


 被折叠的 条评论
为什么被折叠?
被折叠的 条评论
为什么被折叠?
 到【灌水乐园】发言


