


iOS9推出的时候,苹果希望大家使用https协议,来提高数据传输之间的安全性。下面我就从最简单的代码介绍,如何在工程中设置,来支持https的请求。
一、证书准备篇
- 1.证书转换
在服务器人员,给你发送的crt证书后,进到证书路径,执行下面语句
// openssl x509 -in 你的证书.crt -out 你的证书.cer -outform der
这样你就可以得到cer类型的证书了。双击,导入电脑。- 2.证书放入工程
1、可以直接把转换好的cer文件拖动到工程中。
2、可以在钥匙串内,找到你导入的证书,单击右键,导出项目,就可以导出.cer文件的证书了
二、代码修改篇
先在info.plist中,增加如下图的配置

QQ20160909-7@2x.png-25.6kB
文本内容如下:
 <key>NSAppTransportSecurity</key>
    <dict>
        <key>NSAllowsArbitraryLoads</key>
        <true/>
    </dict>
1.使用系统类发送网络请求篇
1.1 NSURLConnection设置支持https。
在2015年iOS9的更新中,NSURLConnection 被废弃 由 NSURLSession 取代,所以本身是不建议大家继续用这个类做网络请求的(同样也有AFNetWorking 2.x版本),但是考虑到一些旧程序,也不能说改就改,说替换就替换的,所以还是需要普及一下,如果用到了NSURLConnection你需要怎么做。
代码如下:
- (void)connection:(NSURLConnection *)connection willSendRequestForAuthenticationChallenge:(NSURLAuthenticationChallenge *)challenge{

    if(challenge.protectionSpace.authenticationMethod == NSURLAuthenticationMethodServerTrust) {
        // 告诉服务器,客户端信任证书
        // 创建凭据对象
        NSURLCredential *credntial = [NSURLCredential credentialForTrust:challenge.protectionSpace.serverTrust];
        // 告诉服务器信任证书
        [challenge.sender useCredential:credntial forAuthenticationChallenge:challenge];
    }
}
你只需要简单的,添加上如上的代理方法,就可以在不影响你原有请求的基础上,增加了https请求的支持了。
1.2 NSURLSession设置支持https。
现在推荐使用的就是NSURLSession来处理相关的网络请求了,如果使用系统自带的类,可以参考如下代码:
- (void)URLSession:(NSURLSession *)session task:(NSURLSessionTask *)task  didReceiveChallenge:(NSURLAuthenticationChallenge *)challenge completionHandler:(void (^)(NSURLSessionAuthChallengeDisposition disposition, NSURLCredential * __nullable credential))completionHandler {

    // 判断是否是信任服务器证书
    if(challenge.protectionSpace.authenticationMethod == NSURLAuthenticationMethodServerTrust) {
        // 告诉服务器,客户端信任证书
        // 创建凭据对象
        NSURLCredential *credntial = [NSURLCredential credentialForTrust:challenge.protectionSpace.serverTrust];
        // 通过completionHandler告诉服务器信任证书
        completionHandler(NSURLSessionAuthChallengeUseCredential,credntial);
    }
    NSLog(@"protectionSpace = %@",challenge.protectionSpace);
}
2.使用AFNetWorking发送网络请求篇
AFNetworking是一个讨人喜欢的网络库,适用于iOS以及Mac OS X. 它构建于在NSURLConnection, NSOperation, 以及其他熟悉的Foundation技术之上. 它拥有良好的架构,丰富的api,以及模块化构建方式,使得使用起来非常轻松.。
2.1 AFNetWorking 2.x版本
考虑到这个版本,我们还可以使用AFHTTPRequestOperationManager这个类来处理网络请求。所以我们要做的就是给这个类,设置一些参数,让它可以支持https的请求,代码如下:
支持https(校验证书,不可以抓包):
    // 1.初始化单例类
    AFHTTPRequestOperationManager *mgr = [AFHTTPRequestOperationManager manager];
    mgr.securityPolicy.SSLPinningMode = AFSSLPinningModeCertificate;
    // 2.设置证书模式
    NSString * cerPath = [[NSBundle mainBundle] pathForResource:@"xxx" ofType:@"cer"];
    NSData * cerData = [NSData dataWithContentsOfFile:cerPath];
    mgr.securityPolicy.pinnedCertificates = [[NSArray alloc] initWithObjects:cerData, nil];
    // 客户端是否信任非法证书
    mgr.securityPolicy.allowInvalidCertificates = YES;
    // 是否在证书域字段中验证域名
    [mgr.securityPolicy setValidatesDomainName:NO];
支持https(不校验证书,可以抓包查看):
    // 1.初始化单例类
    AFHTTPRequestOperationManager *mgr = [AFHTTPRequestOperationManager manager];
    mgr.securityPolicy.SSLPinningMode = AFSSLPinningModeCertificate;
    // 2.设置非校验证书模式
    mgr.securityPolicy = [AFSecurityPolicy policyWithPinningMode:AFSSLPinningModeNone];
    mgr.securityPolicy.allowInvalidCertificates = YES;
    [mgr.securityPolicy setValidatesDomainName:NO];
2.2 AFNetWorking 3.x版本
在Xcode7.0之后,苹果废弃了NSURLConnection方法,数据请求使用NSURLSession,作为网络请求类第三方库使用量最大的AFN也及时的更新的新的版本——AFN 3.0版本。新的版本的里废弃了基于NSURLConnection封装的AFHTTPRequestOperationManager,转而使用基于NSURLSession封装的AFHTTPSessionManager了。
支持https(校验证书,不可以抓包):
    // 1.初始化单例类
     AFHTTPSessionManager *manager = [AFHTTPSessionManager manager];
    manager.securityPolicy.SSLPinningMode = AFSSLPinningModeCertificate;
    // 2.设置证书模式
    NSString * cerPath = [[NSBundle mainBundle] pathForResource:@"xxx" ofType:@"cer"];
    NSData * cerData = [NSData dataWithContentsOfFile:cerPath];
    manager.securityPolicy = [AFSecurityPolicy policyWithPinningMode:AFSSLPinningModeCertificate withPinnedCertificates:[[NSSet alloc] initWithObjects:cerData, nil]];
    // 客户端是否信任非法证书
    mgr.securityPolicy.allowInvalidCertificates = YES;
    // 是否在证书域字段中验证域名
    [mgr.securityPolicy setValidatesDomainName:NO];
支持https(不校验证书,可以抓包查看):
    // 1.初始化单例类
     AFHTTPSessionManager *manager = [AFHTTPSessionManager manager];
    // 2.设置非校验证书模式
    manager.securityPolicy = [AFSecurityPolicy policyWithPinningMode:AFSSLPinningModeNone];
    manager.securityPolicy.allowInvalidCertificates = YES;
    [manager.securityPolicy setValidatesDomainName:NO];
三、使用Charles抓包https
3.1 软件下载篇
- 1 工欲善其事必先利其器,需要工具的同学可以在这里下载,密码: gknp!
下载到V3.9.3版本的Charles软件下载软件后,打开软件,然后command + q退出。
之后将破解文件,放到下面路径
应用程序->Charles->显示包内容->Contents->Resources里面,替换即可。
3.2 程序配置篇
1.进入Charles的配置界面
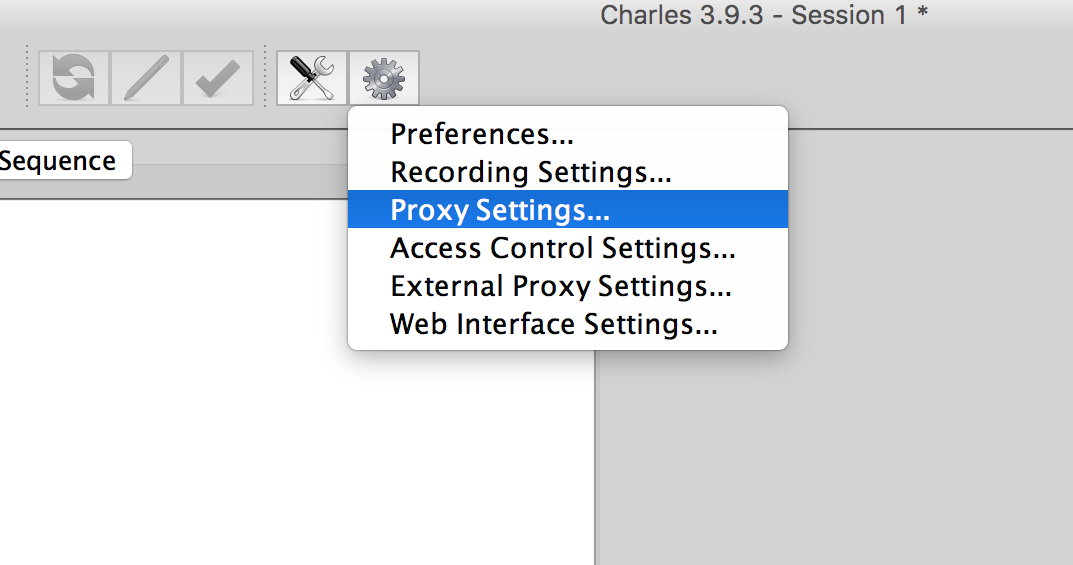
2.按图上操作
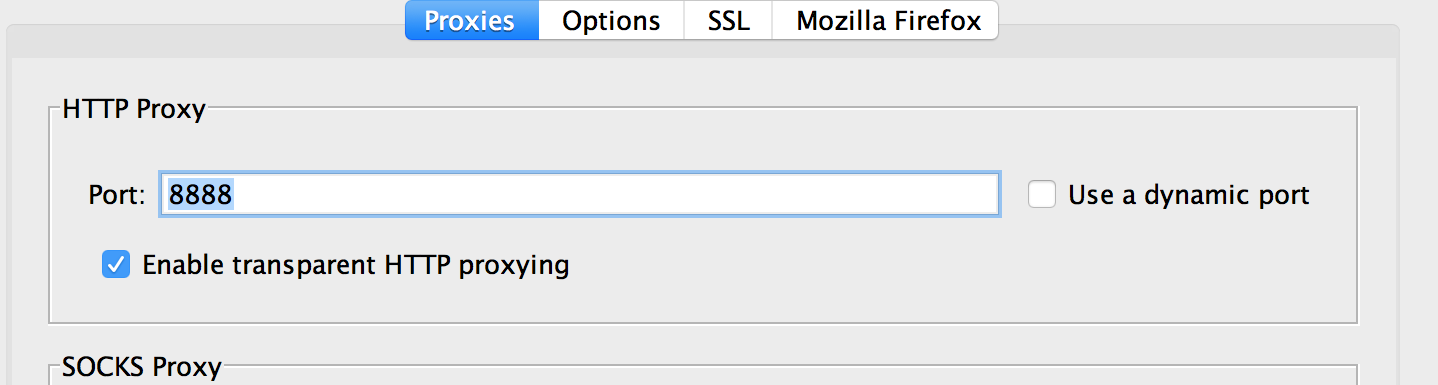
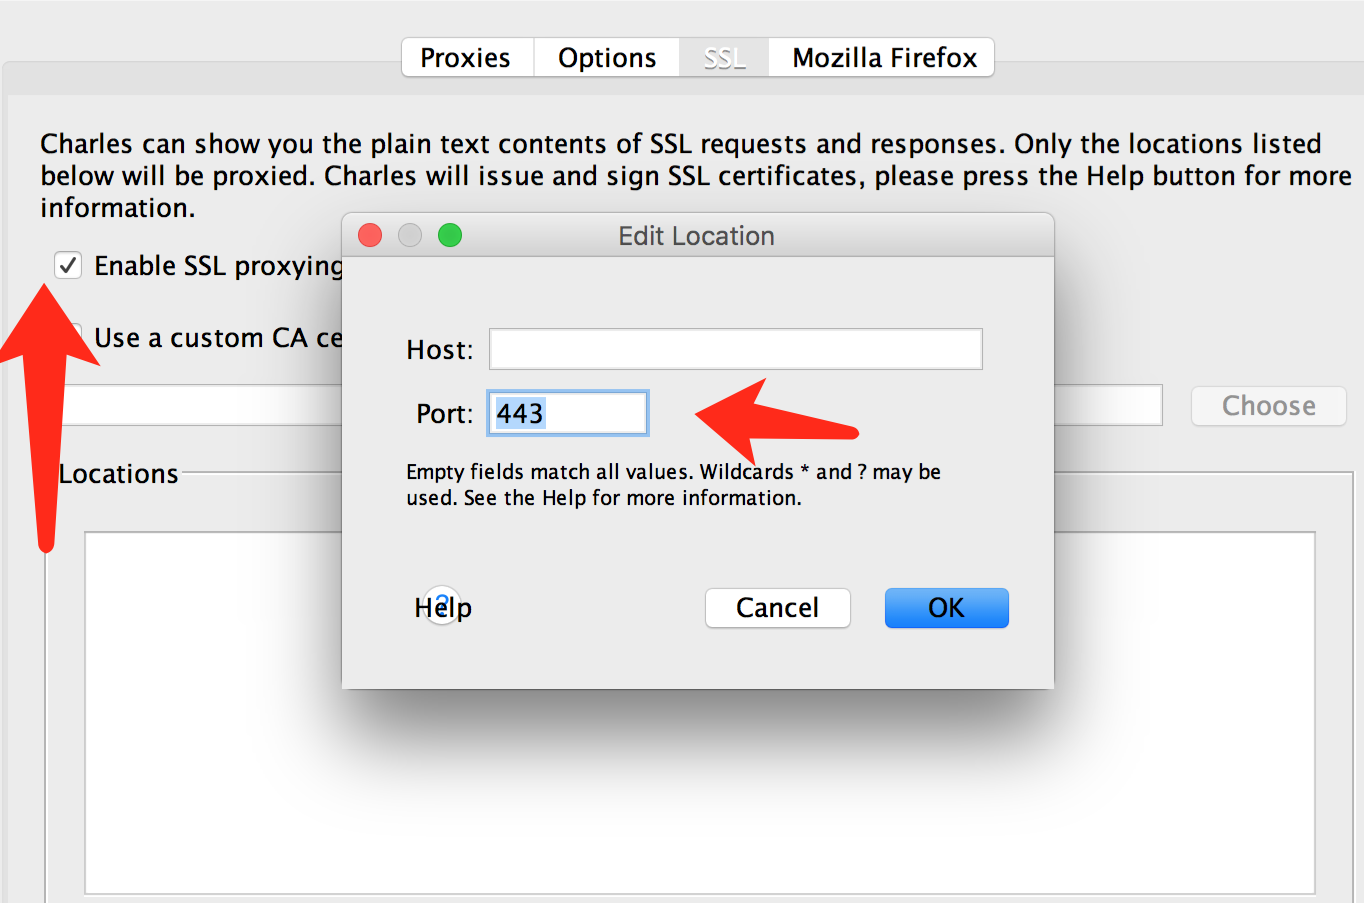
这样设置之后理论上就可以抓所有网址443端口的https请求了。但是还没完。我们还需要安装一个证书。如下图:

3.进入钥匙串,找到这个证书
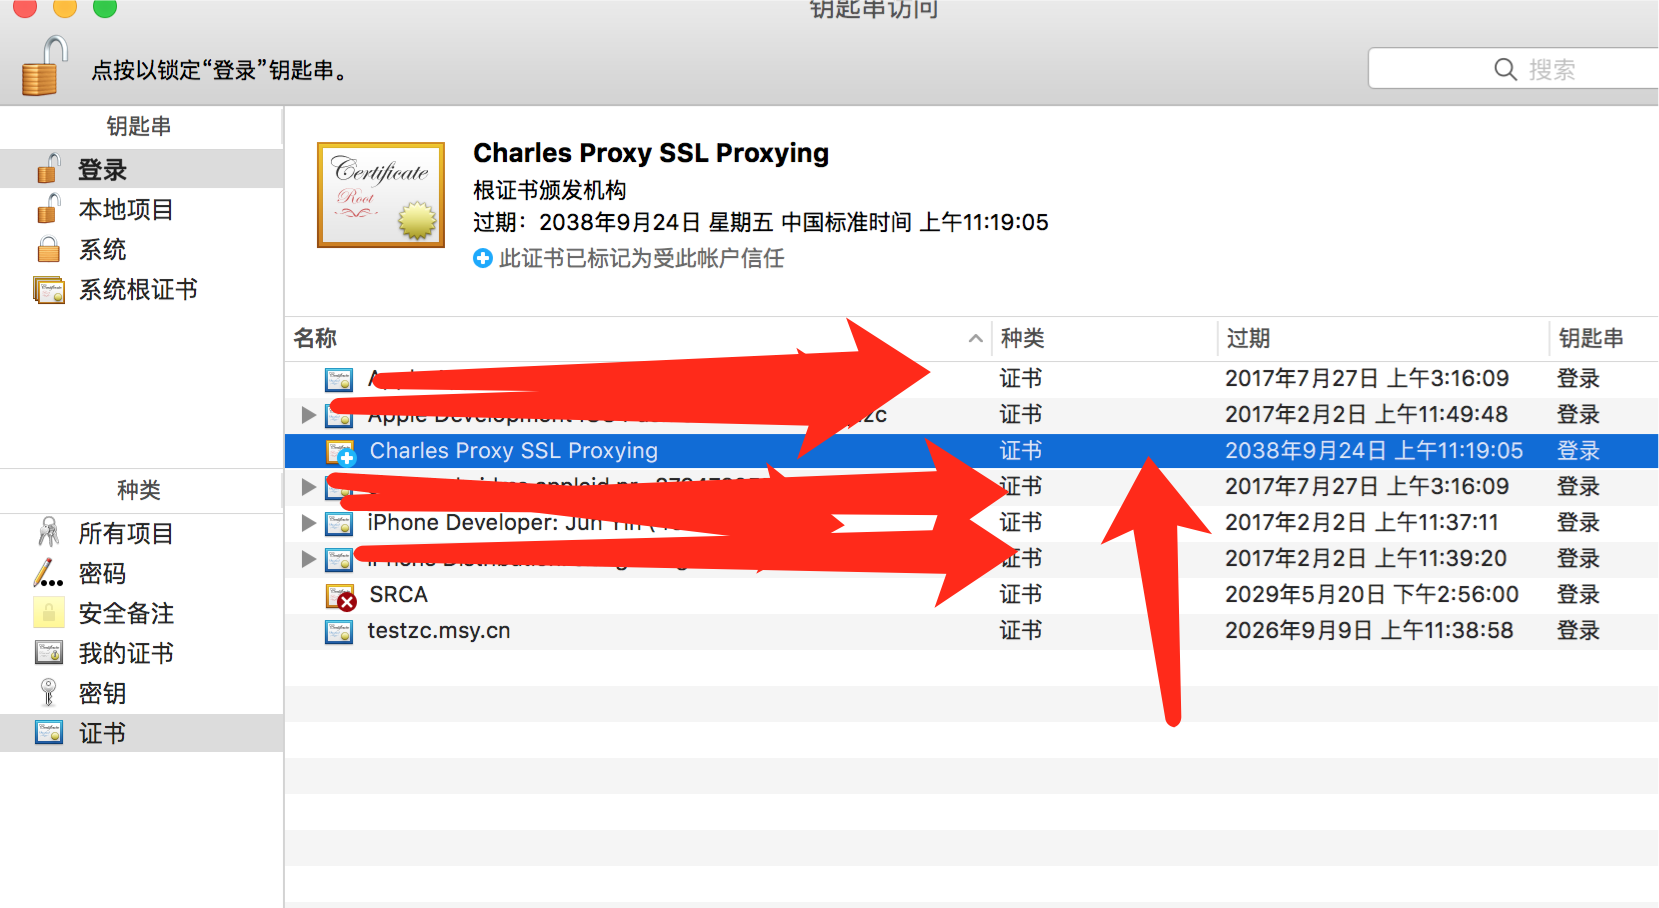
单击右键,显示简介。如下图设置为始终信任
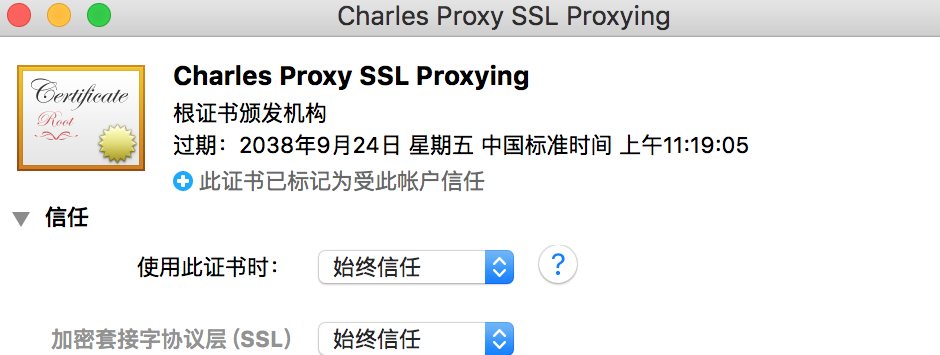
以上电脑端的准备就差不多了。
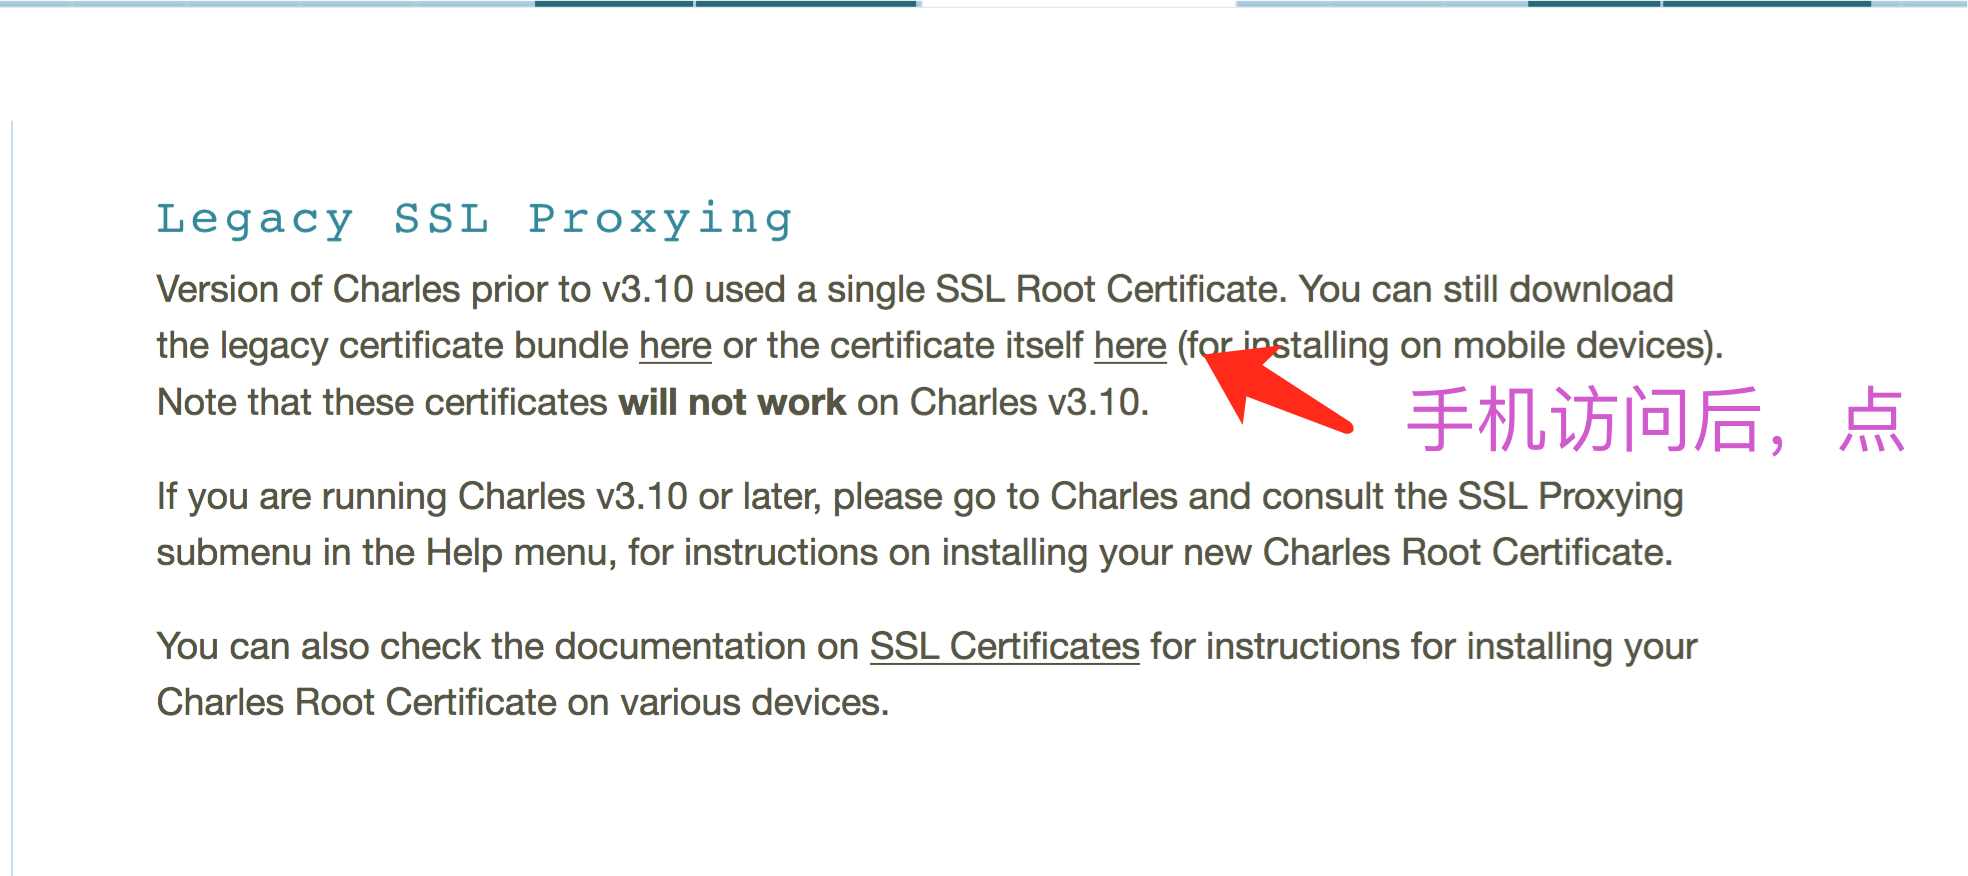
我们还需要在iPhone手机上,下载一下描述文件。
具体操作,大家就要点开这个网址,手机下载。网址
注意:手机点开这个网址
如下图操作
经过上面些步骤,我们已经把相应的软件以及证书都布置好了。之后,只需要在手机连接wifi后,设置手机代理。服务器填写电脑ip地址,端口号为8888.

现在你就可以感受用Charles抓https的请求啦。注意代码要写上面的可以抓包的代码,也就是无证书校验的。如果是有证书校验的,大家就不要妄想抓数据啦。
原文链接:http://www.jianshu.com/p/97745be81d64


 1571
1571

 被折叠的 条评论
为什么被折叠?
被折叠的 条评论
为什么被折叠?
 到【灌水乐园】发言


