


第一步:导jar包,全套jar包需求私我留言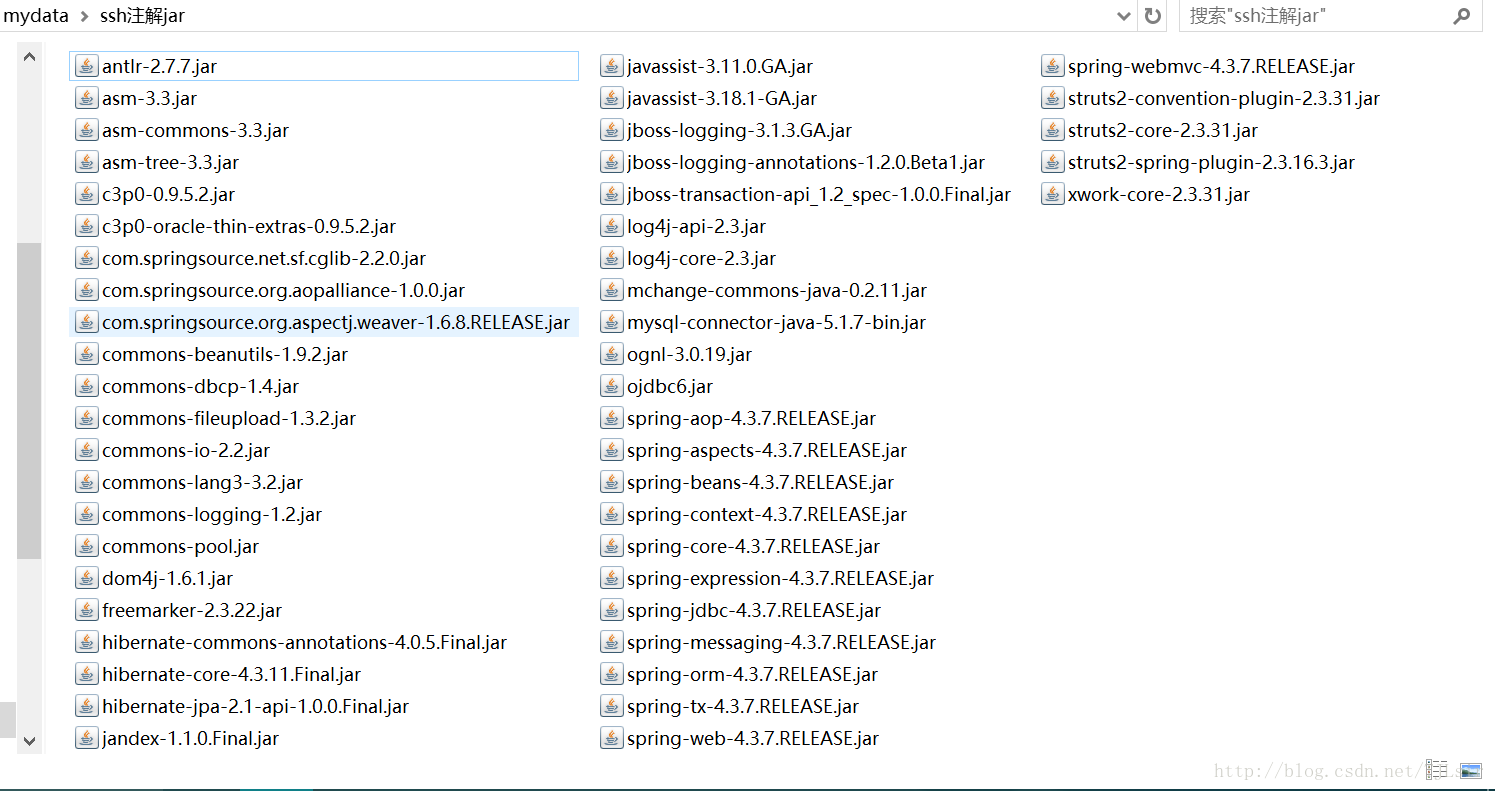
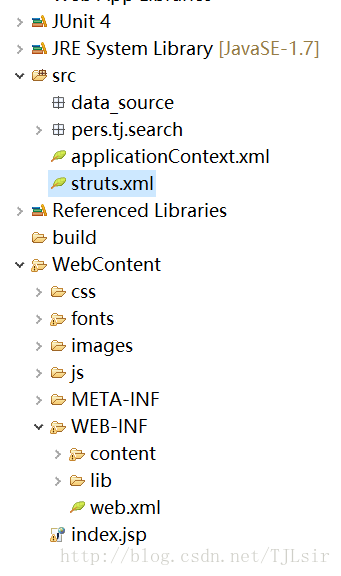
第二部:配置文件(我只演示基础配置,可根据自己的需求添加)
1. web.xml文件
<?xml version="1.0" encoding="UTF-8"?>
<web-app xmlns:xsi="http://www.w3.org/2001/XMLSchema-instance" xmlns="http://java.sun.com/xml/ns/javaee" xmlns:web="http://java.sun.com/xml/ns/javaee/web-app_2_5.xsd" xsi:schemaLocation="http://java.sun.com/xml/ns/javaee http://java.sun.com/xml/ns/javaee/web-app_3_0.xsd" id="WebApp_ID" version="3.0">
  <display-name>TJ-search</display-name>
  <welcome-file-list>
    <welcome-file>index.html</welcome-file>
    <welcome-file>index.htm</welcome-file>
    <welcome-file>index.jsp</welcome-file>
    <welcome-file>default.html</welcome-file>
    <welcome-file>default.htm</welcome-file>
    <welcome-file>default.jsp</welcome-file>
  </welcome-file-list>
   <!-- 加载spring配置文件 -->
  <context-param>
        <param-name>contextConfigLocation</param-name>
        <param-value>
            classpath:applicationContext.xml
        </param-value>
    </context-param>

   <listener>
     <listener-class>
         org.springframework.web.context.ContextLoaderListener
     </listener-class>
 </listener>
 <!-- struts2 的配置 -->
 <filter>
    <filter-name>struts2</filter-name>
    <filter-class>
        org.apache.struts2.dispatcher.ng.filter.StrutsPrepareAndExecuteFilter
    </filter-class>
    <init-param>
               <!--  //固定格式-->
                <param-name>actionPackages</param-name>
                <param-value>pers.tj.search.action</param-value>
    </init-param>
  </filter>

  <filter>
    <filter-name>SpringOpenSessionInViewFilter</filter-name>
        <filter-class>
            org.springframework.orm.hibernate4.support.OpenSessionInViewFilter
        </filter-class>
  </filter>

  <filter-mapping>
        <filter-name>struts2</filter-name>
        <url-pattern>/*</url-pattern>
  </filter-mapping>
  <display-name></display-name>

  <!-- <filter>
       <filter-name>SpringOpenSessionInViewFilter</filter-name>
       <filter-class>org.springframework.orm.hibernate4.support.OpenSessionInViewFilter</filter-class>
     </filter>
  <filter-mapping>
    <filter-name>SpringOpenSessionInViewFilter</filter-name>
    <url-pattern>/*</url-pattern>
  </filter-mapping> -->

</web-app>
2. truts.xml文件
<?xml version="1.0" encoding="UTF-8"?>
<!DOCTYPE struts PUBLIC
    "-//Apache Software Foundation//DTD Struts Configuration 2.3//EN"
    "http://struts.apache.org/dtds/struts-2.3.dtd">
    <struts>
        <!-- 开启使用开发模式,详细错误提示 -->
        <constant name="struts.devMode" value="false" />
        <!-- 将对象交给spring管理 -->
        <constant name="struts.objectFactory" value="spring" />
        <!-- 指定资源编码类型 -->
        <constant name="struts.i18n.encoding" value="UTF-8" />
        <!-- 指定每次请求到达,重新加载资源文件 -->
        <constant name="struts.i18n.reload" value="false" />
        <!-- 指定每次配置文件更改后,自动重新加载 -->
        <constant name="struts.configuration.xml.reload" value="false" />
        <!-- 默认后缀名 -->
        <!-- <constant name="struts.action.extension" value="do,action,jhtml,," /> -->
        <!-- Struts Annotation -->
        <constant name="actionPackages" value="pers.tj.search.action"/>
    </struts>
3. applicationContext.xml文件
<?xml version="1.0" encoding="UTF-8"?>
<beans xmlns="http://www.springframework.org/schema/beans"
    xmlns:xsi="http://www.w3.org/2001/XMLSchema-instance"
    xmlns:aop="http://www.springframework.org/schema/aop"
    xmlns:context="http://www.springframework.org/schema/context"
    xmlns:tx="http://www.springframework.org/schema/tx"
    xsi:schemaLocation="http://www.springframework.org/schema/beans http://www.springframework.org/schema/beans/spring-beans.xsd
        http://www.springframework.org/schema/aop http://www.springframework.org/schema/aop/spring-aop-3.0.xsd
        http://www.springframework.org/schema/context http://www.springframework.org/schema/context/spring-context-3.0.xsd
        http://www.springframework.org/schema/tx http://www.springframework.org/schema/tx/spring-tx-3.0.xsd">

    <!-- 使用 annotation -->
    <context:annotation-config />
    <!-- 使用 annotation 自动注册bean,并检查@Controller, @Service, @Repository注解已被注入 -->
    <context:component-scan base-package="pers.tj.search" />

    <!-- 数据源配置 -->
    <bean id="dataSource" class="org.springframework.jdbc.datasource.DriverManagerDataSource">
        <property name="driverClassName" value="oracle.jdbc.driver.OracleDriver"></property>
        <property name="url" value="jdbc:oracle:thin:@192.168.116.128:1521:orcl"></property>
        <property name="username" value="TJSearch"></property>
        <property name="password" value="tjadmin"></property>
    </bean>

    <bean id="sessionFactory" class="org.springframework.orm.hibernate4.LocalSessionFactoryBean">
        <property name="dataSource">
            <ref bean="dataSource"/>
        </property>
        <property name="hibernateProperties">
            <props>
                <prop key="hibernate.dialect">
                    org.hibernate.dialect.Oracle9Dialect
                </prop>
                <prop key="hibernate.show_sql">true</prop>
                <prop key="hibernate.format_sql">true</prop>
            </props>
        </property>
        <property name="packagesToScan">
            <list>
                <value>pers.tj.search.bean</value>
            </list>
        </property>
    </bean>

    <!--JDBC事务管理器,根据你的情况使用不同的事务管理器,如果工程中有Hibernate,就用Hibernate的事务管理器 -->
    <bean id="transactionManager"
        class="org.springframework.jdbc.datasource.DataSourceTransactionManager">
        <property name="dataSource" ref="dataSource"/>
    </bean>

    <!-- 用注解来实现事务管理 -->
     <tx:annotation-driven transaction-manager="transactionManager" />
</beans>
第三部:代码开发
当配置文件发不到服务器上运行不报错,就可以进行源码开发了,当然配置xml文件时可能会遇到各种小问题,这是基于spring4.3.7+hibernate4.3.1+struts2.3.3框架演示。


 2662
2662


 被折叠的 条评论
为什么被折叠?
被折叠的 条评论
为什么被折叠?
 到【灌水乐园】发言


