


由于Ubuntu OS的安全机制,任何第三方的应用无法访问另外一个应用的存储。这样就带来了问题,比如我们想访问Gallery中的图片怎么办?我们可以利用Ubuntu OS提供的ContentHub API来访问另外一个应用所提供的可以访问的内容。前提是另外一个应用必须有相应的功能实现exporter的功能。在这篇文章中,我们来介绍如何使用ContentHub来获取由Gallery所提供的图片。更多关于ContentHub的API介绍,可以参照链接。
在桌面系统上,我们必须安装如下的包:
$ sudo apt-get install content-hub
$ sudo apt-get install qtdeclarative5-ubuntu-content1
1)创建一个最基本的QML应用
我们打开SDK来创建一个最基本的QML应用。我们使用"App with Simple UI" 模版。并取一个名字为“contenthub-importer”。在这里,我们必须注意如下项:
applicationName: "com.ubuntu.developer.liu-xiao-guo.contenthub-importer"这个应用的名称必须和package的名称是一致的。否则在以后我们导入图片到本应用时,由于目录的路径不同从而会导致所创建的目录不能访问。我们将生成的package名称为:
com.ubuntu.developer.liu-xiao-guo.contenthub-importer_0.1_all.click在手机上导入的路径将为:
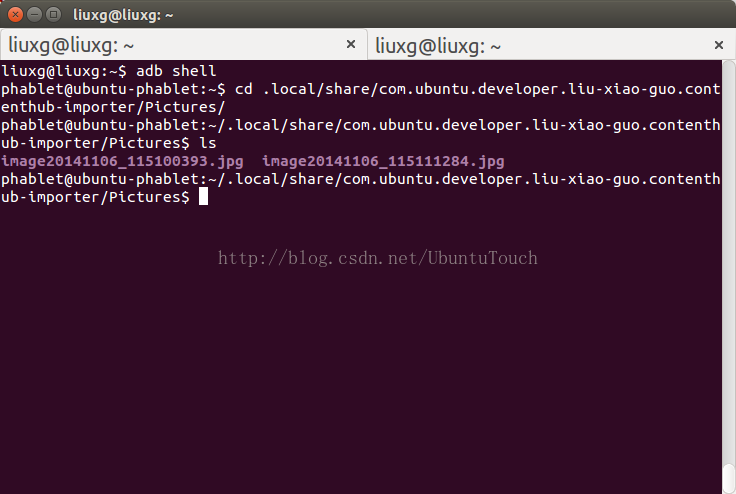
当然这是我们在最后运行应用时,在导入图片后才可以创建的路径。
2)设计我们的界面
我们的设计界面如下:
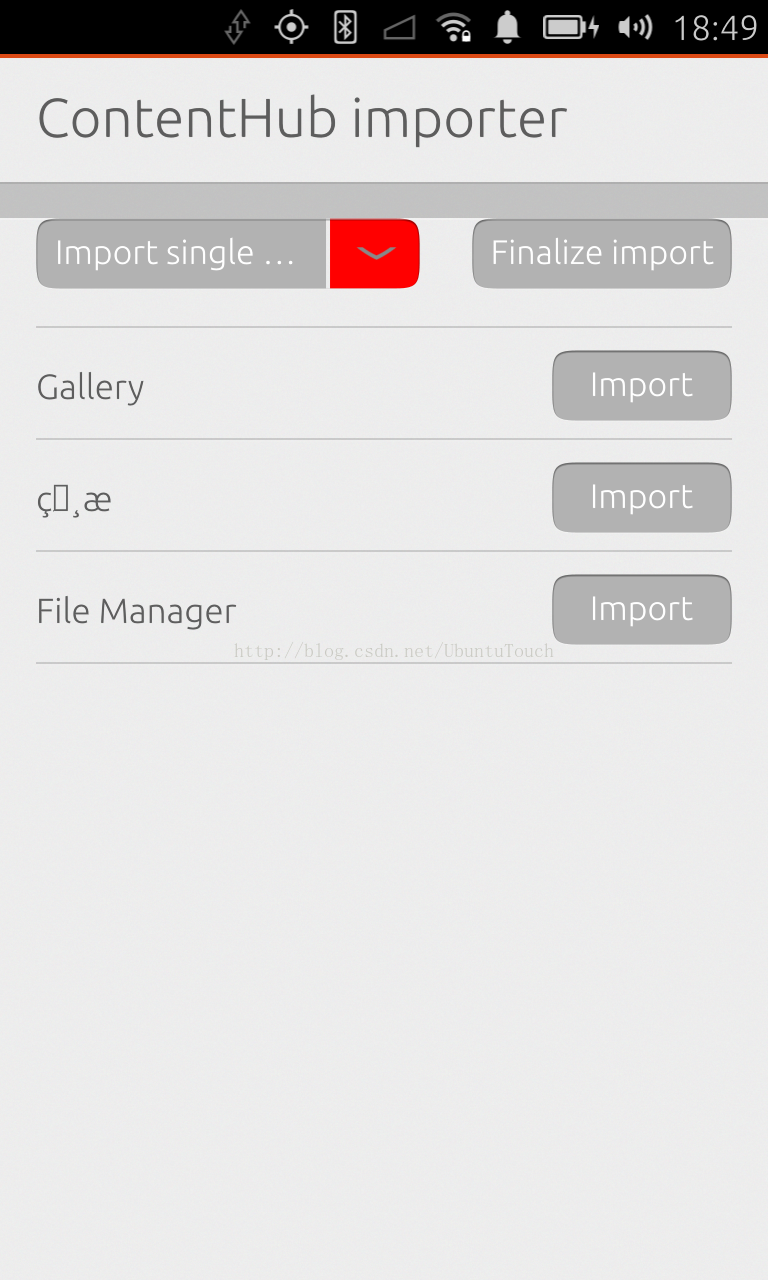
在屏幕的做上方,是一个“ComboButton”。我们的设计如下:
        ListModel {
            id: typemodel
            ListElement { name: "Import single item" }
            ListElement { name: "Import multiple items" }
        }

        ListItem.Empty {
            id: options

            ComboButton {
                id: type
                anchors {
                    left: parent.left
                    margins: units.gu(2)
                }

                dropdownColor: "red"
                width: root.width/2

                expanded: false

                text: "Import single item"
                ListView {
                    anchors.fill: parent
                    model: typemodel
                    delegate: ListItem.Standard {
                        text: modelData

                        onClicked: {
                            console.log("item is clicked!" + index + " " + name);
                            type.expanded = false;
                            type.text = text;

                            console.log("type is: " + type.text);

                            if ( name === "Import single item") {
                                activeTransfer = picSourceSingle.request(appStore);
                            } else if ( name === "Import multiple items" ) {
                                activeTransfer = picSourceMulti.request(appStore);
                            }
                        }
                    }
                }
            }

            Button {
                anchors {
                    right: parent.right
                    margins: units.gu(2)
                }
                text: "Finalize import"
                enabled: activeTransfer.state === ContentTransfer.Collected
                onClicked: activeTransfer.finalize()
            }
        }
我们可以选择import一个或多个图片。我们同时也定义两个 ContentPeer。一个ContentPeer是一个已经向ContentHub注册作为一个数据源或一个有 ContentType定义的目的地。
        ContentPeer {
            id: picSourceSingle
            contentType: ContentType.Pictures
            handler: ContentHandler.Source
            selectionType: ContentTransfer.Single
        }

        ContentPeer {
            id: picSourceMulti
            contentType: ContentType.Pictures
            handler: ContentHandler.Source
            selectionType: ContentTransfer.Multiple
        }
我们也可以定义一个“ ContentPeerModel”来显示所有可以提供图片的应用。
        // Provides a list<ContentPeer> suitable for use as a model
        ContentPeerModel {
            id: picSources
            // Type of handler: Source, Destination, or Share
            handler: ContentHandler.Source
            // well know content type
            contentType: ContentType.Pictures
        }
我们可以用如下的ListView来显示这些应用:
        ListView {
            id: peerList
            anchors {
                left: parent.left
                right: parent.right
                top: options.bottom
            }
            height: childrenRect.height
            model: picSources.peers

            delegate: ListItem.Standard {
                text: modelData.name
                control: Button {
                    text: "Import"
                    onClicked: {
                        // Request the transfer, it needs to be created and dispatched from the hub
                        activeTransfer = modelData.request();
                    }
                }
            }
        }
我们可以用如下的方法来检测在transfer过程中的状态:
        Connections {
            target: activeTransfer
            onStateChanged: {
                //            console.log("StateChanged: " + activeTransfer.state);
                switch (activeTransfer.state) {
                case ContentTransfer.Created:
                    console.log("Created");
                    break
                case ContentTransfer.Initiated:
                    console.log("Initiated");
                    break;
                case ContentTransfer.InProgress:
                    console.log("InProgress");
                    break;
                case ContentTransfer.Downloading:
                    console.log("Downloading");
                    break;
                case ContentTransfer.Downloaded:
                    console.log("Downloaded");
                    break;
                case ContentTransfer.Charged:
                    console.log("Charged");
                    break;
                case ContentTransfer.Collected:
                    console.log("Collected");
                    break;
                case ContentTransfer.Aborted:
                    console.log("Aborted");
                    break;
                case ContentTransfer.Finalized:
                    console.log("Finalized");
                    break;
                default:
                    console.log("not recognized state!")
                    break;
                }

                if (activeTransfer.state === ContentTransfer.Charged) {
                    importItems = activeTransfer.items;

                    for ( var i = 0; i < importItems.length; i ++ ) {
                        console.log(importItems[i].url);
                    }

                    var item;
                    for ( item in importItems ) {
                        console.log( "imported url: " + importItems[item].url);
                    }
                }
            }
在上面的代码中,我们显示了存入本应用中的文件的路径。这里activeTransfer及importItems被定义如下:
property list<ContentItem> importItems
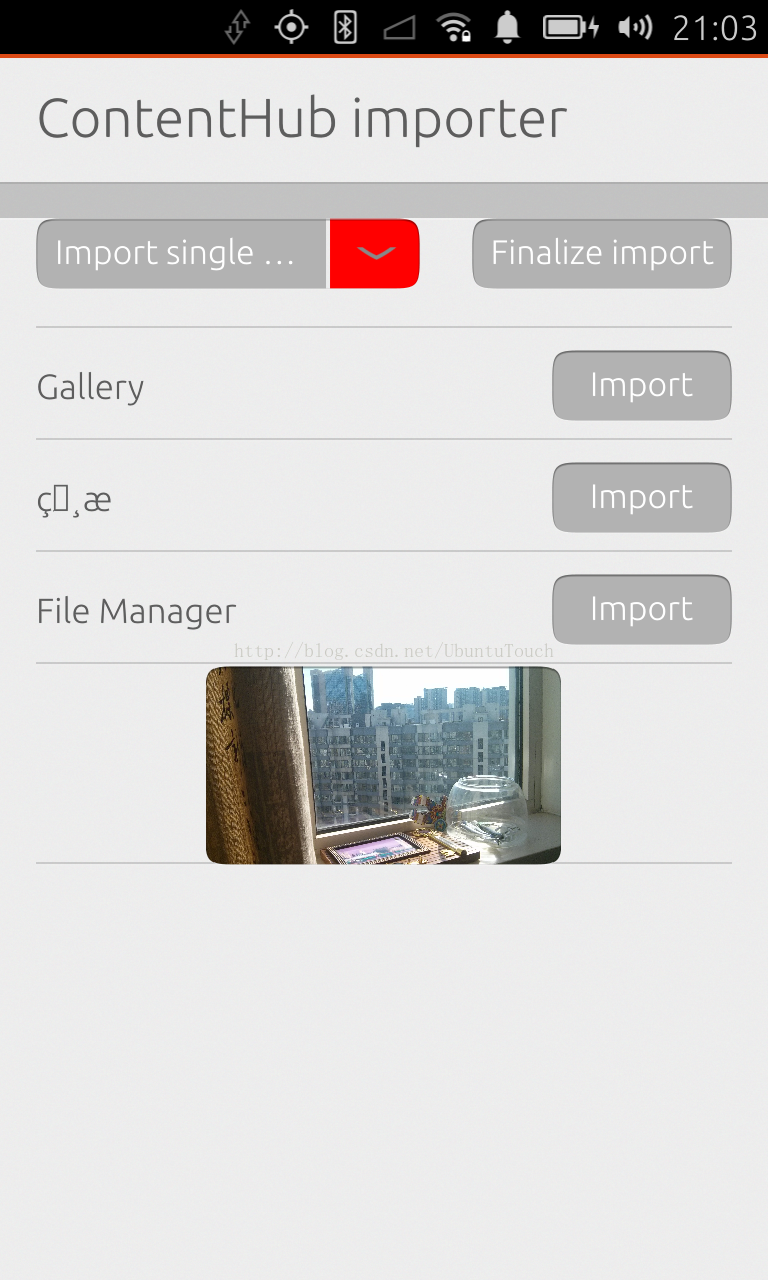
property var activeTransfer我们用另外一个ListView来显示我们所导入的照片:
        ListView {
            id: peerList
            anchors {
                left: parent.left
                right: parent.right
                top: options.bottom
            }
            height: childrenRect.height
            model: picSources.peers

            delegate: ListItem.Standard {
                text: modelData.name
                control: Button {
                    text: "Import"
                    onClicked: {
                        // Request the transfer, it needs to be created and dispatched from the hub
                        activeTransfer = modelData.request();
                    }
                }
            }
        }
整个的代码在如下的地址可以找到:
bzr branch
lp:~liu-xiao-guo/debiantrial/contenthub-importer


 1284
1284


 被折叠的 条评论
为什么被折叠?
被折叠的 条评论
为什么被折叠?
 到【灌水乐园】发言


