


我们在先前的例程中已经通过一些方法得到我们应用的一些环境变量值。这些值有的非常有用,比如我们可以得到我们应用所只能访问的目录。在今天的例程中,我们来展示一种方法可以得到应用所有的环境变量。在我们的实际应用中,我们可以通过这些环境变量来做一些事情。另外,在这个例程中,我们也展示了如何在Qt C++的代码中构造我们的ListView中的model。我们在先前的例程“Ubuntu OS应用Runtime Enviroment”已经展示了和我们平台安全相关的一些环境变量。
首先,我们来展示我们所使用的model dataobject:
dataobject.h
#ifndef DATAOBJECT_H
#define DATAOBJECT_H

#include <QObject>

class DataObject : public QObject
{
    Q_OBJECT

    Q_PROPERTY(QString key READ key WRITE setKey NOTIFY keyChanged)
    Q_PROPERTY(QString value READ value WRITE setValue NOTIFY valueChanged)

public:
    DataObject(QObject *parent=0);
    DataObject(const QString &key, const QString &value, QObject *parent=0);

    QString key() const;
    void setKey(const QString &key);

    QString value() const;
    void setValue(const QString &value);

signals:
    void keyChanged();
    void valueChanged();

private:
    QString m_key;
    QString m_value;
};

#endif // DATAOBJECT_H
dataobject.cpp
#include <QDebug>
#include "dataobject.h"

DataObject::DataObject(QObject *parent)
    : QObject(parent)
{
}

DataObject::DataObject(const QString &key, const QString &value, QObject *parent)
    : QObject(parent), m_key(key), m_value(value)
{
}

QString DataObject::key() const
{
    return m_key;
}

void DataObject::setKey(const QString &key)
{
    if (key != m_key) {
        m_key = key;
        emit keyChanged();
    }
}

QString DataObject::value() const
{
    return m_value;
}

void DataObject::setValue(const QString &value)
{
    if (value != m_value) {
        m_value = value;
        emit valueChanged();
    }
}
main.cpp
#include <QGuiApplication>
#include <QQmlApplicationEngine>
#include <QQuickView>
#include <QProcessEnvironment>
#include <QQmlContext>
#include <QDebug>

#include "dataobject.h"

int main(int argc, char *argv[])
{
    QGuiApplication app(argc, argv);

    // Try to get all of the env variables here
    QProcessEnvironment environment = QProcessEnvironment::systemEnvironment();

    QStringList keys = environment.keys();

    QList<QObject*> dataList;

    foreach (QString key, keys) {
        qDebug() << "key: " << key;

        QString value = environment.value(key);
        qDebug() << "value: " << value;

        dataList.append(new DataObject(key, value));
    }

    QQuickView view;
    view.setSource(QUrl(QStringLiteral("qrc:///Main.qml")));
    view.setResizeMode(QQuickView::SizeRootObjectToView);

    QQmlContext *ctxt = view.rootContext();
    ctxt->setContextProperty("varModel", QVariant::fromValue(dataList));

    view.show();
    return app.exec();
}
Main.qml
import QtQuick 2.0
import Ubuntu.Components 1.1
import Ubuntu.Components.ListItems 1.0 as ListItem
/*!
\brief MainView with a Label and Button elements.
*/
MainView {
// objectName for functional testing purposes (autopilot-qt5)
objectName: "mainView"
// Note! applicationName needs to match the "name" field of the click manifest
applicationName: "runtime.liu-xiao-guo"
/*
This property enables the application to change orientation
when the device is rotated. The default is false.
*/
//automaticOrientation: true
// Removes the old toolbar and enables new features of the new header.
useDeprecatedToolbar: false
width: units.gu(60)
height: units.gu(85)
Page {
title: i18n.tr("Run time variables")
Column {
anchors.fill: parent
ListItem.Base {
id: header
height: ubuntuLabel.height + runtime.height + units.gu(6)
Column {
anchors.left: parent.left
anchors.right: parent.right
anchors.centerIn: parent
spacing: units.gu(2)
Label {
id: ubuntuLabel
anchors.horizontalCenter: parent.horizontalCenter
text: ""
fontSize: "x-large"
}
Label {
id: runtime
anchors.horizontalCenter: parent.horizontalCenter
text: "Runtime Environment"
}
}
}
ListView {
height: parent.height - header.height
width: parent.width
model: varModel
clip: true
delegate: ListItem.Subtitled {
text: key
subText: value
}
}
}
}
}
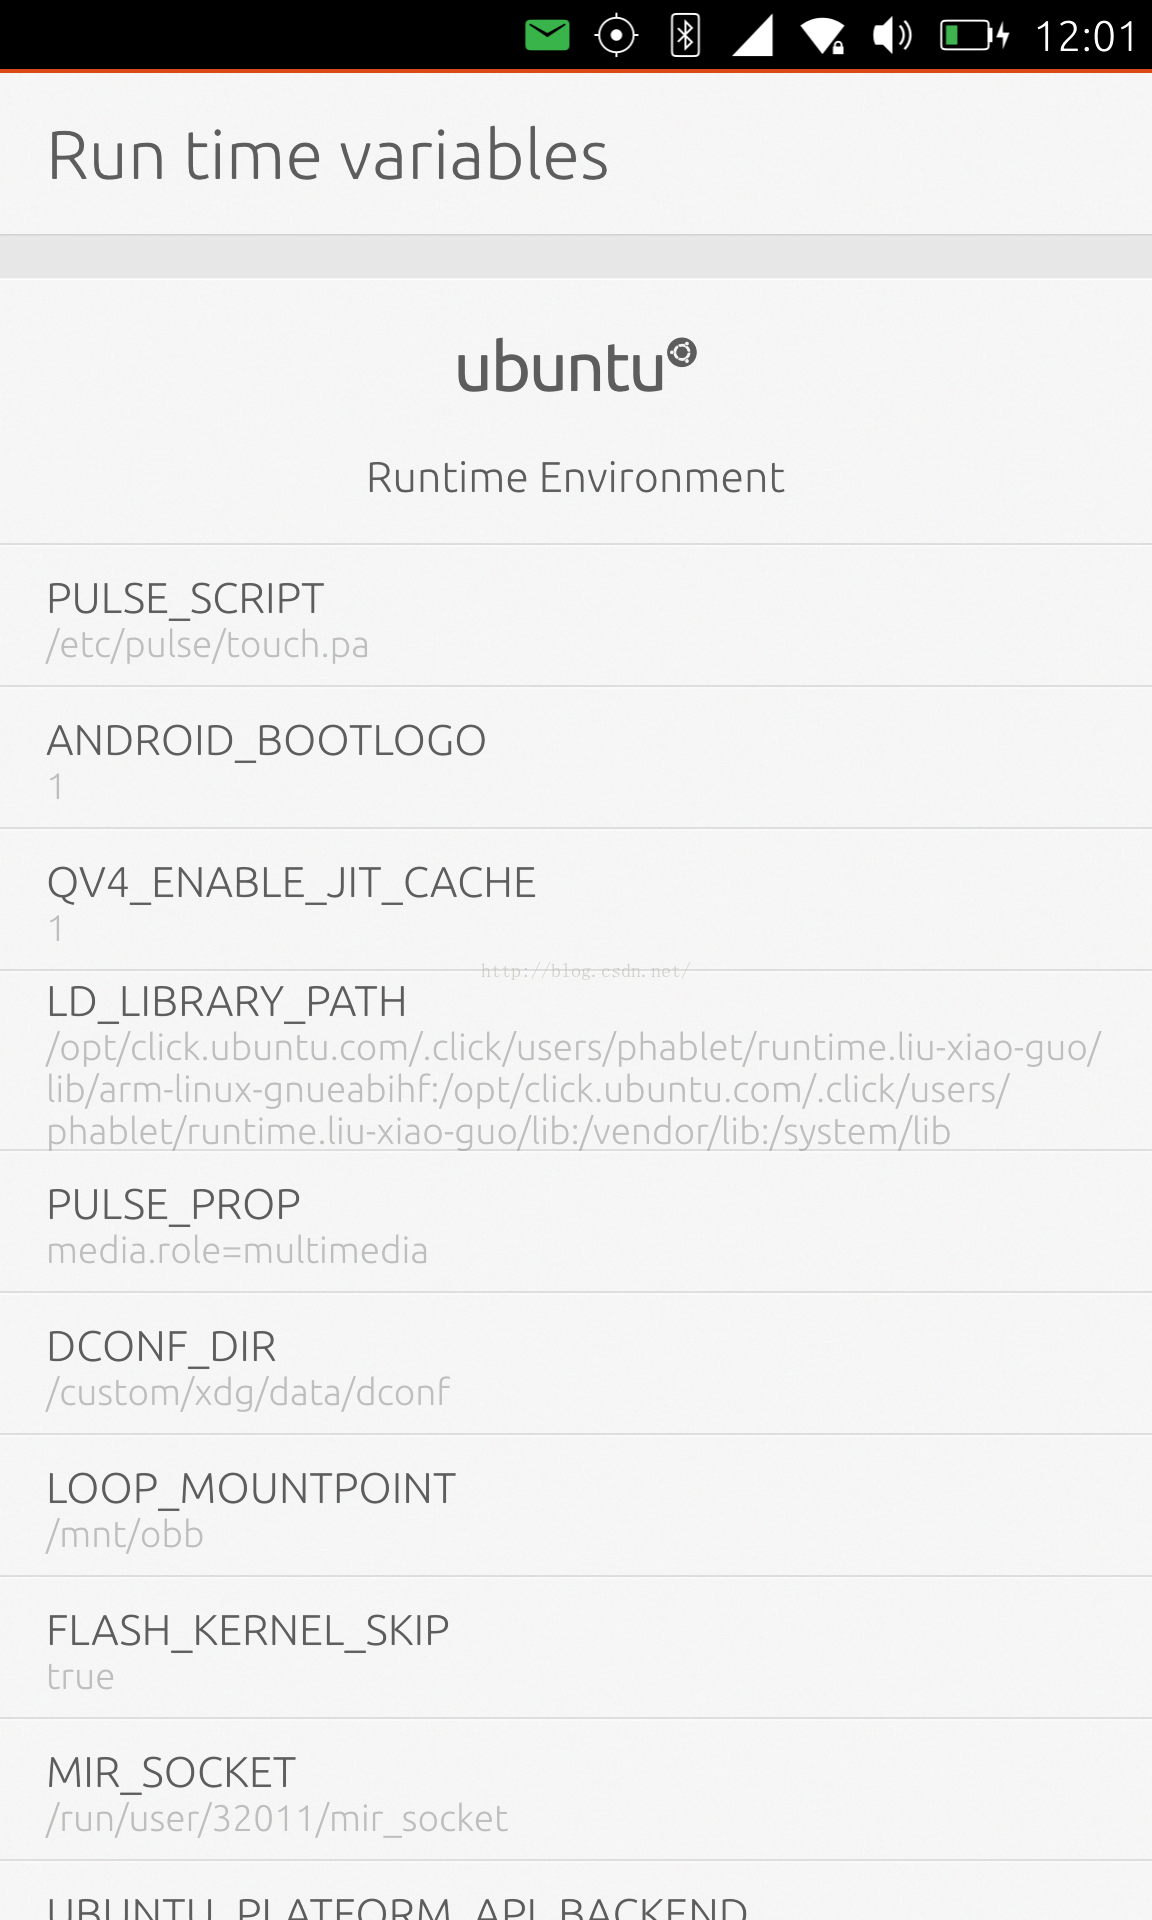
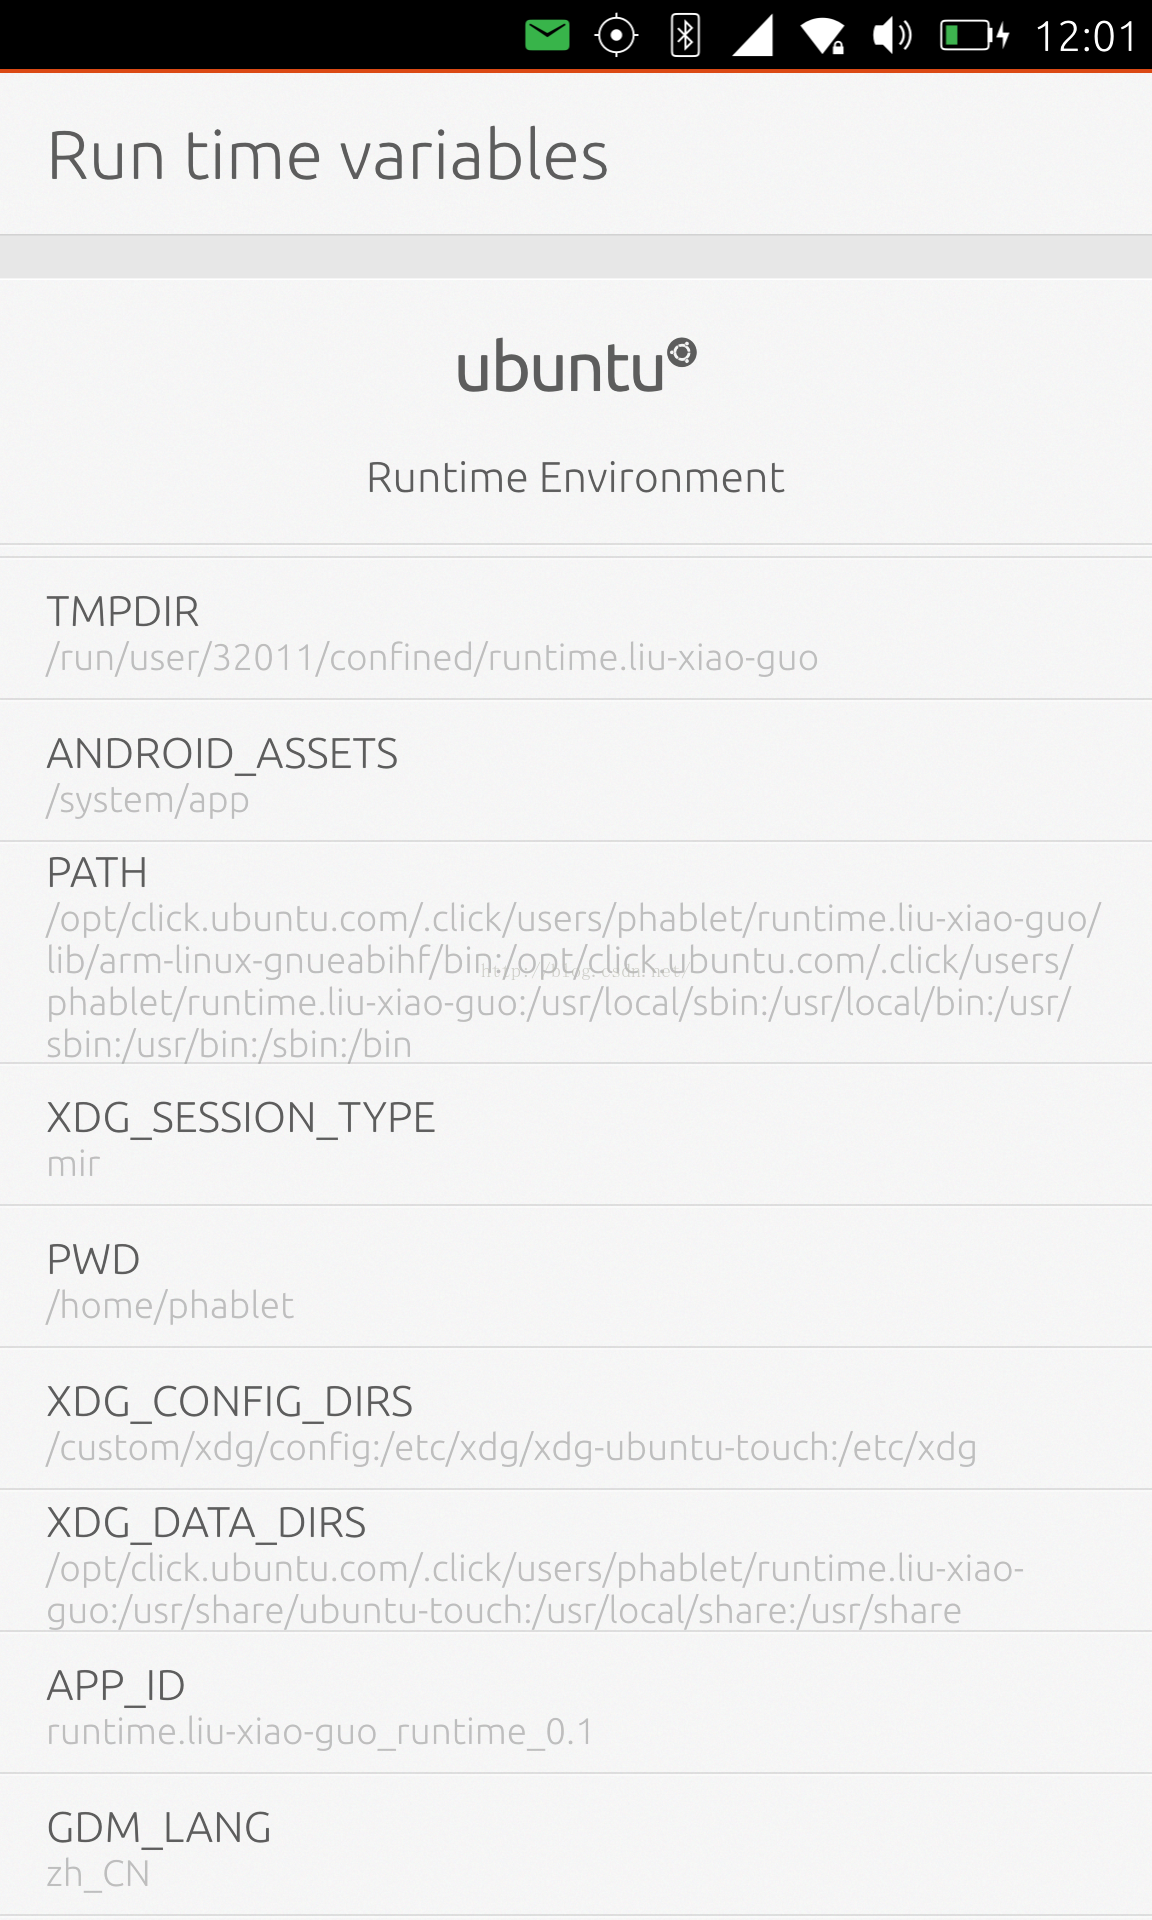
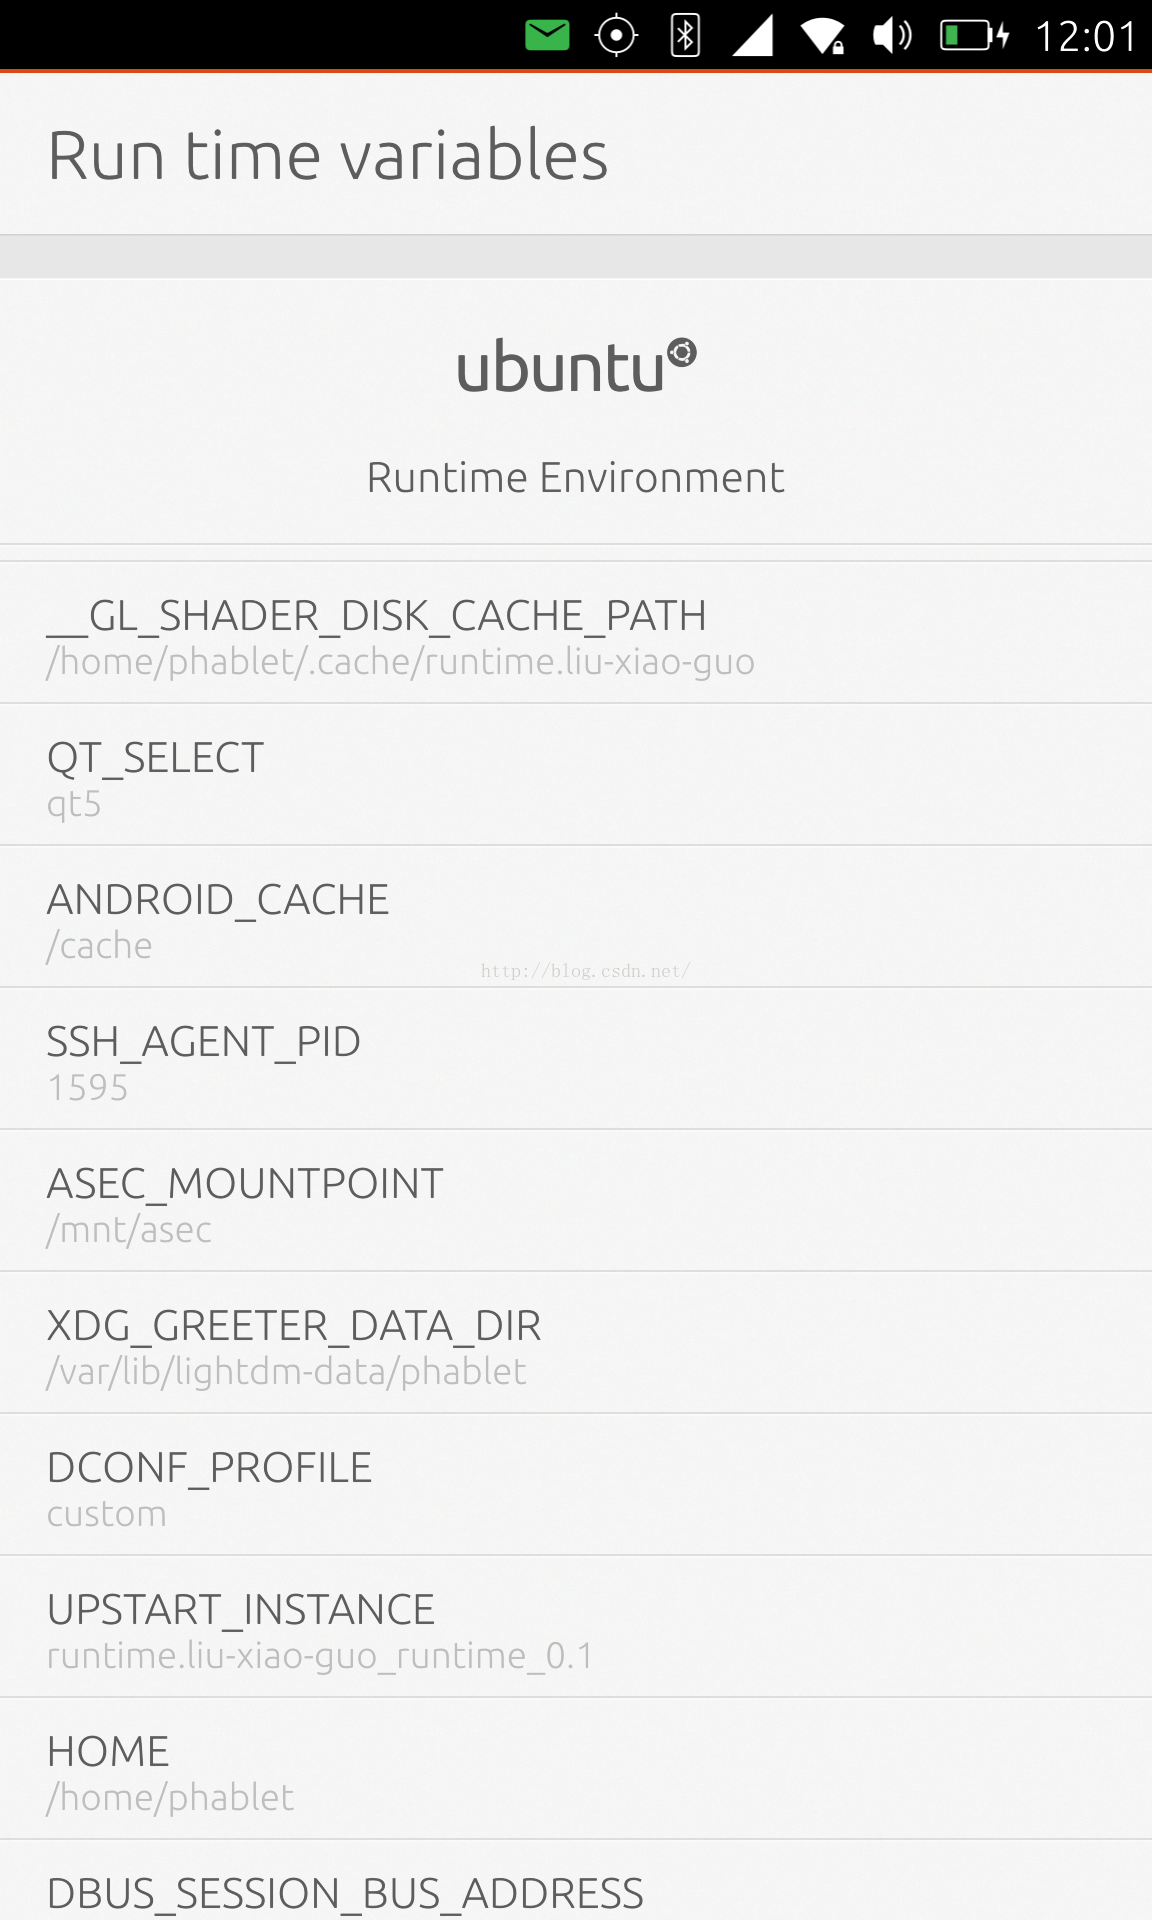
这里的显示非常简单。我们直接使用一个ListView来显示我们的数据。
运行我们的应用:


 1343
1343


 被折叠的 条评论
为什么被折叠?
被折叠的 条评论
为什么被折叠?
 到【灌水乐园】发言


