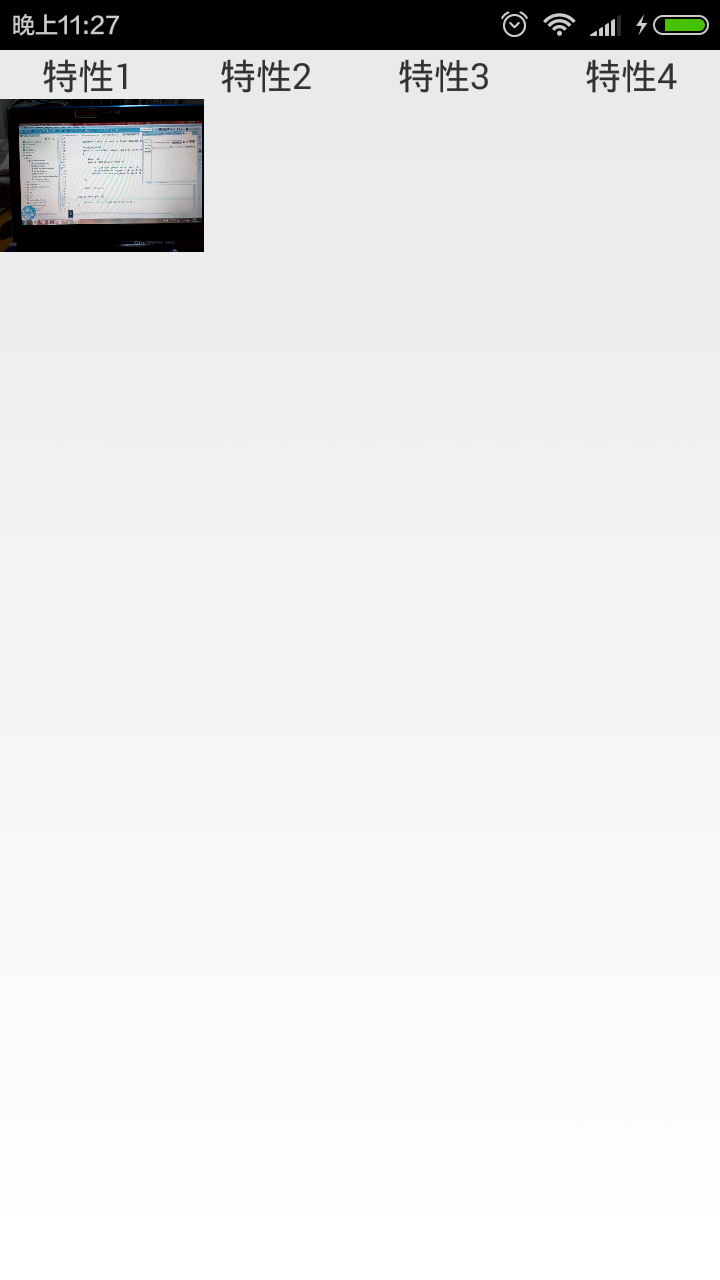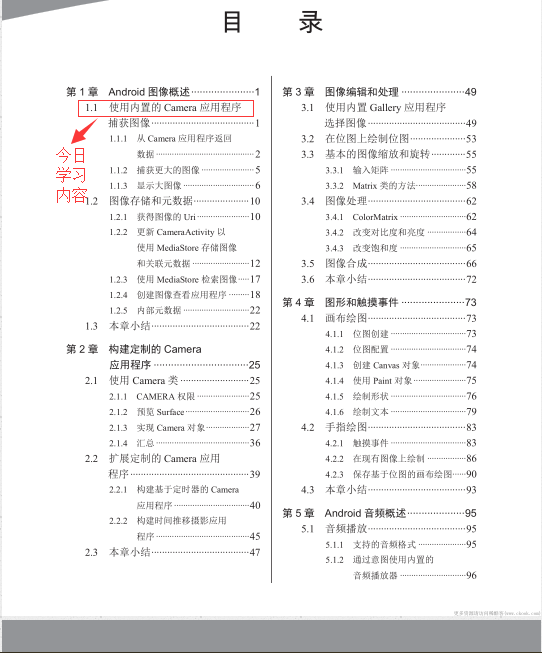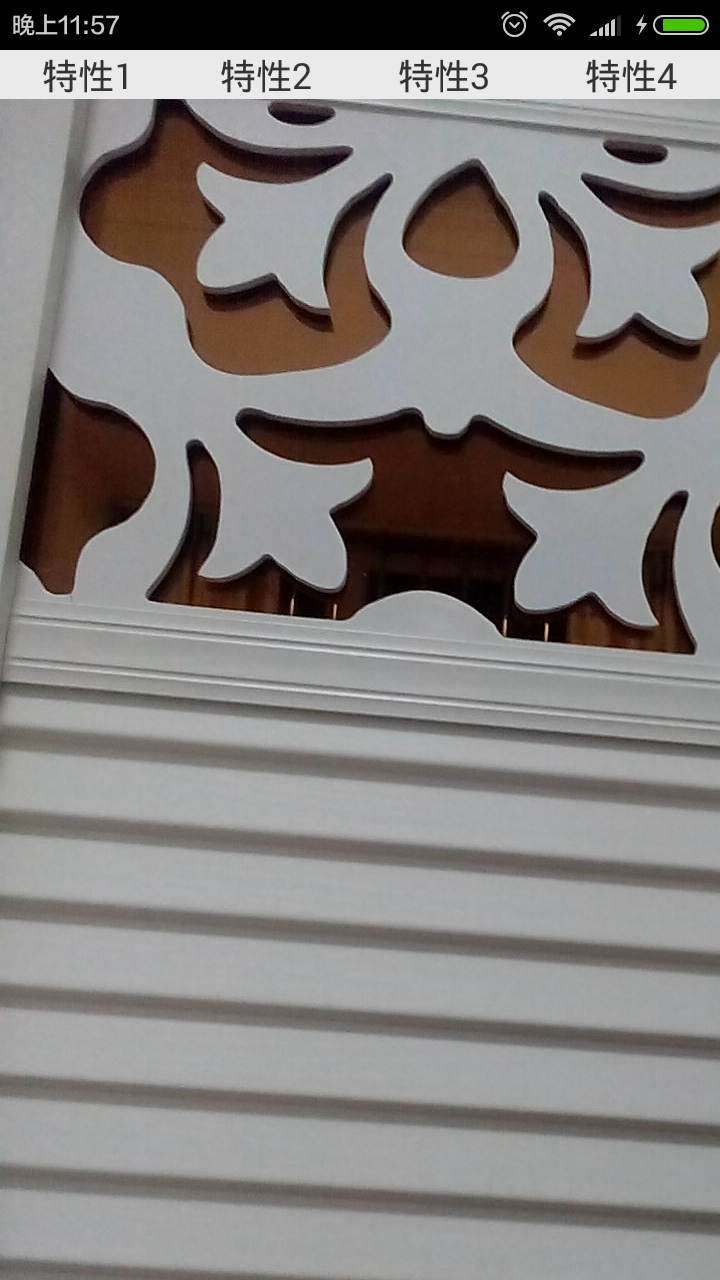
该小节非常简单,讲的就三件事:
一,调用Camera相机拍照并获取照片;
二、调用Camera相机拍照并获得原图;
三、获得原图后根据屏幕的宽高比来显示图片。
调用Camera相机拍照并获取照片源码如下:
package com.hhqy.withme;
import android.content.Intent;
import android.graphics.Bitmap;
import android.os.Bundle;
import android.support.v4.app.FragmentActivity;
import android.widget.ImageView;
public class ContextActivity extends FragmentActivity {
private ImageView image;

@Override
protected void onCreate(Bundle savedInstanceState) {
    super.onCreate(savedInstanceState);
    setContentView(R.layout.activity_context);
    image = (ImageView)findViewById(R.id.cursor);
    Intent  intent = new Intent(android.provider.MediaStore.ACTION_IMAGE_CAPTURE);
    //android.provider.MediaStore.ACTION_IMAGE_CAPTURE
    //打开相机的意图
    startActivityForResult(intent, 100);

}


@Override
protected void onActivityResult(int requestCode, int resultCode, Intent intent)
{
    super.onActivityResult(requestCode, resultCode, intent);
    if(requestCode == 100 && resultCode == RESULT_OK)
    {
        Bundle bundle = intent.getExtras();
        image.setImageBitmap((Bitmap)bundle.get("data"));
    }
}
}
布局文件只有一个imageView控件,所以就不写了,后面一样!
通过运行你会发现图片缩小了

那如何获得原图大小呢?书中给的代码是这样的:
package com.hhqy.withme;
import java.io.File;
import java.util.ArrayList;
import android.content.Intent;
import android.graphics.Bitmap;
import android.graphics.BitmapFactory;
import android.graphics.Matrix;
import android.net.Uri;
import android.os.Bundle;
import android.os.Environment;
import android.os.Handler;
import android.os.Message;
import android.support.v4.app.Fragment;
import android.support.v4.app.FragmentActivity;
import android.support.v4.view.ViewPager;
import android.support.v4.view.ViewPager.OnPageChangeListener;
import android.util.DisplayMetrics;
import android.util.Log;
import android.view.Display;
import android.view.Menu;
import android.view.View;
import android.view.animation.Animation;
import android.view.animation.TranslateAnimation;
import android.widget.ImageView;
import android.widget.TextView;
import android.widget.Toast;
public class ContextActivity extends FragmentActivity {
private ImageView image;
@Override
protected void onCreate(Bundle savedInstanceState) {
    super.onCreate(savedInstanceState);
    setContentView(R.layout.activity_context);
    image = (ImageView)findViewById(R.id.cursor);
    String path = Environment.getExternalStorageDirectory().getAbsolutePath()+"/hello.jpg";
    Intent  intent = new Intent(android.provider.MediaStore.ACTION_IMAGE_CAPTURE);
    intent.putExtra(android.provider.MediaStore.EXTRA_OUTPUT, Uri.fromFile(new File(path)));
    //也可这样写uri:Uri.parse("file:///sdcard/hello.jpg"),但是上一种更规范一些
    startActivityForResult(intent, 100);
}


@Override
protected void onActivityResult(int arg0, int arg1, Intent arg2)
{
    super.onActivityResult(arg0, arg1, arg2);
    if(arg1 == RESULT_OK)
    {
        Bundle bundle = arg2.getExtras();
        image.setImageBitmap((Bitmap)bundle.get("data"));

    }
}
}
但是一运行的时候,你会发现拿不到图片了!!

后来上网查询了一下,我们可以通过文件名来获取,直接取是取不到了,修改一小段:
@Override
protected void onActivityResult(int arg0, int arg1, Intent arg2)
{
super.onActivityResult(arg0, arg1, arg2);
if(arg1 == RESULT_OK)
{
Bundle bundle = arg2.getExtras();
image.setImageBitmap((Bitmap)bundle.get(“data”));
BitmapFactory.Options option = new BitmapFactory.Options();
option.inJustDecodeBounds = false;
Bitmap bitmapTure = BitmapFactory.decodeFile(
Environment.getExternalStorageDirectory().getAbsolutePath()+"/hello.jpg",
option);
image.setImageBitmap(bitmapTure);
}
}

效果大家可以自己试一下,我只是随手拍的!
最后,图片太大了,如何根据屏幕的宽高比来显示图片呢?不说话,上源码:
package com.hhqy.withme;
import android.content.Intent;
import android.graphics.Bitmap;
import android.graphics.BitmapFactory;
import android.net.Uri;
import android.os.Bundle;
import android.os.Environment;
import android.support.v4.app.FragmentActivity;
import android.view.Display;
import android.widget.ImageView;
public class ContextActivity extends FragmentActivity {
private ImageView image;

@Override
protected void onCreate(Bundle savedInstanceState) {
    super.onCreate(savedInstanceState);
    setContentView(R.layout.activity_context);
    image = (ImageView)findViewById(R.id.cursor);
    String path = Environment.getExternalStorageDirectory().getAbsolutePath()+"/hello.jpg";
    Intent  intent = new Intent(android.provider.MediaStore.ACTION_IMAGE_CAPTURE);
    intent.putExtra(android.provider.MediaStore.EXTRA_OUTPUT, Uri.parse("file:///sdcard/hello.jpg"));
    startActivityForResult(intent, 100);
}


@Override
protected void onActivityResult(int arg0, int arg1, Intent arg2)
{
    super.onActivityResult(arg0, arg1, arg2);
    if(arg1 == RESULT_OK)
    {
// Bundle bundle = arg2.getExtras();
// image.setImageBitmap((Bitmap)bundle.get(“data”));
Display display = getWindowManager().getDefaultDisplay();
int dw = display.getWidth();//窗口宽度
int dh = display.getHeight();//窗口高度
        BitmapFactory.Options option = new BitmapFactory.Options();
        option.inJustDecodeBounds = true;//只加载图像尺寸,而不用加载图像本身,例如只问参加活动的人数,而不问具体哪些人参加一样!
        Bitmap bitmapFalse = BitmapFactory.decodeFile(
                Environment.getExternalStorageDirectory().getAbsolutePath()+"/hello.jpg",
                option);
        int hRatio = (int) Math.ceil(option.outHeight/dh);
        int wRatio = (int) Math.ceil(option.outWidth/dw);
        if(hRatio>1 && wRatio>1)
        {
            if(hRatio>wRatio)
            {
                option.inSampleSize = hRatio;

            }else
            {
                option.inSampleSize = wRatio;
            }
        }
        option.inJustDecodeBounds = false;
        Bitmap bitmapTure = BitmapFactory.decodeFile(
                Environment.getExternalStorageDirectory().getAbsolutePath()+"/hello.jpg",
                option);
        image.setImageBitmap(bitmapTure);
// ContentResolver c = this.getContentResolver();
// try {
// Bitmap bmp = BitmapFactory.decodeStream(c.openInputStream(Uri.parse(“file:///sdcard/hello.jpg”)));
// if(bmp!=null)image.setImageBitmap(bmp);
// } catch (FileNotFoundException e) {
// Toast.makeText(this, “图片取出来有问题”, Toast.LENGTH_SHORT).show();
// e.printStackTrace();
// }
}
}
}

重点不是我照片拍的丑,重点是技术的实现和熟练,欢迎大家交流:QQ3332168769
(我至今也不明白为什么给了一个uri之后为什么会取不出来图片这个问题,求指教!!!)


 1255
1255


 被折叠的 条评论
为什么被折叠?


