


背景介绍
国内xwiki安装使用资料较少,根据自己使用xwiki经验,总结出来,供参考,同时希望感兴趣的朋友能够一起讨论,XWiki是一个强大的Java开源的Wiki引擎。
它支持一些受欢迎的特性如:(内容管理(浏览/编辑/预览/保存),支持附件,版本控制,全文本搜索,权限管理使用Hibernate进行数据存储,RSS输出与显示外部的RSS feeds,多语言支持,提供XML/RPC的API,WYSIWYG HTML编辑器,导出为PDFGroovy脚本支持等等)
环境准备
mysql(已经安装,不扯蛋了)
apache-tomcat-7.0.42-windows-x64.zip
xwiki-enterprise-web-6.2.2.warxwiki-enterprise-ui-mainwiki-all-6.2.2.xar
xwiki下载地址 http://enterprise.xwiki.org/xwiki/bin/view/Main/Download
使用Tomcat服务器和mysql数据库
把xwiki-enterprise-web-6.2.2.war 放到 $TOMCAT_HOME/webapps 下 启动tomcat,待war包全部解压完成后关闭tomcat,并删除war包;
1:修改xwiki.cfg,开启superadmin;
- #-# Enable to allow superadmin. It is disabled by default as this could be a
- #-# security breach if it were set and you forgot about it. Should only be enabled
- #-# for recovering the Wiki when the rights are completely messed.
- xwiki.superadminpassword=system
#-# Enable to allow superadmin. It is disabled by default as this could be a
#-# security breach if it were set and you forgot about it. Should only be enabled
#-# for recovering the Wiki when the rights are completely messed.
 xwiki.superadminpassword=system
2:修改hibernate.hbm.xml,启动mysql数据库连接;
- <!-- Configuration for the default database.
- Comment out this section and uncomment other sections below if you want to use another database.
- Note that the database tables will be created automatically if they don't already exist.
- <property name="connection.url">jdbc:hsqldb:file:${environment.permanentDirectory}/database/xwiki_db;shutdown=true</property>
- <property name="connection.username">sa</property>
- <property name="connection.password"></property>
- <property name="connection.driver_class">org.hsqldb.jdbcDriver</property>
- <property name="dialect">org.hibernate.dialect.HSQLDialect</property>
- <mapping resource="xwiki.hbm.xml"/>
- <mapping resource="feeds.hbm.xml"/>
- <mapping resource="activitystream.hbm.xml"/>
- <mapping resource="instance.hbm.xml"/>
- -->
- <!-- MySQL configuration.
- Uncomment if you want to use MySQL and comment out other database configurations.
- -->
- <property name="connection.url">jdbc:mysql://localhost/xwiki</property>
- <property name="connection.username">xwiki</property>
- <property name="connection.password">xwiki</property>
- <property name="connection.driver_class">com.mysql.jdbc.Driver</property>
- <property name="dialect">org.hibernate.dialect.MySQL5InnoDBDialect</property>
- <property name="dbcp.ps.maxActive">20</property>
- <mapping resource="xwiki.hbm.xml"/>
- <mapping resource="feeds.hbm.xml"/>
- <mapping resource="activitystream.hbm.xml"/>
- <mapping resource="instance.hbm.xml"/>
<!-- Configuration for the default database.
         Comment out this section and uncomment other sections below if you want to use another database.
         Note that the database tables will be created automatically if they don't already exist.

    <property name="connection.url">jdbc:hsqldb:file:${environment.permanentDirectory}/database/xwiki_db;shutdown=true</property>
    <property name="connection.username">sa</property>
    <property name="connection.password"></property>
    <property name="connection.driver_class">org.hsqldb.jdbcDriver</property>
    <property name="dialect">org.hibernate.dialect.HSQLDialect</property>

    <mapping resource="xwiki.hbm.xml"/>
    <mapping resource="feeds.hbm.xml"/>
    <mapping resource="activitystream.hbm.xml"/>
    <mapping resource="instance.hbm.xml"/>
    -->
    <!-- MySQL configuration.
         Uncomment if you want to use MySQL and comment out other database configurations.
    -->
    <property name="connection.url">jdbc:mysql://localhost/xwiki</property>
    <property name="connection.username">xwiki</property>
    <property name="connection.password">xwiki</property>
    <property name="connection.driver_class">com.mysql.jdbc.Driver</property>
    <property name="dialect">org.hibernate.dialect.MySQL5InnoDBDialect</property>
    <property name="dbcp.ps.maxActive">20</property>
    <mapping resource="xwiki.hbm.xml"/>
    <mapping resource="feeds.hbm.xml"/>
    <mapping resource="activitystream.hbm.xml"/>
<mapping resource="instance.hbm.xml"/>- create database xwiki default character set utf8;
- grant all privileges on xwiki.* to xwiki@localhost identified by "xwiki";
create database xwiki default character set utf8;
grant all privileges on xwiki.* to xwiki@localhost  identified by "xwiki";
安装过程中出现的问题
1:中文乱码的解决($TOMCAT_HOME/conf/server.xml该文件下Connector节中增加URIEncoding="UTF8")
- <Connector port="8080" protocol="HTTP/1.1"
- connectionTimeout="20000"
- redirectPort="8443" URIEncoding="UTF-8" />
- <!-- Define an AJP 1.3 Connector on port 8009 -->
- <Connector port="8009" protocol="AJP/1.3" redirectPort="8443" URIEncoding="UTF-8" />
    <Connector port="8080" protocol="HTTP/1.1"
               connectionTimeout="20000"
               redirectPort="8443" URIEncoding="UTF-8" />

    <!-- Define an AJP 1.3 Connector on port 8009 -->
    <Connector port="8009" protocol="AJP/1.3" redirectPort="8443" URIEncoding="UTF-8" />
2:java.lang.OutOfMemoryError(在$TOMCAT_HOME/bin/catalina.bat中增加) 183行前
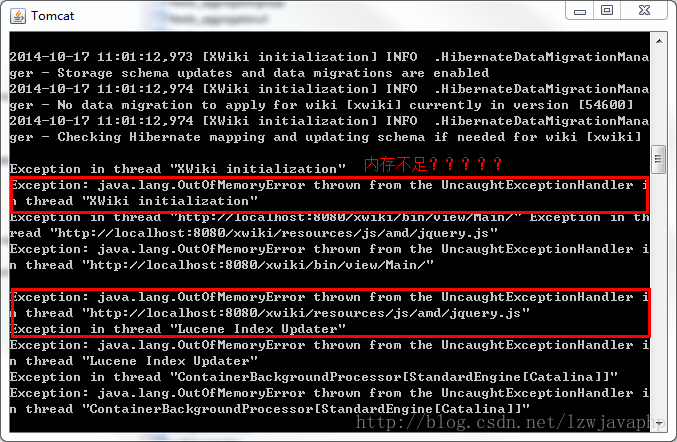
- set JAVA_OPTS=-Xms256m -Xmx768m -XX:PermSize=256m -XX:MaxPermSize=768m -Djava.awt.headless=true
set JAVA_OPTS=-Xms256m -Xmx768m -XX:PermSize=256m -XX:MaxPermSize=768m -Djava.awt.headless=trueLinux下:
- JAVA_OPTS='-server -Xms256m -Xmx512m -XX:PermSize=128M -XX:MaxPermSize=256M -Djava.awt.headless=true'
JAVA_OPTS='-server -Xms256m -Xmx512m -XX:PermSize=128M -XX:MaxPermSize=256M -Djava.awt.headless=true'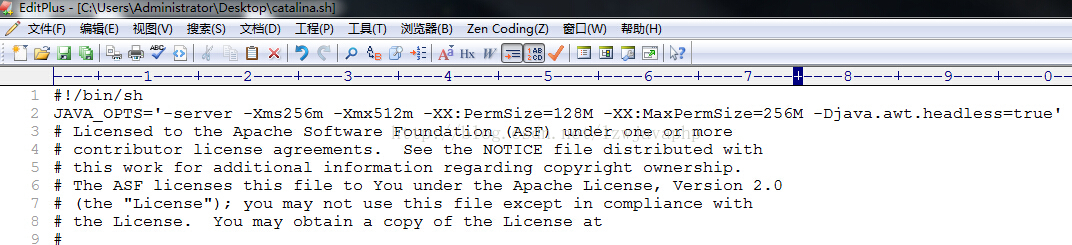
3:java.sql.BatchUpdateException: Packet for query is too large (1808035 > 1048576)
修改MySQL/MySQL Server 5.5/my.ini
- [mysqld]
- max_allowed_packet = 10M
- # The TCP/IP Port the MySQL Server will listen on
- port=3306
[mysqld]
max_allowed_packet = 10M
# The TCP/IP Port the MySQL Server will listen on
port=3306把mysql的驱动包放到$TOMCAT_HOME/lib下
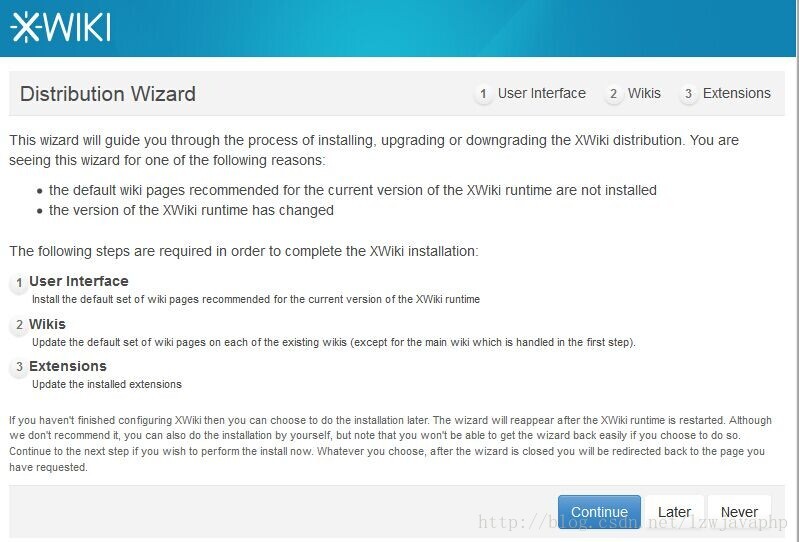
按照安装向导一步步的完成安装
1:

2:
3:

4:
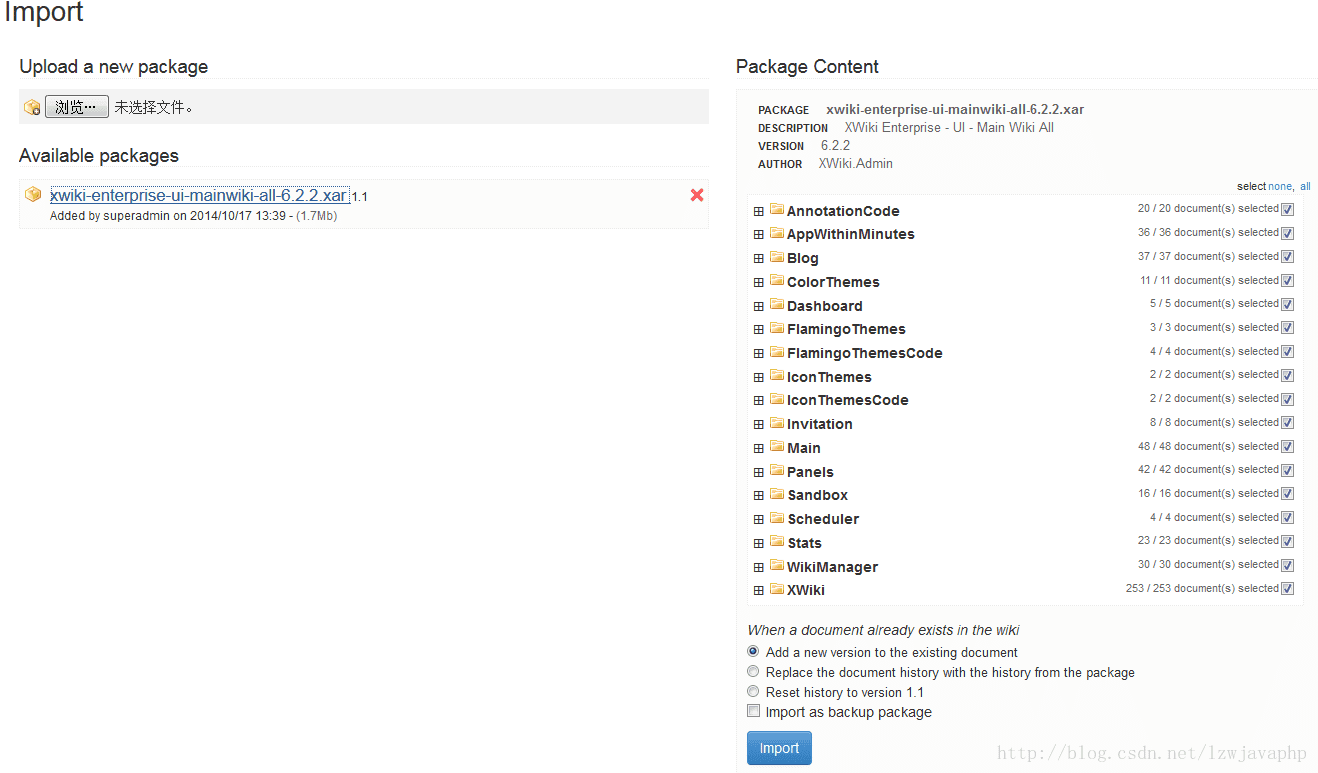
5:
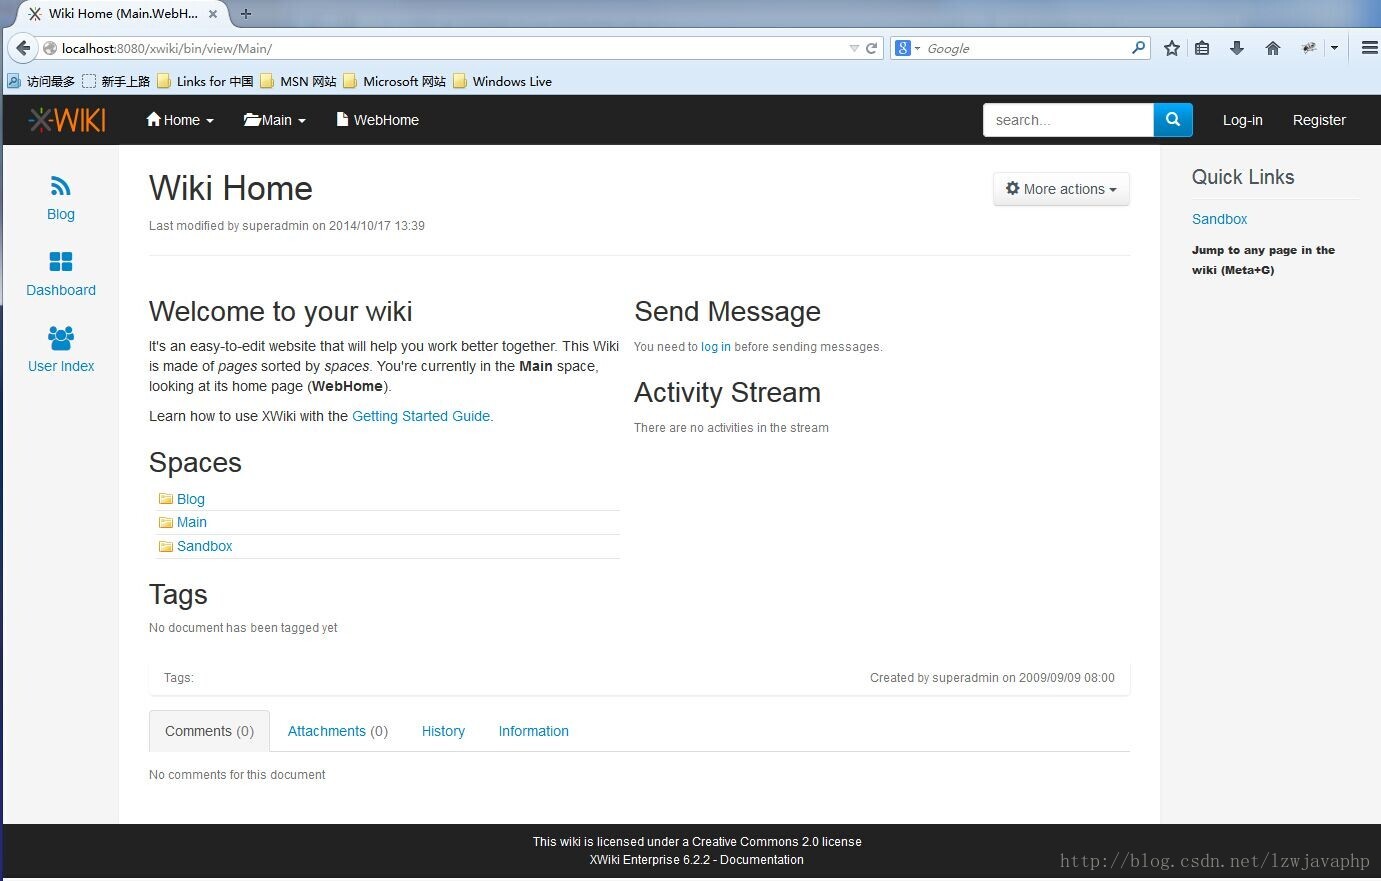
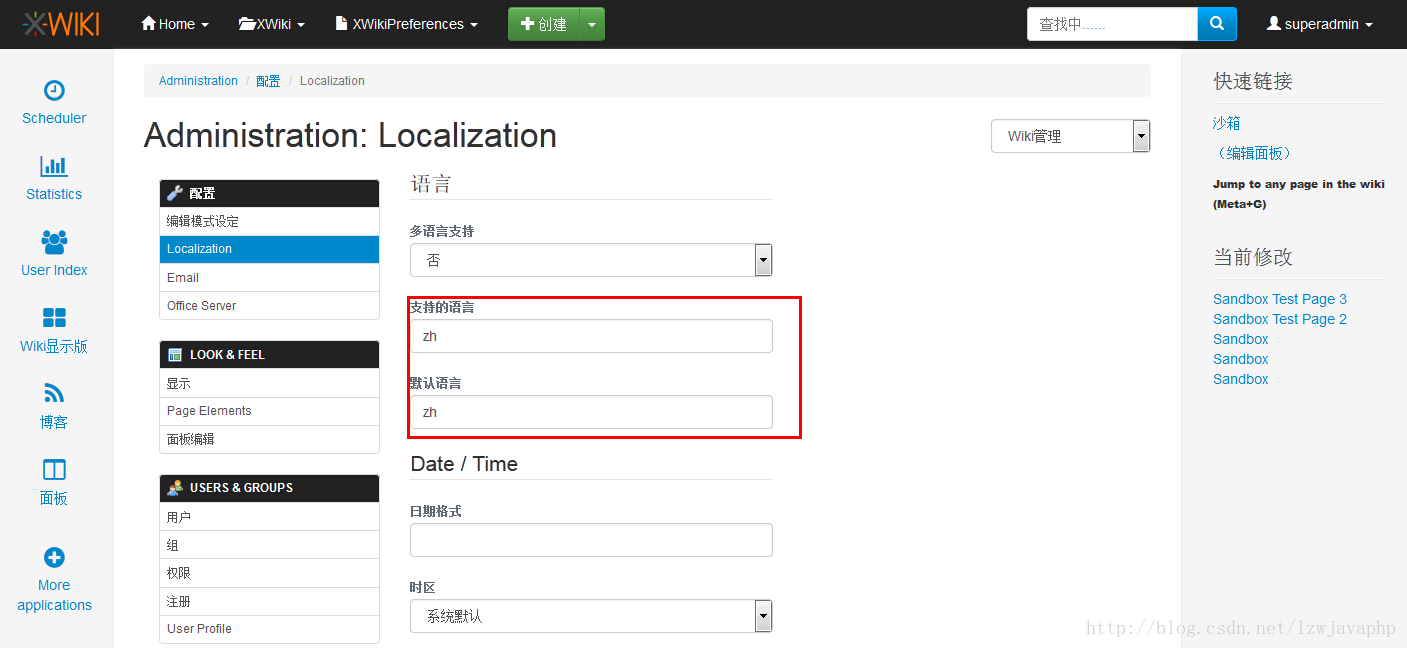
6: 后台登陆 superadmin/system,设置中文


 2830
2830

 被折叠的 条评论
为什么被折叠?
被折叠的 条评论
为什么被折叠?
 到【灌水乐园】发言


