


跟着一本有些年头的书学习springboot,书里用的是springboot2.x和Swagger来生成接口文档。
但现在的SpringBoot3.x已经不能使用Swagger,于是把怎么样使用springdoc-openapi替换Swagger的过程记录一下。
原本的代码:
依赖:
        <dependency>
			<groupId>io.springfox</groupId>
			<artifactId>springfox-swagger2</artifactId>
			<version>2.9.2</version>
		</dependency>
		<!--Swagger-UI依赖 -->
		<dependency>
			<groupId>io.springfox</groupId>
			<artifactId>springfox-swagger-ui</artifactId>
			<version>2.9.2</version>
		</dependency>
SpringBoot Application:
@SpringBootApplication
//↓这个注解是开启Swagger支持
@EnableSwagger2
public class SwaggerApplication {

	public static void main(String[] args) {
		SpringApplication.run(SwaggerApplication.class, args);
	}

}
Swagger配置文件:
/**
 * Swagger 配置文件
 */
@Configuration
public class SwaggerConfig {
    @Bean
    public Docket createRestApi() {
        return new Docket(DocumentationType.SWAGGER_2)
                .apiInfo(apiInfo())
                .select()
                //↓ 这里指明了扫描包的位置
                .apis(RequestHandlerSelectors.basePackage("com.example.demo.controller"))
                .paths(PathSelectors.any())
                .build();
    }

    private ApiInfo apiInfo() {
        return new ApiInfoBuilder()
                .title(" RESTful APIs")
                .description("RESTful APIs")
                .termsOfServiceUrl("http://localhost:8080/")
                .contact("long")
                .version("1.0")
                .build();
    }
}
Controller:(注意这里包的位置)
package com.example.demo.controller;
import io.swagger.annotations.Api;
import io.swagger.annotations.ApiImplicitParam;
import io.swagger.annotations.ApiOperation;
import org.springframework.web.bind.annotation.PathVariable;
import org.springframework.web.bind.annotation.RequestMapping;
import org.springframework.web.bind.annotation.RequestMethod;
import org.springframework.web.bind.annotation.RestController;
import springfox.documentation.annotations.ApiIgnore;
@RestController
public class HelloWorldController {
@ApiOperation(value = "hello", notes = "notes ")
@RequestMapping("/hello")
public String hello() throws Exception {
return "HelloWorld ,Spring Boot!";
}
//使用该注解忽略这个API
@ApiIgnore
@RequestMapping(value = "/ignoreApi")
public String ignoreApi() {
return "HelloWorld ,Spring Boot!";
}
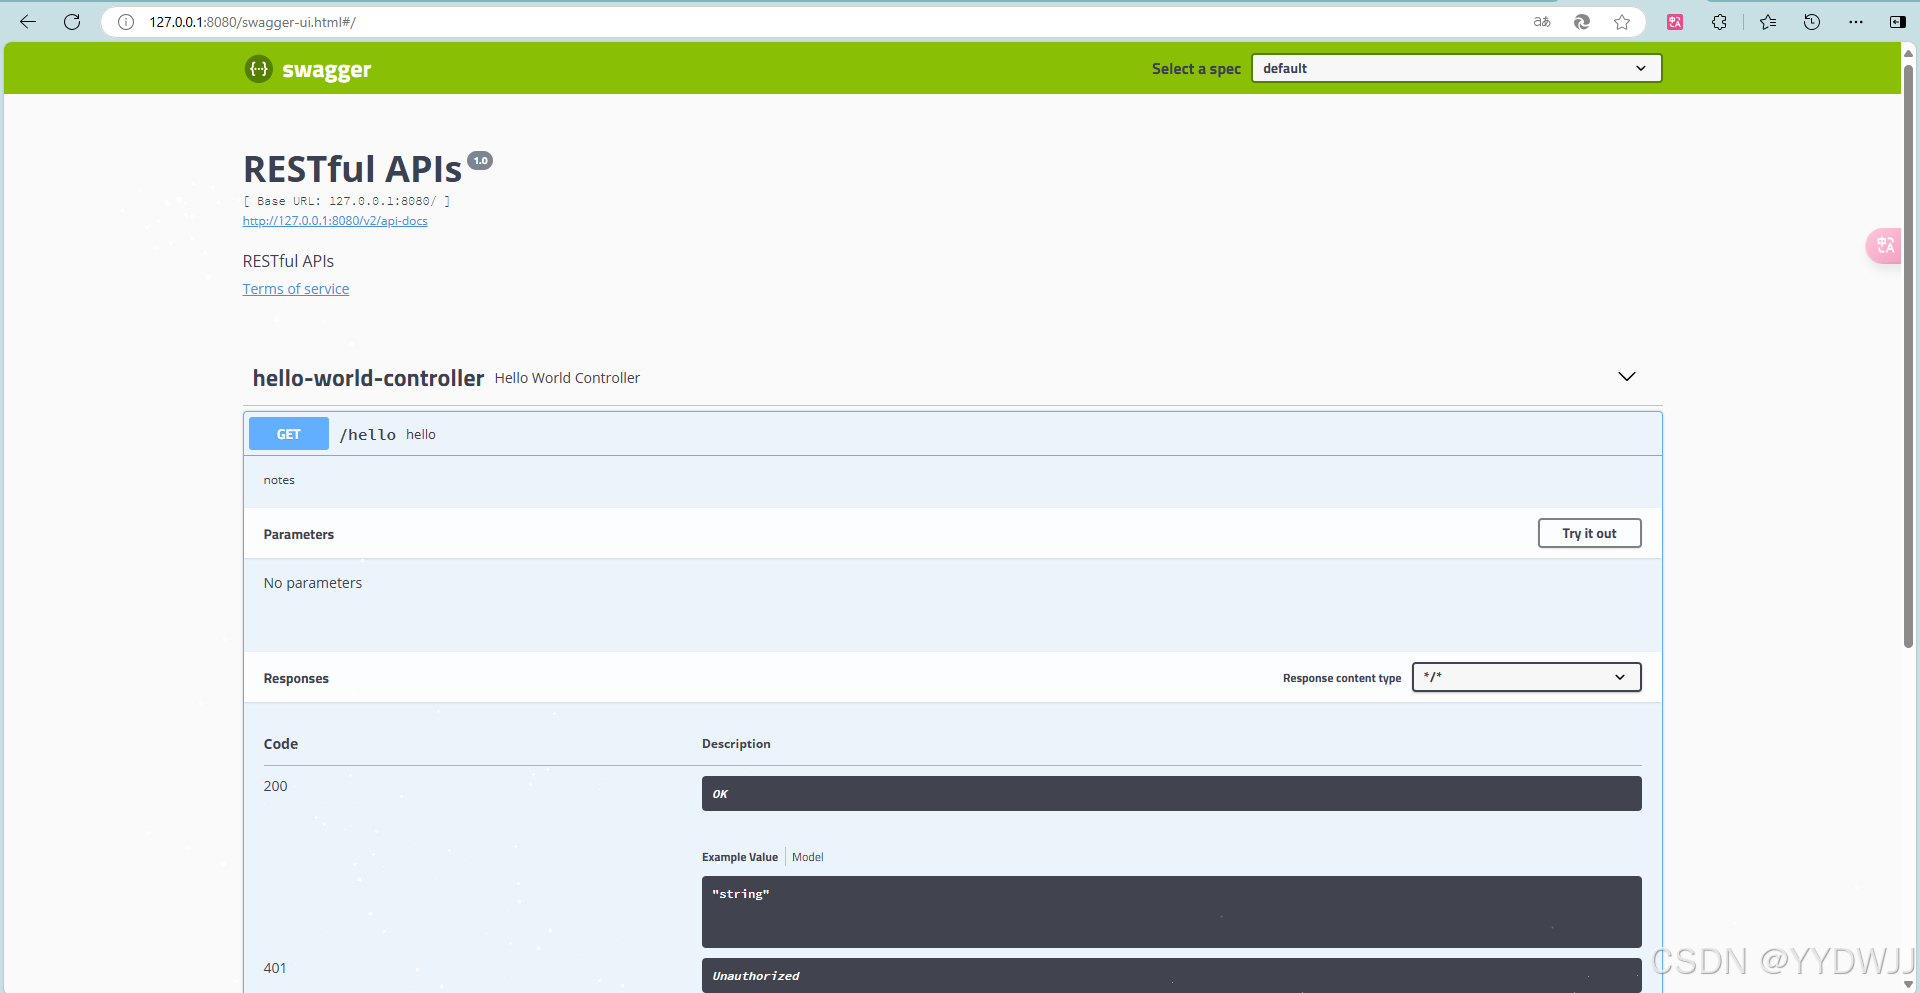
}在SpringBoot2.x以及jdk1.8的环境下,是可以正常运行的,结果如下:
启动程序后,访问这个连接就可以Swagger UI![]() http://127.0.0.1:8080/swagger-ui.html#/
http://127.0.0.1:8080/swagger-ui.html#/
但是!!!SpringBoot3.x是不行的,下面开始替换过程:
首先是修改依赖:
<!-- springboot3+ 和jdk17+ 和swagger版本不兼容 -->
<!--Swagger依赖-->
<!-- <dependency>-->
<!-- <groupId>io.springfox</groupId>-->
<!-- <artifactId>springfox-swagger2</artifactId>-->
<!-- <version>2.9.2</version>-->
<!-- </dependency>-->
<!-- <!–Swagger-UI依赖 –>-->
<!-- <dependency>-->
<!-- <groupId>io.springfox</groupId>-->
<!-- <artifactId>springfox-swagger-ui</artifactId>-->
<!-- <version>2.9.2</version>-->
<!-- </dependency>-->
<dependency>
<groupId>org.springdoc</groupId>
<artifactId>springdoc-openapi-starter-webmvc-ui</artifactId>
<version>2.6.0</version>
</dependency>在application.properties添加关于文档的配置项:
springdoc.api-docs.enabled=true
springdoc.api-docs.path=/v3/api-docs
springdoc.swagger-ui.enabled=true
springdoc.swagger-ui.config-url= /swagger-ui/index.html
在之前Swagger的配置类中,使用下面的代码替换之前的,这是openAPI的配置方式:
 @Bean
    public OpenAPI customOpenAPI() {
        return new OpenAPI()
                .info(new Info().title("My RESTful APIs")
                        .description("API documentation with OpenAPI")
                        .version("1.0")
                        .contact(new Contact().name("yydwjj")
                                .url("https://example.com")
                                .email("yydwjj@example.com")));
    }

    // 定义 API 分组和路径扫描,相当于 Swagger 2 中的 basePackage 和 paths 配置
    @Bean
    public GroupedOpenApi publicApi() {
        return GroupedOpenApi.builder()
                .group("public-api")
                .packagesToScan("com.yydwjj.studentsystem.controller")
                .pathsToMatch("/**")
                .build();
    }
就ok了,启动程序
测试链接:
Swagger UI![]() http://localhost:8080/swagger-ui/index.html
http://localhost:8080/swagger-ui/index.html
在Swagger-ui中,输入自己设定过的路径:(properties文件中的springdoc.api-docs.path)
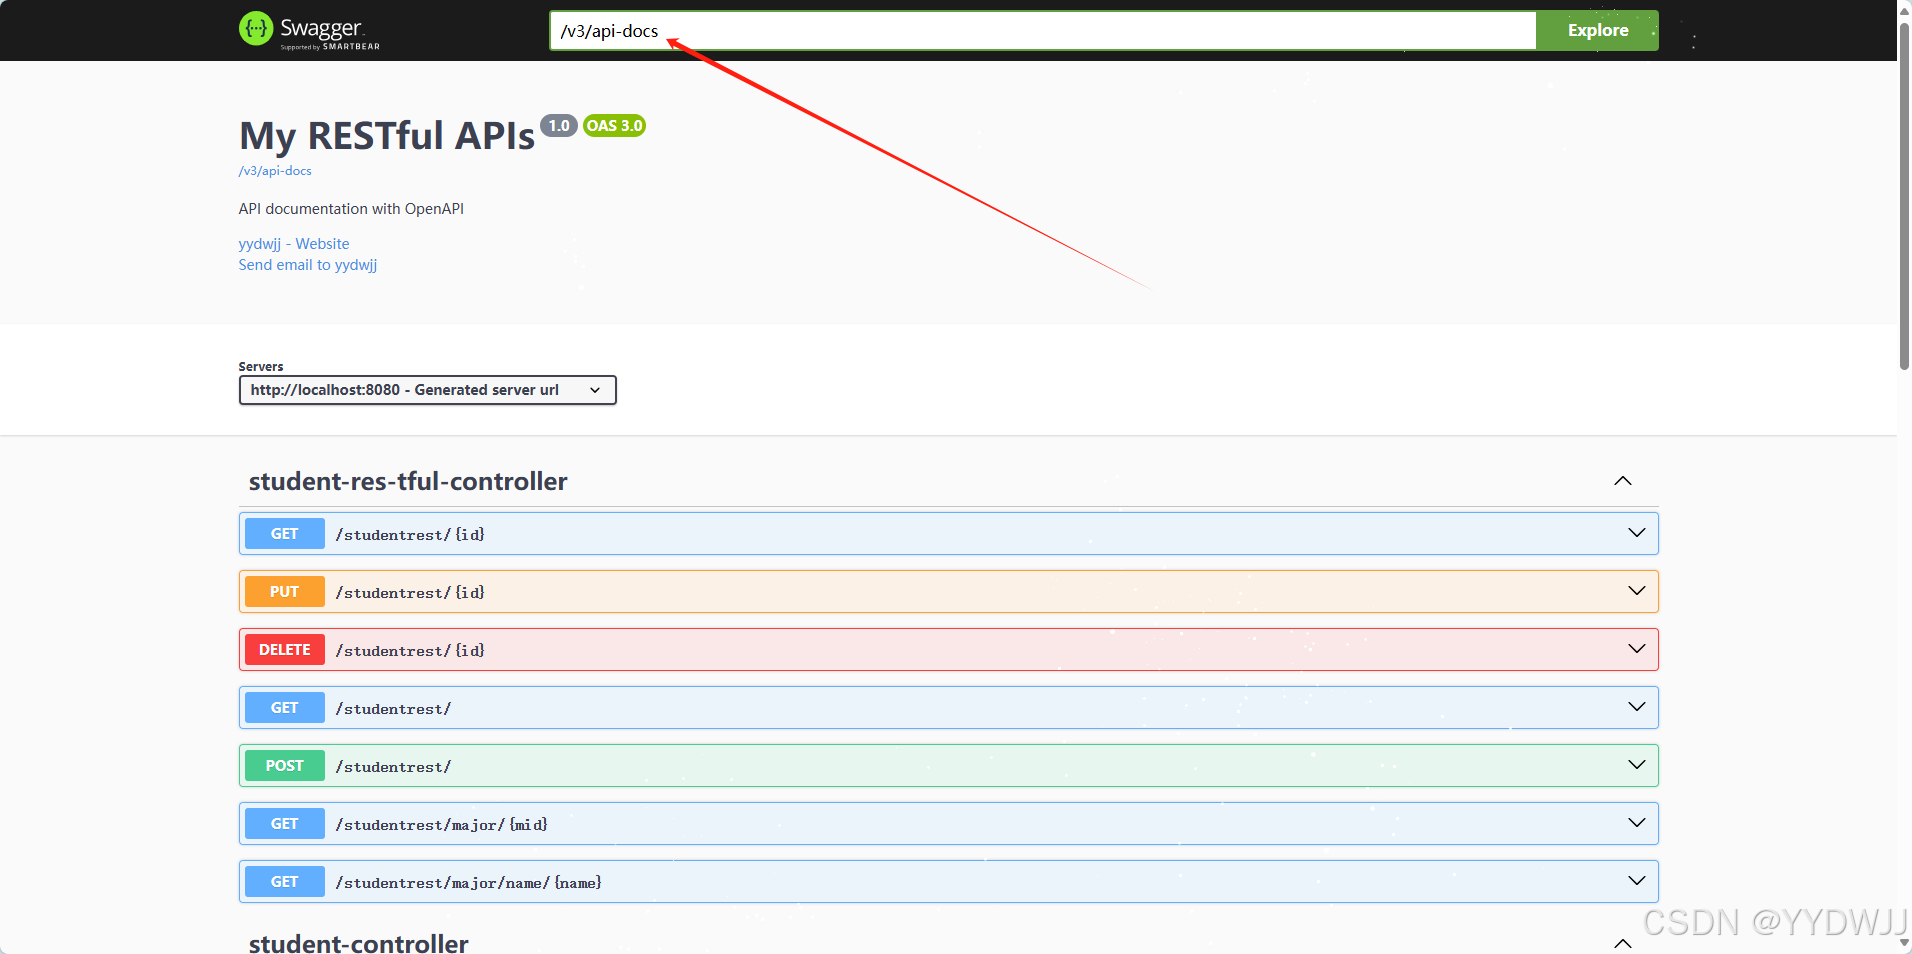 就可以看到生成的接口文档了
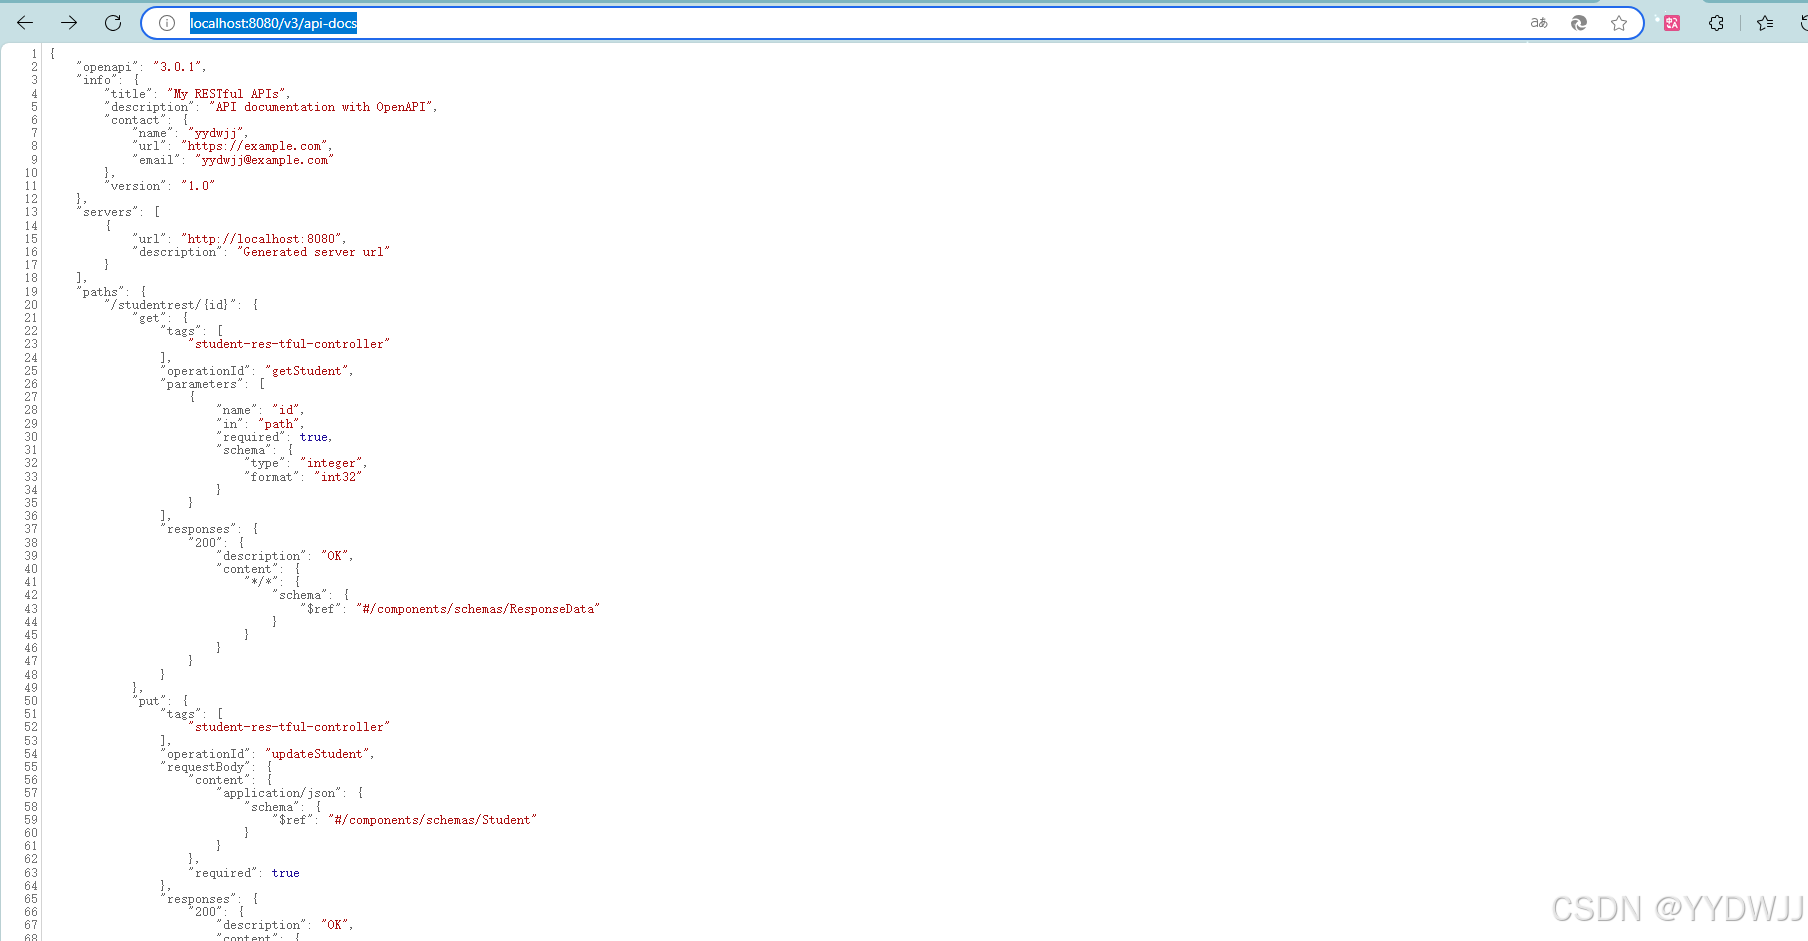
测试链接2:
迁移完成!
参考:


 6813
6813

 被折叠的 条评论
为什么被折叠?
被折叠的 条评论
为什么被折叠?
 到【灌水乐园】发言


