


Qt移动应用开发(五):场景切换
上篇文章讲到了怎样用QtQuick实现绚丽的粒子特效。粒子特效的出现能够说给了开发者一个个性化界面开发的一个契机,以后能够创造出很多其它有趣的界面出来。并适配到Android、iOS等移动平台上。从而让你的程序变得更加有趣!
原创文章,反对未声明的引用。
原博客地址:http://blog.csdn.net/gamesdev/article/details/34840415
这一次我将介绍我在实际应用开发的时候是怎样实现场景的切换的。
场景的切换问题是一个架构上的问题,有非常多的实现方式,而Qt Quick也提供了非常多有用的类,以便我们进行场景的切换。在QML中。场景切换实质上就是将一个界面类隐藏。而另外一个界面类显示的方法。以下的代码就是一个简单的样例:
import QtQuick 2.2
import QtQuick.Controls 1.1

ApplicationWindow
{
    visible: true
    width: 640
    height: 480
    title: qsTr("Hello World")

    Item
    {
        id: scene_1
        visible: true
        anchors.fill: parent
        Text
        {
            anchors.centerIn: parent
            textFormat: Text.RichText
            text: qsTr( "<h1><font color=red>这是第一个场景</color></h1>" )
        }
        MouseArea
        {
            anchors.fill: parent
            onClicked:
            {
                scene_1.visible = false;
                scene_2.visible = true;
            }
        }

    }

    Item
    {
        id: scene_2
        visible: false
        anchors.fill: parent
        Text
        {
            anchors.centerIn: parent
            textFormat: Text.RichText
            text: qsTr( "<h1><font color=green>这是第二个场景</color></h1>" )
        }
	MouseArea
        {
            anchors.fill: parent
            onClicked:
            {
                scene_2.visible = false;
                scene_1.visible = true;
            }
        }
    }
}
程序的演示效果例如以下:
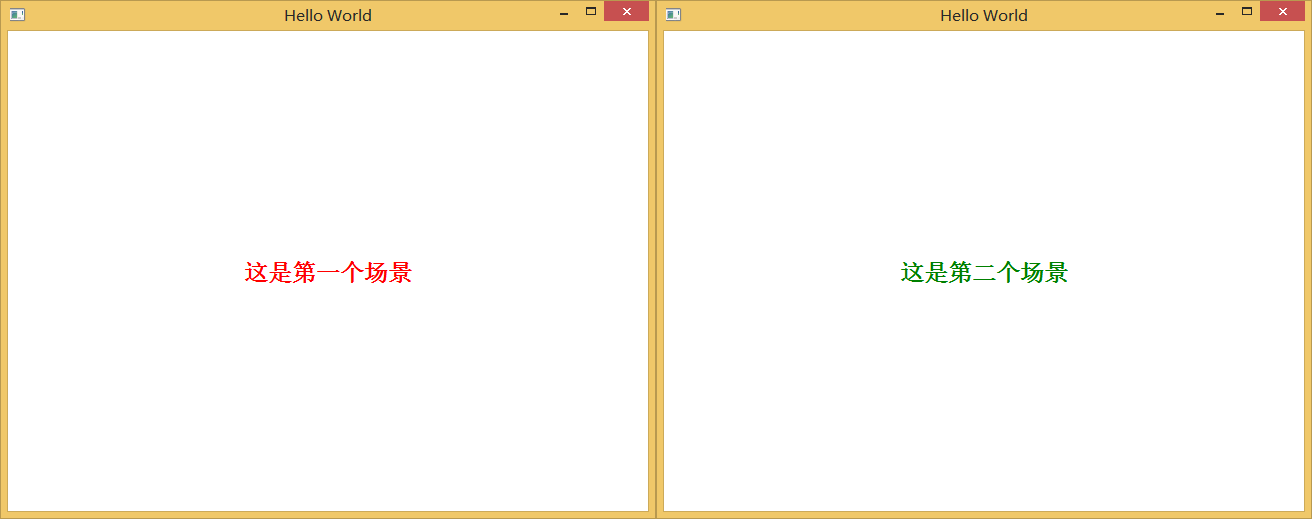
首先出现的是左边的场景,当鼠标点击窗口的时候,就会弹出右边的场景。红色的文字也会消失。
这个样例主要使用Item的visible属性,将原有Item的visible设为false,然后将须要出现的Item的visible设为true就能够达到场景切换的目的了。
一个场景瞬间切换也是很easy的,要想使用一些特效的话。就要充分发挥开发人员的思维,让界面变得丰富多彩!
以下是我使用上一篇博文谈到的粒子系统来实现绚丽的场景切换特效:
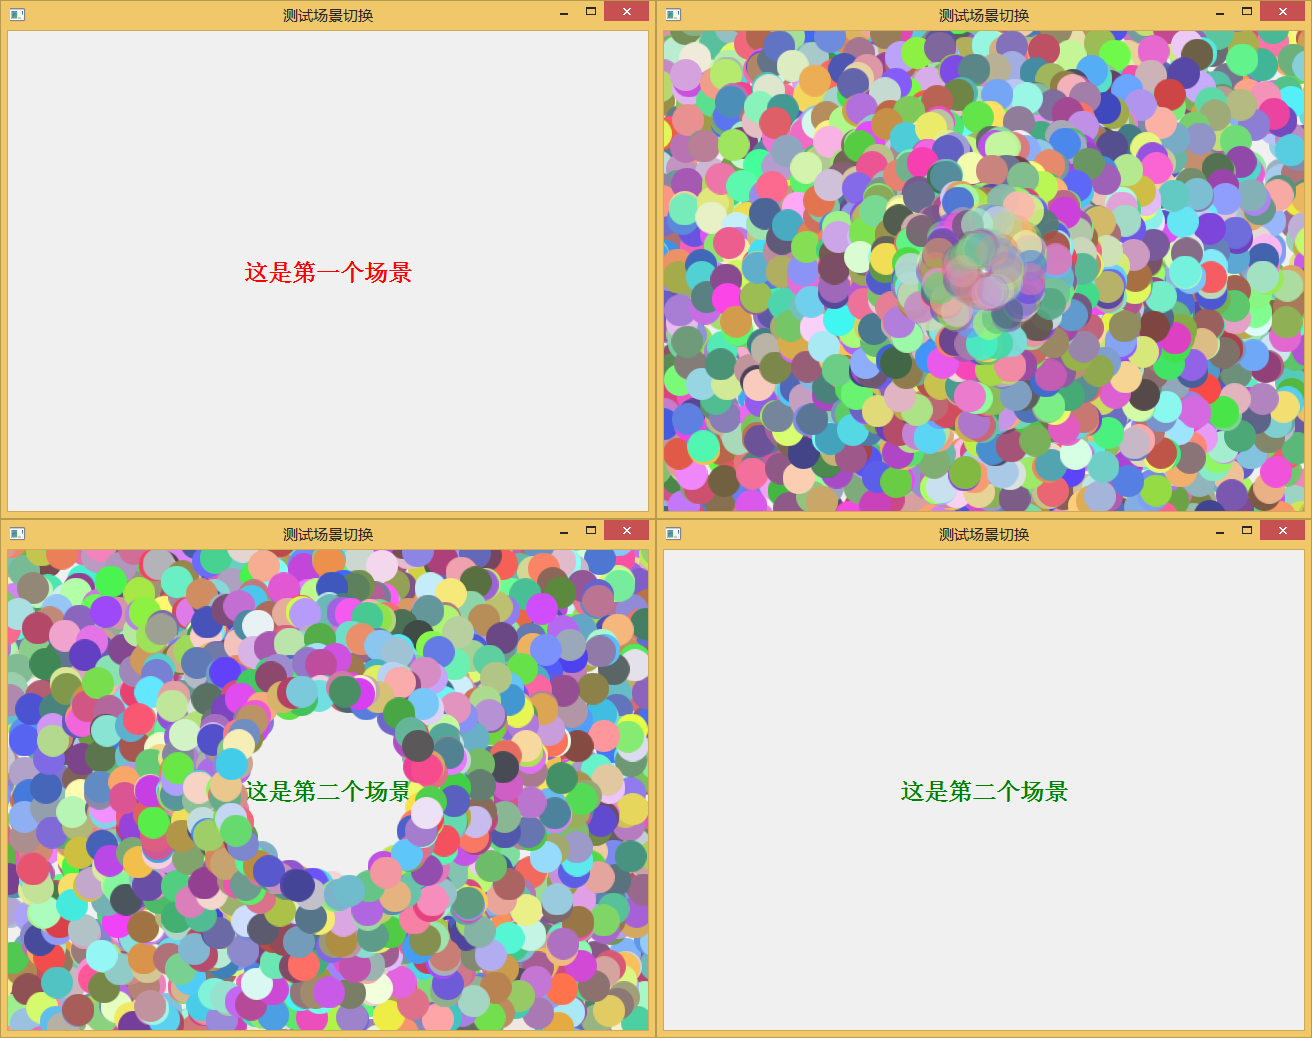
以下是实现的代码:
import QtQuick 2.2
import QtQuick.Controls 1.1
import QtQuick.Particles 2.0

ApplicationWindow
{
    visible: true
    width: 640
    height: 480
    title: qsTr( "測试场景切换" )

    Item
    {
        id: scene_1
        visible: true
        anchors.fill: parent
        Text
        {
            anchors.centerIn: parent
            textFormat: Text.RichText
            text: qsTr( "<h1><font color=red>这是第一个场景</color></h1>" )
        }
        MouseArea
        {
            anchors.fill: parent
            onClicked: sceneTransition( scene_1, scene_2 )
        }
    }

    Item
    {
        id: scene_2
        visible: false
        anchors.fill: parent
        Text
        {
            anchors.centerIn: parent
            textFormat: Text.RichText
            text: qsTr( "<h1><font color=green>这是第二个场景</color></h1>" )
        }
        MouseArea
        {
            anchors.fill: parent
            onClicked: sceneTransition( scene_2, scene_1 )
        }
    }

    ParticleSystem
    {
        anchors.centerIn: parent
        ImageParticle
        {
            source: "qrc:///circle.png"
            colorVariation: 0.75
        }

        Emitter
        {
            id: emitter
            enabled: false
            emitRate: 2000
            size: 32
            lifeSpan: 4000
            velocity: AngleDirection
            {
                magnitude: 200
                angleVariation: 360
            }

            Timer
            {
                id: emitterTimer
                running: emitter.enabled
                interval: 2000
                property var nextScene
                property var thisScene
                onTriggered:
                {
                    thisScene.visible = false;
                    nextScene.visible = true;
                    emitter.enabled = false;
                }
            }
        }
    }

    function sceneTransition( thisScene, nextScene )
    {
        emitterTimer.thisScene = thisScene;
        emitterTimer.nextScene = nextScene;
        emitter.enabled = true;
    }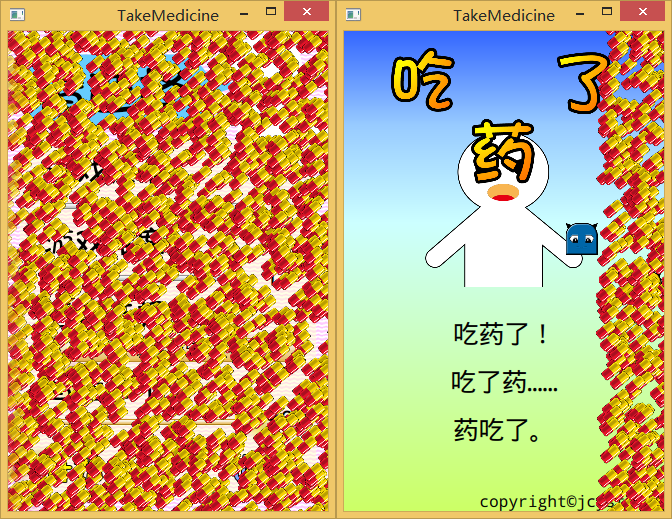
}在我制作的第一款独立游戏《吃药了》中,我精心设计了一种有趣的场景切换的方式:首先用大约6000粒胶囊覆盖主主场景。然后在后面一层设定对应层的visible,等到胶囊消失以后就呈现下一个场景了。
本文參加了CSDN博文大赛,请大家支持我,为我投一票。


 1478
1478


 被折叠的 条评论
为什么被折叠?
被折叠的 条评论
为什么被折叠?
 到【灌水乐园】发言


