


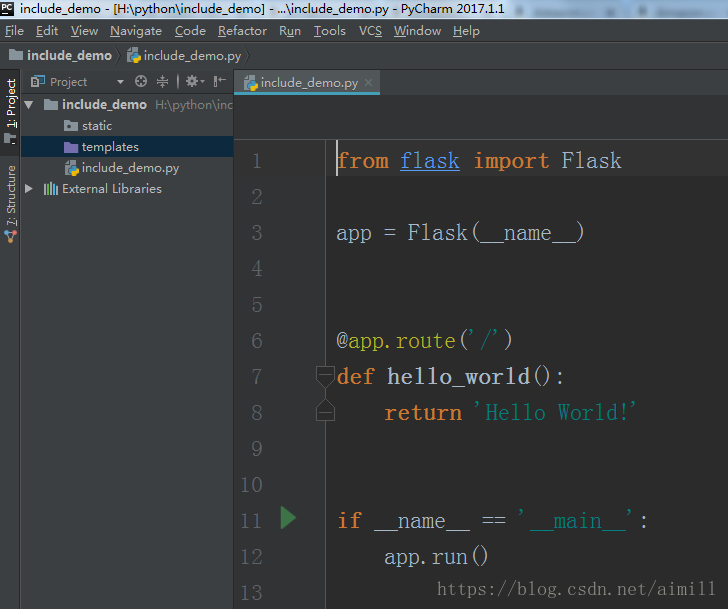
在讲python include标签使用之前,我们新建一个include_demo项目,截图如下:
项目新建好了,再在templates文件下新建一个index.html文件,代码如下:
<!DOCTYPE html>
<html lang="en">
<head>
    <meta charset="UTF-8">
    <title>Title</title>
    <style>
        *{margin:0;padding:0;}
        ul{list-style: none;}
        a{text-decoration: none;
            color: #ffffff;}
        nav,footer,.main{width:1000px; height:40px; margin:0 auto;}
        ul{width: 1000px; height:40px; line-height: 40px;
            background-color:#000000;}
        li{width:120px; height:40px; line-height:40px; text-align: center;
        float:left;}
        .main{clear:both; line-height:40px; background-color:pink;}
        footer{height:40px;  background-color: green;}
    </style>
</head>
<body>

        <nav>
            <ul>
                <li><a href="#">首页</a></li>
                <li><a href="#">关于我们</a></li>
                <li><a href="#">产品中心</a></li>
                <li><a href="#">新闻中心</a></li>
                <li><a href="#">服务宗旨</a></li>
                <li><a href="#">联系我们</a></li>
            </ul>
        </nav>
        <div class="main">
            网站首页主体部分
        </div>
       <footer>
            网站首页footer部分
       </footer>

</body>
</html>
然后在include_demo.py页面渲染一下index模板文件,代码如下:
from flask import Flask,render_template

app = Flask(__name__)


@app.route('/')
def hello_world():
    return render_template("index.html")


if __name__ == '__main__':
    app.run(debug=True)
运行include_demo.py文件,运行结果如下:

在这里主要是为了方便讲解include标签,所有没太注重前端页面部分。
通过上面index.html文件就能发现,我将公共和私有代码部分都在一块,假设网站有几十个页面,我将所有公共代码和私有代码
都放一块,如果有一天要修改某个公共代码块,哪就得修改几十个页面,哪将是件非常蛋疼的事。为了方便管理项目,我们将页面公共、私有代码部分抽取出来。
我们新建一个header.html文件,把css样式及nav标签内容复制到header.html页面中。代码如下:
<!DOCTYPE html>
<html lang="en">
<head>
    <meta charset="UTF-8">
    <title>Title</title>
    <style>
        *{margin:0;padding:0;}
        ul{list-style: none;}
        a{text-decoration: none;
            color: #ffffff;}
        nav,footer,.main{width:1000px; height:40px; margin:0 auto;}
        ul{width: 1000px; height:40px; line-height: 40px;
            background-color:#000000;}
        li{width:120px; height:40px; line-height:40px; text-align: center;
        float:left;}
        .main{clear:both; line-height:40px; background-color:pink;}
        footer{height:40px;  background-color: green;}
    </style>
</head>
<body>
      <nav>
            <ul>
                <li><a href="#">首页</a></li>
                <li><a href="#">关于我们</a></li>
                <li><a href="#">产品中心</a></li>
                <li><a href="#">新闻中心</a></li>
                <li><a href="#">服务宗旨</a></li>
                <li><a href="#">联系我们</a></li>
            </ul>
        </nav>
</body>
</html>
然后新建一个footer.html文件,把footer标签中的内容复制到该文件中。代码如下:
<!DOCTYPE html>
<html lang="en">
<head>
    <meta charset="UTF-8">
    <title>Title</title>
</head>
<body>
     <footer>
            网站首页footer部分
     </footer>
     </footer>
</body>
</html>
我们在运行主app文件,结果如下:
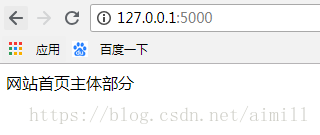
(^-^),为啥没有居中,背景色也不见了??因为我们没有把样式引入进来(嗯,页面太丑了,没法看了,赶紧关了!!)
OK!我们将公共代码抽取出来后。记得在index.html文件中用include标签导入header、footer代码块,代码如下:
<!DOCTYPE html>
<html lang="en">
<head>
    <meta charset="UTF-8">
    <title>Title</title>
</head>
<body>
   {% include "header.html" %}
        <div class="main">
            网站首页主体部分
        </div>
    {% include "footer.html" %}
</body>
</html>
再运行主app文件,结果如下:
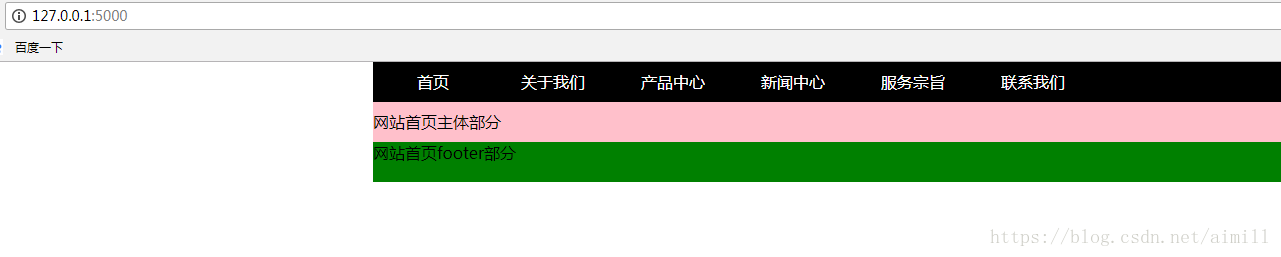
嗯,结果是不是和之前一样,对吧!
通过上面例子,相信大部分小伙伴都明白了include标签的作用及用法。总之一句话,include标签的作用就相当于把抽取的代码复制到当前页面中。


 131
131


 被折叠的 条评论
为什么被折叠?
被折叠的 条评论
为什么被折叠?
 到【灌水乐园】发言


