


1.进入临时文件夹里(随便一个都行)
|
1 |
|
2.下载并安装nginx压缩包
|
1 |
|
3.解压该压缩包
|
1 |
|
4.创建目标文件夹
|
1 |
|
5.(默认会安装在/usr/local/nginx)这里通过configure命令指定安装目录
|
1 |
|
6.编译安装
|
1 |
|
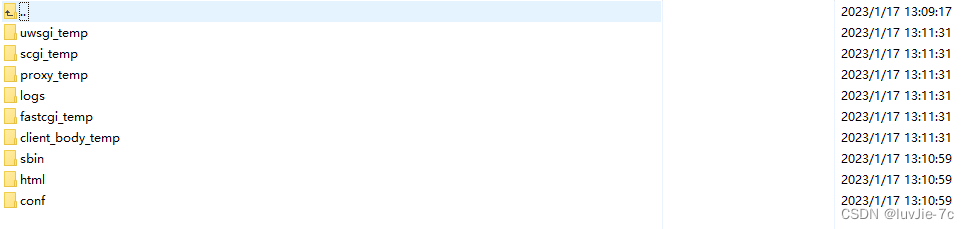
7.最后生成的文件夹具体如下
二、SSL模块安装(SSL证书)用于htpps请求 没此需求可略过
|
1 |
|
三、运行
1.进入nginx下的sbin目录
|
1 |
|
2.执行启动
|
1 |
|
3.查看nginx是否启动
|
1 |
|

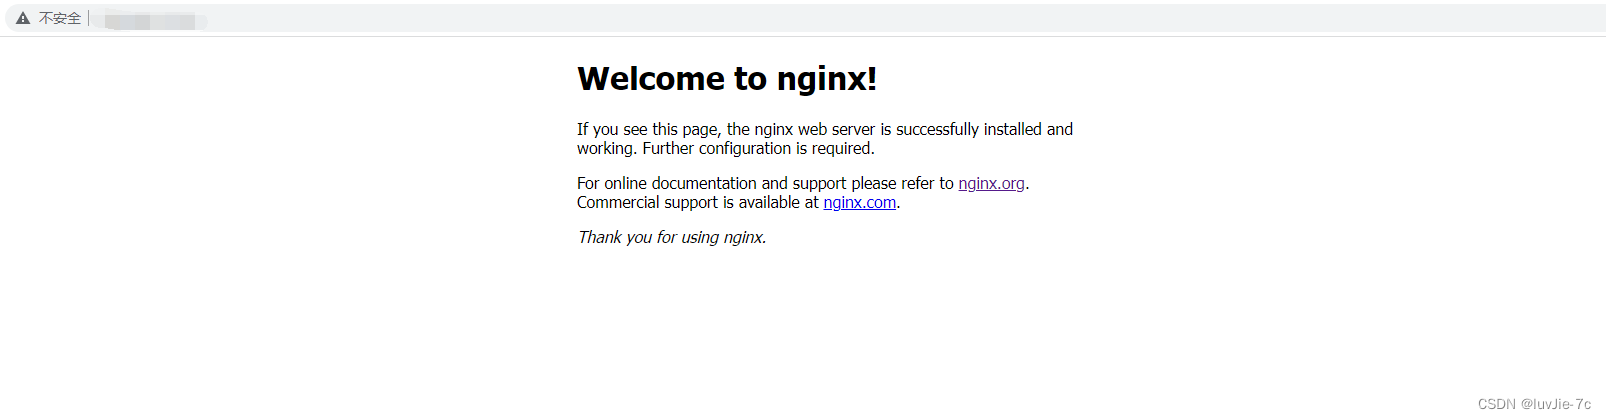
4.浏览器访问你的IP(如下就是成功了)
四、卸载
1.查看nginx是否运行
|
1 |
|
2.进入nginx下的sbin目录
|
1 |
|
3.停止nginx运行
|
1 |
|
4.查看与Nginx有关的文件夹
|
1 |
|
5.删除与Nginx有关的文件
|
1 |
|
6.再查看
|
1 |
|
7.卸载Nginx的依赖
|
1 |
|
五、Nginx的基本操作命令
1.进入nginx下的sbin目录
|
1 |
|
2.启动
|
1 |
|
3.关闭
|
1 |
|
4.重启
|
1 |
|
六、配置成系统服务
1.创建nginx.service文件
|
1 |
|
2.nginx.service文件中写入内容
|
1 2 3 4 5 6 7 8 9 10 11 12 13 14 15 16 |
|
3.改权限
|
1 |
|
4.文件生效
|
1 |
|
5.设置开机自启
|
1 |
|
七、系统服务操作Nginx基本命令
1.启动
|
1 |
|
2.停止
|
1 |
|
3.重启
|
1 |
|
4.重新加载配置文件
|
1 |
|
5. 查看Nginx状态
|
1 |
|
6.开机自动
|
1 |
|
八、nginx.conf文件基本配置详解
|
1 2 3 4 5 6 7 8 9 10 11 12 13 14 15 16 17 18 19 20 21 22 23 24 25 26 27 28 29 30 31 32 33 34 35 36 37 38 39 40 41 42 43 44 45 46 47 48 49 50 51 52 53 54 55 56 57 58 59 60 61 62 63 64 65 66 67 68 69 70 71 72 73 74 75 76 77 78 79 80 81 82 83 84 85 86 87 88 89 90 91 92 93 94 95 96 97 98 99 100 101 102 103 104 105 106 107 108 109 110 111 112 113 114 115 116 117 118 119 120 121 122 123 124 125 126 127 |
|


 被折叠的 条评论
为什么被折叠?
被折叠的 条评论
为什么被折叠?
 到【灌水乐园】发言


