


先列出 自定义ActionBar布局左边始终有一点边距的问题的解决办法:
左边的那点边距,其实是由于在 ActionBar继承的样式中,有一个属性,contentInsetStart(默认值是16dp),它导致的,所以如果不想要左边的这个边距,直接改为0即可。
我的代码如下: 重点已标红。
这里为目标Activity继承AppConpat的样式,然后覆写其中actionbar的样式:MyActionBarStyle,在其中定义这个actionbar的背景颜色 以及左右边距
<resources>

    <!-- Base application theme. -->
    <style name="AppTheme" parent="Theme.AppCompat.Light">
        <!-- Customize your theme here. -->
        <!-- All customizations that are NOT specific to a particular API-level can go here. -->
        <item name="android:actionBarStyle">@style/MyActionBarStyle</item>
        <!-- Support library compatibility -->
        <item name="actionBarStyle"> @style/MyActionBarStyle</item>
    </style>

    <style name="MyActionBarStyle" parent="@style/Widget.AppCompat.Light.ActionBar.Solid">
        <item name="android:background">@color/action_bar_background</item>
        <!-- Support library compatibility -->
        <item name="background">@color/action_bar_background</item>
<!--解决左边一直有一块边距的问题 contentInsetStart = 0 -->
<item name="contentInsetStart">0dp</item>
<item name="contentInsetEnd">0dp</item>
</style>
</resources>
====================================================================================
自定义actionbar的布局文件:
<?xml version="1.0" encoding="utf-8"?>
<RelativeLayout xmlns:android="http://schemas.android.com/apk/res/android"
    android:layout_width="match_parent"
    android:layout_height="match_parent">


    <ImageView
        android:id="@+id/imageView"
        android:layout_width="wrap_content"
        android:layout_height="wrap_content"
        android:layout_centerInParent="true"
        android:src="@mipmap/ic_launcher" />

    <TextView
        android:id="@+id/textView"
        android:layout_width="wrap_content"
        android:layout_height="wrap_content"
        android:layout_alignParentLeft="true"
        android:layout_centerVertical="true"
        android:text="好友列表" />

    <TextView
        android:id="@+id/textView2"
        android:layout_width="wrap_content"
        android:layout_height="wrap_content"
        android:layout_alignParentRight="true"
        android:layout_centerVertical="true"
        android:text="添加好友" />
</RelativeLayout>
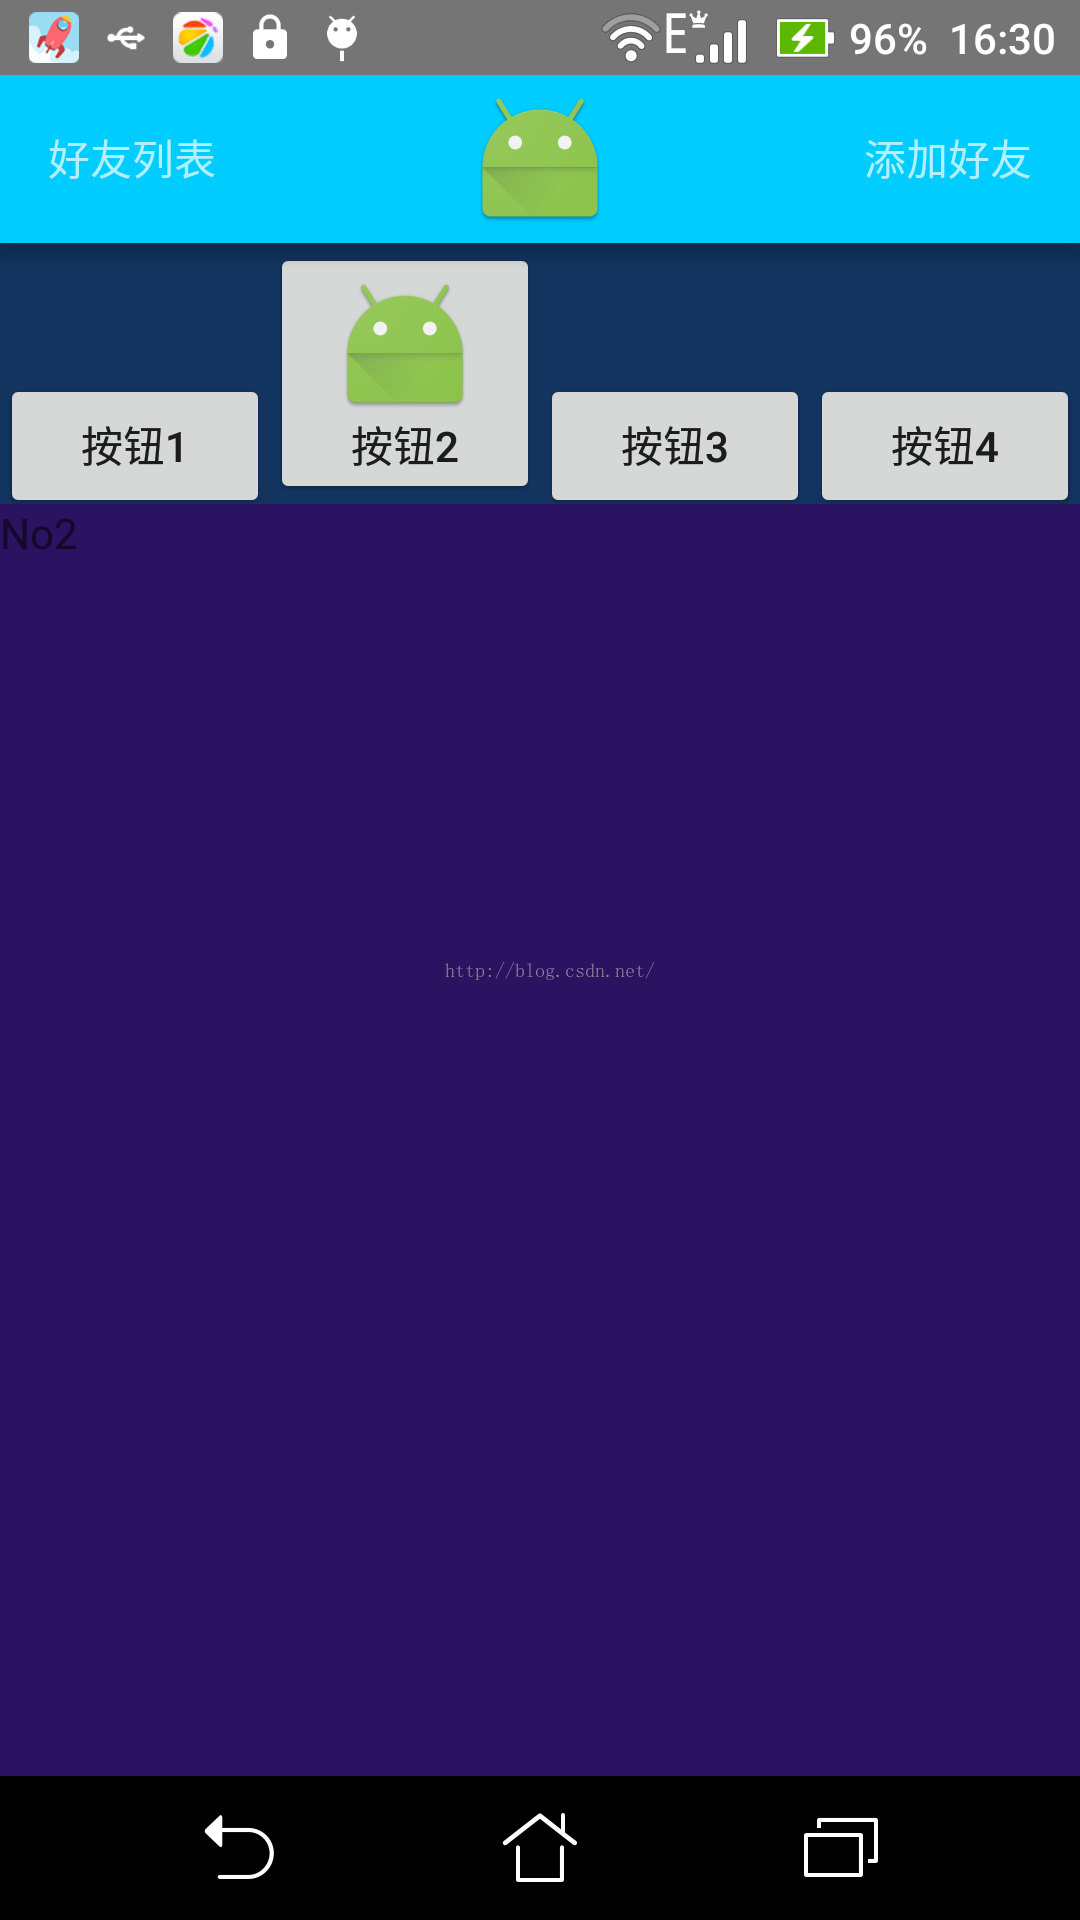
很简单,Actionbar中间一个图标,左边是好友列表,右边是添加好友的文字。
====================================================================================
然后在目标Activity的onCreate方法里:
//获取ActionBar对象
        ActionBar bar =  getSupportActionBar();
        //自定义一个布局,并居中
        bar.setDisplayShowCustomEnabled(true);
        View v = LayoutInflater.from(getApplicationContext()).inflate(R.layout.actionbar_main, null);
bar.setCustomView(v, new ActionBar.LayoutParams(ActionBar.LayoutParams.MATCH_PARENT, ActionBar.LayoutParams.MATCH_PARENT));
四行代码搞定,第一行获取ActionBar对象,
然后设置ActionBar允许设定自定义布局为true。
然后将上述的布局文件inflate成view,最后调用actionbar的setCustomView方法,传入view和布局参数(占满actionbar,MATCH_PARENT,MATCH_PARENT)。
====================================================================================
搞定!效果图如下:(我这里利用contentInsetStart和contentInsetEnd 设定了左右边距为16dp)
====================================================================================
【完全自定义Toolbar:】
ActionBar好像是3.0的产物了,现在已经是6.0的时代,所以我们还是来整一整ToolBar 吧。O(∩_∩)O~~
首先新开一个Activity,继承Theme.AppCompat.Light.NoActionBar,这里是个重点哦,ActionBar和ToolBar是两姐妹,可惜我们只能娶她们一个,只能选择一个在我们(的Activity)的上面,所以如果要用ToolBar就得选择NoActionBar这个style。如下:
<!-- 利用toolbar实现如上效果-->
<style name="ToolBarTheme" parent="Theme.AppCompat.Light.NoActionBar">
    <!-- toolbar颜色 -->
    <item name="colorPrimary">@color/material_blue_500</item>
    <!-- 状态栏的颜色 -->
    <item name="colorPrimaryDark">@color/material_blue_700</item>
    <item name="colorAccent">@color/material_green_A200</item>
    <!-- toolbar的主题-->
    <item name="toolbarStyle">@style/ClubToolbar</item>
</style>

<style name="ClubToolbar" parent="Widget.AppCompat.Toolbar">
    <!-- 设置该属性解决空白部分-->
    <item name="contentInsetStart">16dp</item>
    <item name="contentInsetEnd">16dp</item>
</style>
顺便贴一下Activity的AndroidManifest.xml的内容:
<activity
    android:name="com.example.viewpagerandfragment.ToolBarActivity"
    android:theme="@style/ToolBarTheme" />
====================================================================================
然后ToolBarActivity.java如下: 重点就是getSupportActionBar().setDisplayShowTitleEnabled(false); 将toolbar的标题设为空,方便我们愉快的完全自定义Toolbar。
package com.example.viewpagerandfragment;

import android.os.Bundle;
import android.support.v7.app.ActionBarActivity;
import android.support.v7.widget.Toolbar;

/**
 * Created by zhangxutong on 2016/1/5.
 */
public class ToolBarActivity extends ActionBarActivity {
    @Override
    protected void onCreate(Bundle savedInstanceState) {
        super.onCreate(savedInstanceState);
        setContentView(R.layout.activity_toolbar);

        Toolbar toolbar = (Toolbar) findViewById(R.id.id_toolbar);
        setSupportActionBar(toolbar);//继承自ActionBarActivity
        //隐藏Toolbar的标题
        getSupportActionBar().setDisplayShowTitleEnabled(false);
    }
}
核心就三句话:
获取toolbar控件,设置toolbar为actionbar,然后设置toolbar(actionbar)标题不显示。
====================================================================================
activity_toolbar.xml 如下:
<?xml version="1.0" encoding="utf-8"?>
<LinearLayout xmlns:android="http://schemas.android.com/apk/res/android"
    android:layout_width="match_parent"
    android:layout_height="match_parent"
    android:orientation="vertical">

    <!--    <android.support.v7.widget.Toolbar
            android:background="?attr/colorPrimary"
            android:id="@+id/id_toolbar"
            android:layout_height="wrap_content"
            android:layout_width="match_parent" />-->

    <include
        android:id="@+id/id_toolbar"
        layout="@layout/toolbar" />

</LinearLayout>
include(方便复用)了一个布局文件,再看toolbar.xml的布局:
<?xml version="1.0" encoding="utf-8"?>
<android.support.v7.widget.Toolbar xmlns:android="http://schemas.android.com/apk/res/android"
    xmlns:app="http://schemas.android.com/apk/res-auto"
    xmlns:segmentedgroup="http://schemas.android.com/apk/res-auto"
    android:layout_width="match_parent"
    android:layout_height="wrap_content"
    android:background="?attr/colorPrimary"
    android:minHeight="?attr/actionBarSize"
    >

    <!--<TextView
        android:id="@+id/toolbar_num"
        android:layout_width="wrap_content"
        android:layout_height="wrap_content"
        android:layout_gravity="left"
        android:text="num"
        android:textColor="#fff"
        android:textSize="16dp" />


    <TextView
        android:id="@+id/toolbar_edit"
        android:layout_width="wrap_content"
        android:layout_height="wrap_content"
        android:layout_gravity="right"
        android:text="添加好友"
        android:textColor="#fff"
        android:textSize="16dp" />-->

    <include layout="@layout/actionbar_main"/>

</android.support.v7.widget.Toolbar>
由于toolbar其实是一个ViewGroup,所以它可以包含任意的控件在里面。
在这个文件里我们就可以肆意的挥洒我们的toolbar布局,我这里直接include了本文前面的actionbar_main布局。
====================================================================================
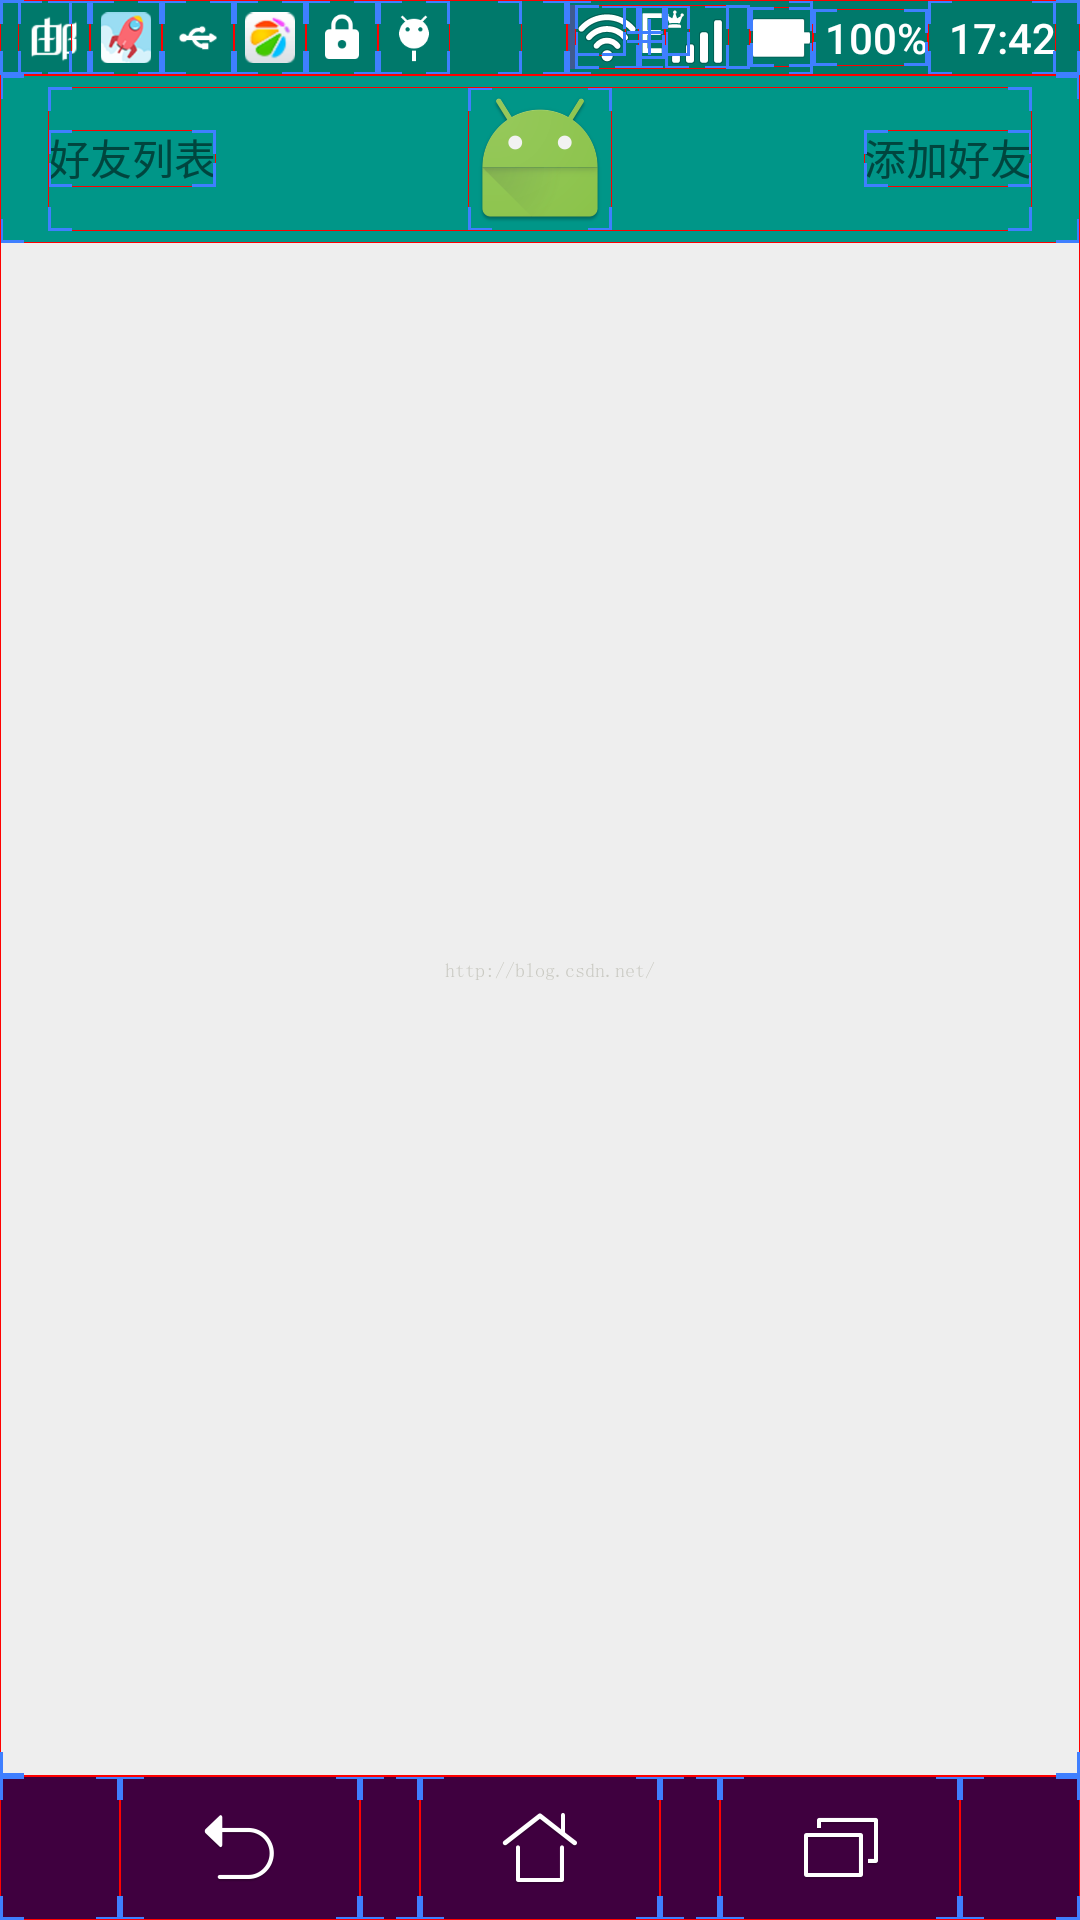
至此 完全自定的Toolbar就搞定了,UI如下:


 130
130


 被折叠的 条评论
为什么被折叠?
被折叠的 条评论
为什么被折叠?
 到【灌水乐园】发言


