


一 首先到ActiveMQ下载安装包
Active官网地址http://activemq.apache.org/activemq-5150-release.html

如图所示,有两个下载的链接,我们下载第一个,用于Windows平台。
下载好了以后,选择好安装的位置,我这里是安装在了E:\software place\activeMq\apache-activemq-5.15.0
进入到对应的bin文件夹下,例如我的是E:\software place\activeMq\apache-activemq-5.15.0\bin\win64
然后启动activemq.bat
在浏览器输入127.0.0.1:8161可以进入activeMQ界面

我们使用的是bat文件方式打开,这样子我们整个使用过程中bat文件不能关闭的,我们还可以用服务方式启动
在bin目录下选择InstallService.bat以管理员命令启动
然后命令行cmd下输入services.msc打开服务窗口可以看到activeMQ服务出现了。

将服务启动后,就可以在进程里看见运行的服务,可以设置为开机自动启动。
二 Java关于activeMQ的实现
先来看看JMS在java中的实现接口

利用这些接口,可以用java代码是实现消息的发送接受,实现消息生产者与消费者
首先需要导入activeMQ的相关包
<dependencies>
       <dependency>
           <groupId>org.apache.activemq</groupId>
           <artifactId>activemq-all</artifactId>
          <version>5.9.0</version>
       </dependency>
   </dependencies>
① 先来实现消息生产者
package com.myself.jms.queue;
import org.apache.activemq.ActiveMQConnectionFactory;
import javax.jms.*;
/**
* Created by Administrator on 2017/7/15.
*/
public class AppProducer {
private static final String url="tcp://192.168.1.101:61616";
private static final String queueName="queue-test";
public static void main(String[] args)throws JMSException {
//1,创建ConnectionFacytory
ConnectionFactory connectionFactory = new ActiveMQConnectionFactory(url);
//2,创建连接Connection
Connection connection = connectionFactory.createConnection();
//3,启动链接
connection.start();
//4创建会话
Session session = connection.createSession(false, Session.AUTO_ACKNOWLEDGE);
//5,创建一个目标
Destination destination = session.createQueue(queueName);
//6,创建一个生产者
MessageProducer producer = session.createProducer(destination);
for(int i=0;i<100;i++){
//7,创建消息
TextMessage testMessage= session.createTextMessage("Text"+i);
//8发布消息
producer.send(testMessage);
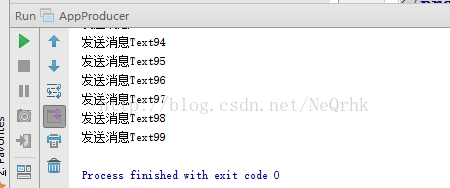
System.out.println("发送消息"+testMessage.getText());
}
//9,关闭连接
connection.close();
}
}
运行后可以看到发送了100条消息
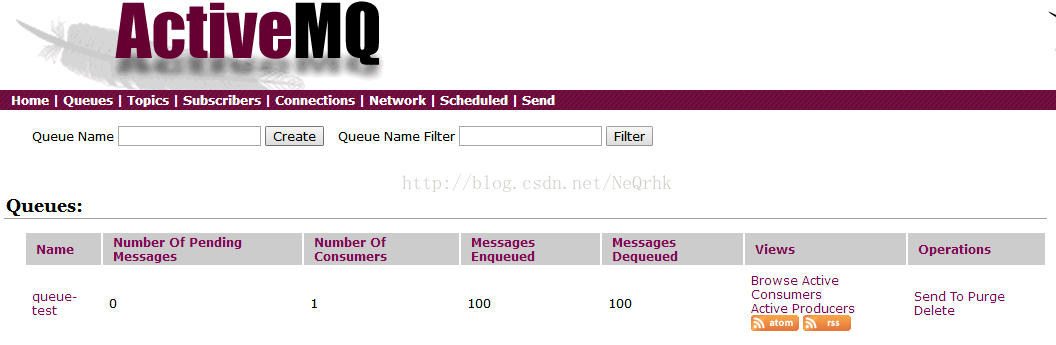
也可以在activeMQ的网页中队列里有100条信息

有了生产者,也得需要消息消费者消费掉所产生的信息,产生的东西总是需要有人来处理的,否则就是一种资源的浪费了。
② 信息消费者的实现
package com.myself.jms.queue;
import org.apache.activemq.ActiveMQConnectionFactory;
import org.apache.activemq.transport.udp.DatagramEndpoint;
import javax.jms.*;
import javax.xml.soap.Text;
/**
* Created by Administrator on 2017/7/15.
*/
public class AppConsumer {
private static final String url="tcp://192.168.1.101:61616";
private static final String queueName="queue-test";
public static void main(String[] args)throws JMSException {
//1,创建ConnectionFacytory
ConnectionFactory connectionFactory = new ActiveMQConnectionFactory(url);
//2,创建连接Connection
Connection connection = connectionFactory.createConnection();
//3,启动链接
connection.start();
//4创建会话
Session session = connection.createSession(false, Session.AUTO_ACKNOWLEDGE);
//5,创建一个目标
Destination destination = session.createQueue(queueName);
//6 创建一个消费者
MessageConsumer consumer = session.createConsumer(destination);
//7创建一个监听器
consumer.setMessageListener(new MessageListener() {
public void onMessage(Message message) {
TextMessage textMessage = (TextMessage) message;
try {
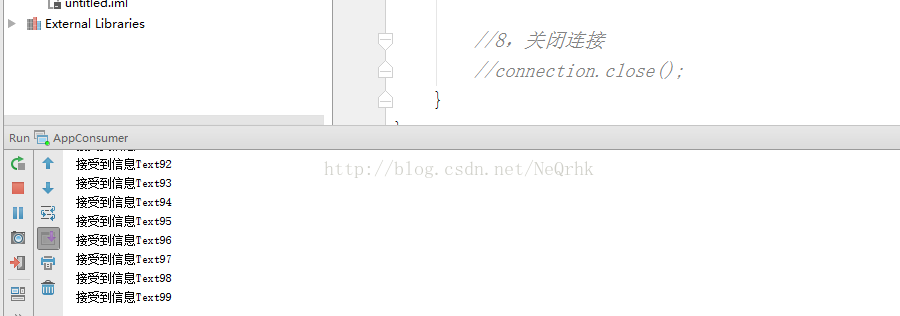
System.out.println("接受到信息"+textMessage.getText());
} catch (JMSException e) {
e.printStackTrace();
}
}
});
//8,关闭连接
connection.close();
}
}
运行后消息确实接受到了
在activeMQ的网页中,可以看到出队列数目100,
今天Active的初步入门就到这里吧, 咱们下次在继续新的话题。


 270
270


 被折叠的 条评论
为什么被折叠?
被折叠的 条评论
为什么被折叠?
 到【灌水乐园】发言


