


 本文介绍了如何在PyCharm中使用Virtualenv设置TensorFlow开发环境。具体步骤包括创建并激活Virtualenv虚拟环境、配置PyCharm的解释器路径、验证Python及TensorFlow版本等。适用于希望快速搭建机器学习开发环境的开发者。
PyCharm + Virtualenv + TensorFlow
1. Virtualenv 虚拟环境目录的 bin 目录。
strong@foreverstrong:~/virtualenv/tensorflow/bin$ source activate tensorflow
(tensorflow) strong@foreverstrong:~/virtualenv/tensorflow/bin$ which python
/home/strong/virtualenv/tensorflow/bin/python
(tensorflow) strong@foreverstrong:~/virtualenv/tensorflow/bin$ deactivate
strong@foreverstrong:~/virtualenv/tensorflow/bin$
2. python 路径
/home/strong/virtualenv/tensorflow/bin/python
3. File -> Settings... -> Project Interpreter -> 齿轮 -> Add Local
/home/strong/virtualenv/tensorflow/bin/python2.7

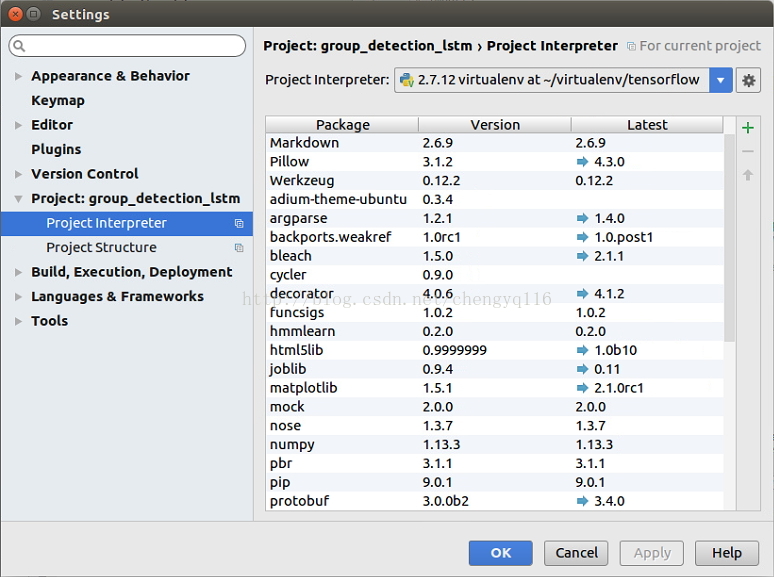
Apply -> OK
4. Virtualenv + TensorFlow version
strong@foreverstrong:~$ tensorflow
(tensorflow) strong@foreverstrong:~$ python
Python 2.7.12 (default, Nov 19 2016, 06:48:10)
[GCC 5.4.0 20160609] on linux2
Type "help", "copyright", "credits" or "license" for more information.
>>> import tensorflow as tf
>>> tf.__version__
'0.9.0'
>>> exit()
(tensorflow) strong@foreverstrong:~$ deactivate
strong@foreverstrong:~$


 3489
3489

 被折叠的 条评论
为什么被折叠?
被折叠的 条评论
为什么被折叠?
 到【灌水乐园】发言


