


前提ssm整合成功
1.准备环境,jar包
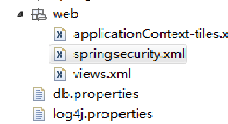
2.添加springsecurity.xml 文件
3.文件内容
(1) 先配置那些不经过spring安全的页面 和 URL,用http标签
如:
<http pattern="/user/login.action" security="none"></http>
<http pattern="/user/checkRegister.action" security="none"></http>
<http pattern="/js/**" security="none"></http>
<http pattern="/css/**" security="none"></http>
<http pattern="/font-awesome/**" security="none"></http>
<http pattern="/jsp/*.jsp" security="none"></http>
也可以
<http pattern="/**/*.js" security="none"/>
<http pattern="/**/*.css" security="none"></http>
(2)配置http标签,设置auto-config 自动配置过滤器,其实就是过滤器的执行顺序
设置auto-config = true 可以自动生成一个登录页面
如:
<http auto-config="true" use-expressions="true">
标签中 使用from-login标签来定义登录页面
ru:
<form-login login-page="/jsp/login.jsp" login-processing-url="/login.action" username-parameter="loginid" password-parameter="password"
default-target-url="/user/loginUser.action"
authentication-failure-url="/jsp/login.jsp?content=tt"/>
login-page:表示使用我们自己的登录页面,spring安全用一个自己的登录页面,若没有这个设置,则使用默认spring安全的登录页面
login-processing-url:登录提交的URL,默认使用spring自定义的j_security_user_check,但是为了方便我们操作,改成 springsecuirty提供的 /login.action, 所以在from表单的属性action需要指定的是/login.action,但是需要注意的是,这个action不是我们自己定义的controller,而是用spring安全给我们规定好的,我们只是配置一个名字而已
username-parameter:用户名参数,其实就是登陆页面的登录标签的name属性值
password-parameter:作用同上
authentication-failure-url:认证失败后跳转到的页面
<!-- 接下来我们来定义角色和页面之间的关系,也就是说那些角色可以访问那些页面,如果访问没有权限的页面,提示403 -->
<intercept-url pattern="/role/**" access="hasRole('ROLE_MESSAGE')"/> <intercept-urlpattern="/user/loginUser.action" access="hasAnyRole('ROLE_MESSAGE','ROLE_SYSTEM','ROLE_AUTHORITY','ROLE_EXAM')"/>
<intercept-url pattern="/**" access="hasRole('ROLE_SYSTEM')"/>
</http>
(3). 获取用户所具有的角色认证管理 ,需要自己编写service来实现,编写的这个 service ,需要实现UserDetailsService接口
<authentication-manager>
<authentication-provider user-service-ref="loginService"> </authentication-provider>
</authentication-manager>
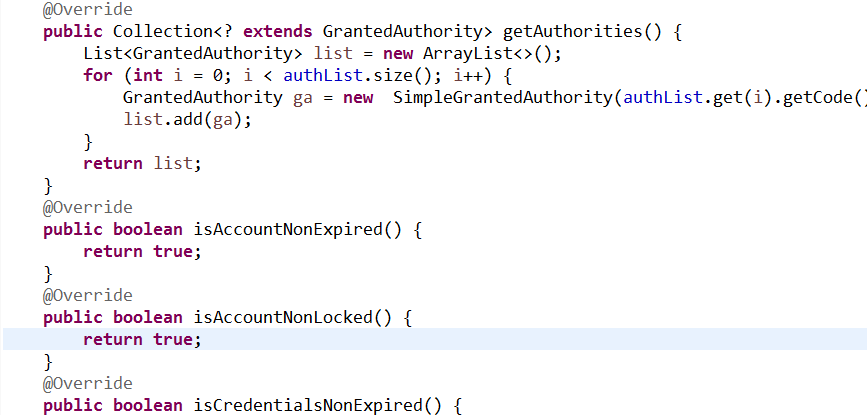
4.登录专用的po 要 实现UserDetails,并加 private List<PUmAuthority> authList属性,并把重写的方法 的返回boolean 型值 改为 true
如
5.需要自己编写service来实现,编写的这个service ,需要实现UserDetailsService接口 ,并和springsecurity.xml中配置的名字一样
6. 现在 springsecurity.xml配置 好了 ,LoginUSer implements UserDetails也写好了,LoginService implements UserDetailsService也写好了,要加在springsecurity.xml
在web.xml中加载
Spring security :安全框架 。通过过滤器实现的 。Filter 在web.xml文件中配置
如:
<!--所有的资源都要经过spring安全,需要将spring安全的过滤器写在dispatcher之前 -->
<filter>
<filter-name>springSecurityFilterChain</filter-name>
<filter-class>org.springframework.web.filter.DelegatingFilterProxy</filter-class>
</filter>
<filter-mapping>
<filter-name>springSecurityFilterChain</filter-name>
<url-pattern>/*</url-pattern>
</filter-mapping>
加载

ok!!!!!!!!
运行是发生的错误
1, <http pattern="/js/*" security="none"></http>
<http pattern="/css/*" security="none"></http>
一个* 和两个** 的区别 :一个* 不能跨包,两个**能挎包访问
2.
<http pattern="/js/**" security="none"></http>
<http pattern="/css/**" security="none"></http>
也报错,改为 下面这种就好了
<http pattern="/**/*.js" security="none"/>
<http pattern="/**/*.css" security="none"></http>
再改回去
<http pattern="/js/**" security="none"></http>
<http pattern="/css/**" security="none"></http>就好了


 1973
1973

 被折叠的 条评论
为什么被折叠?
被折叠的 条评论
为什么被折叠?
 到【灌水乐园】发言


