


springmvc面世也有很长一段时间了,之前也抽不出时间学习,这几天得空随便学了一下觉得还是挺简单也挺好用的,这次打算和大家分享springmvc的环境搭建,考虑到后面要和jpa整合开发包看着有点恐怖,要用到的开发包如下所示:
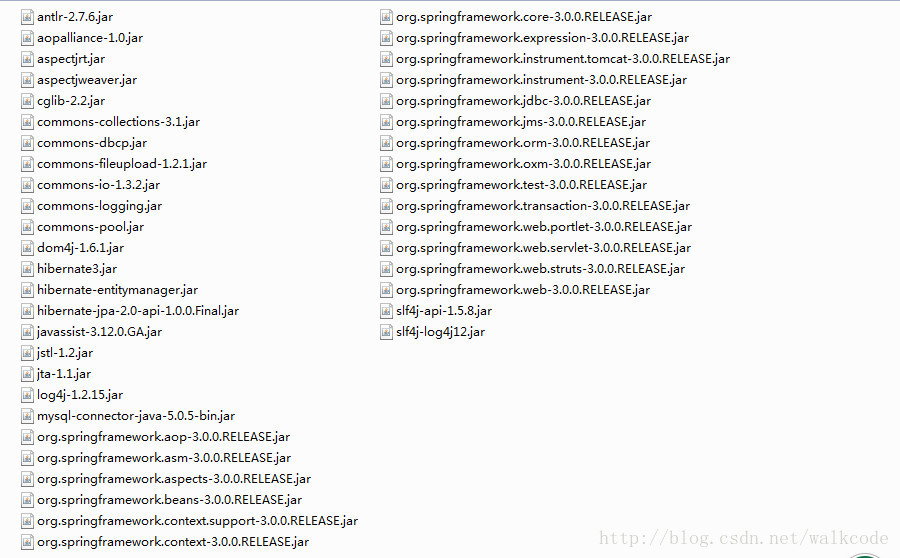
是不是超吓人的,不过没关系管他有多少呢
接下来则是编写springmvc的配置文件,网上有很多种说法有的说文件名是固定的有人说是随意,我比较倾向后者的说法,接下来分享一下我的写法,下面这种是比较全面的包含数据库连接池、事务管理等的总配置文件
<?xml version="1.0" encoding="UTF-8"?>
<beans xmlns="http://www.springframework.org/schema/beans"
	xmlns:xsi="http://www.w3.org/2001/XMLSchema-instance" xmlns:context="http://www.springframework.org/schema/context"
	xmlns:tx="http://www.springframework.org/schema/tx"
	xsi:schemaLocation="http://www.springframework.org/schema/beans
           http://www.springframework.org/schema/beans/spring-beans-2.5.xsd
           http://www.springframework.org/schema/context
           http://www.springframework.org/schema/context/spring-context-2.5.xsd
           http://www.springframework.org/schema/tx
           http://www.springframework.org/schema/tx/spring-tx-2.5.xsd ">
    <import resource="LocalSet.xml"/>
    <import resource="Module.xml"/>
    <import resource="springmvc-servlet.xml"/>
    <!-- 对web包中的所有类进行扫描,以完成Bean创建和自动依赖注入的功能 -->
    <context:component-scan base-package="org.hncst"/>
	<context:annotation-config />
	<bean id="entityManagerFactory" class="org.springframework.orm.jpa.LocalContainerEntityManagerFactoryBean">
		<property name="dataSource" ref="dataSource" />
		<property name="jpaVendorAdapter">
			<bean class="org.springframework.orm.jpa.vendor.HibernateJpaVendorAdapter">
				<property name="showSql" value="false" />
			</bean>
		</property>
		<property name="jpaProperties">
			<props>
				<prop key="hibernate.hbm2ddl.auto">update</prop>
			</props>
		</property>
	</bean>
	<!-- 如果没有数据源可以使用如下配置 -->
	<!--  <bean id="entityManager"
        class="org.springframework.orm.jpa.LocalEntityManagerFactoryBean">
        <property name="persistenceUnitName" value="mengya"></property>
    </bean> -->
	<bean class="org.springframework.orm.jpa.support.PersistenceAnnotationBeanPostProcessor" />
	<bean id="txManager" class="org.springframework.orm.jpa.JpaTransactionManager">
		<property name="entityManagerFactory" ref="entityManagerFactory" />
	</bean>
	<tx:annotation-driven transaction-manager="txManager" />

</beans>
jpa的这段配置可能见得比较少,但是应该还是能看得懂
下面这段是真正起到作用的springmvc配置文件springmvc-servlet.xml 下面的是常用配置如果不涉及文件上传则最后一段配置可以删掉不要
<?xml version="1.0" encoding="UTF-8"?>
<beans xmlns="http://www.springframework.org/schema/beans"
    xmlns:xsi="http://www.w3.org/2001/XMLSchema-instance"
    xmlns:p="http://www.springframework.org/schema/p"
    xmlns:mvc="http://www.springframework.org/schema/mvc"
    xmlns:context="http://www.springframework.org/schema/context"
    xmlns:util="http://www.springframework.org/schema/util"
    xsi:schemaLocation="http://www.springframework.org/schema/beans http://www.springframework.org/schema/beans/spring-beans-3.0.xsd
            http://www.springframework.org/schema/context http://www.springframework.org/schema/context/spring-context-3.0.xsd
            http://www.springframework.org/schema/mvc http://www.springframework.org/schema/mvc/spring-mvc-3.0.xsd
            http://www.springframework.org/schema/util http://www.springframework.org/schema/util/spring-util-3.0.xsd">


	<mvc:annotation-driven />  <!-- 支持spring3.0新的mvc注解 -->

    <!-- 启动Spring MVC的注解功能,完成请求和注解POJO的映射 -->
    <bean class="org.springframework.web.servlet.mvc.annotation.AnnotationMethodHandlerAdapter"/>

    <!--对模型视图名称的解析,即在模型视图名称添加前后缀 -->
    <bean class="org.springframework.web.servlet.view.InternalResourceViewResolver" p:suffix=".jsp">
         <!-- 如果使用jstl的话,配置下面的属性 -->
    	<property name="viewClass" value="org.springframework.web.servlet.view.JstlView" />
    </bean>
    <!-- 文件上传相关配置 -->
    <bean id="multipartResolver"  class="org.springframework.web.multipart.commons.CommonsMultipartResolver" >
	    <property name="defaultEncoding" value="gbk"/> <!-- 默认编码 (ISO-8859-1) -->
	    <property name="maxInMemorySize" value="10240"/> <!-- 最大内存大小 (10240)-->
	    <property name="uploadTempDir" value="/temp/"/> <!-- 上传后的目录名 (WebUtils#TEMP_DIR_CONTEXT_ATTRIBUTE) -->
	    <property name="maxUploadSize" value="-1"/> <!-- 最大文件大小,-1为无限止(-1) -->
    </bean>
</beans>
最后把web.xml的内容也贴出来,用过spring的对下面的配置应该不会感到陌生
<?xml version="1.0" encoding="UTF-8"?>
<web-app xmlns:xsi="http://www.w3.org/2001/XMLSchema-instance" xmlns="http://java.sun.com/xml/ns/javaee" xsi:schemaLocation="http://java.sun.com/xml/ns/javaee http://java.sun.com/xml/ns/javaee/web-app_2_5.xsd" id="WebApp_ID" version="2.5">
  <display-name>UseSpringMVC2</display-name>
  <welcome-file-list>
    <welcome-file>index.html</welcome-file>
    <welcome-file>index.htm</welcome-file>
    <welcome-file>index.jsp</welcome-file>
    <welcome-file>default.html</welcome-file>
    <welcome-file>default.htm</welcome-file>
    <welcome-file>default.jsp</welcome-file>
  </welcome-file-list>
  <servlet>
        <servlet-name>dispatcherServlet</servlet-name>
        <servlet-class>
            org.springframework.web.servlet.DispatcherServlet
        </servlet-class>
        <init-param>
            <param-name>contextConfigLocation</param-name>
            <param-value>classpath:applicationContext.xml</param-value>
        </init-param>
        <load-on-startup>1</load-on-startup>
    </servlet>
    <servlet-mapping>
        <servlet-name>dispatcherServlet</servlet-name>
        <url-pattern>*.do</url-pattern>
    </servlet-mapping>
</web-app>
其他的不是很重要就不贴出来了,以上配置都属于注解方式使用springmvc,当然了使用xml配置的方式也是ok的,只是这种方式用的比较少罢了
下面是真正的重头戏,springmvc是struts的替代品因此它的主要功能就是充当控制器,一般情况命名都是以controller结尾,这样方便维护,来看一个我写的控制器
package org.hncst.controller;

import java.util.Date;

import javax.annotation.Resource;
import javax.servlet.http.HttpServletRequest;
import javax.servlet.http.HttpServletResponse;

import org.hncst.pojo.Sex;
import org.hncst.pojo.User;
import org.hncst.service.IUserService;
import org.springframework.beans.factory.annotation.Autowired;
import org.springframework.stereotype.Component;
import org.springframework.stereotype.Controller;
import org.springframework.web.bind.annotation.RequestMapping;
import org.springframework.web.bind.annotation.RequestParam;
import org.springframework.web.servlet.ModelAndView;


@Controller
@RequestMapping("/user.do")
public class UserController {
	@Resource
	private IUserService userService;
	@Autowired
	private  HttpServletRequest request;

	@RequestMapping(params="method=reg")
	public String reg(User user){

		 System.out.println(user.getName());
		 request.setAttribute("flag", "成功");

		return "success";
	}

	@RequestMapping(params="method=reg2")
	public String reg2(@RequestParam("uname")String name){

		 System.out.println(name);
		 request.setAttribute("flag", "成功");

		return "success";
	}

}
下面简要说明这几个注解的用途:
@Controller 该注解标识该java类是一个控制器,和spring注解注入的那个注解就是一样
@RequestMapping 该注解配置可用于请求action路径的指定、请求的映射(如不同的参数值使用不同的方法)
@RequestParam 该注解主要用于参数的指定(如表单的name属性和控制器不一致的情况)
来看这个小例子,先来看注册表单
<%@ page language="java" contentType="text/html; charset=UTF-8"
    pageEncoding="UTF-8"%>
<!DOCTYPE html PUBLIC "-//W3C//DTD HTML 4.01 Transitional//EN" "http://www.w3.org/TR/html4/loose.dtd">
<html>
<head>
<meta http-equiv="Content-Type" content="text/html; charset=UTF-8">
<title>用户注册</title>
</head>
<body>
  <form action="user.do" method="post">
    用户名:<input type="text" name="name"/><br>
    <input type="hidden" name="uname" value="pwb"/>
    <input type="hidden" name="method" value="reg2"/>
    <input type="submit" value="注册"/>
  </form>
</body>
</html>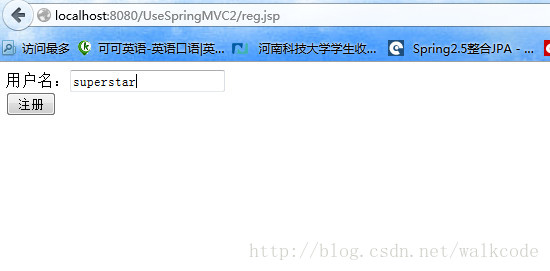
点注册后出现如下界面:
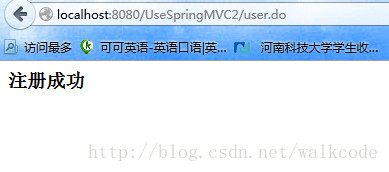
是不是很简单呢,下次接着分享springmvc中跳转和内置对象的使用


 2076
2076

 被折叠的 条评论
为什么被折叠?
被折叠的 条评论
为什么被折叠?
 到【灌水乐园】发言


