


少使用,了解即可
前面的bean全部是手动配置,现在来学习自动装配
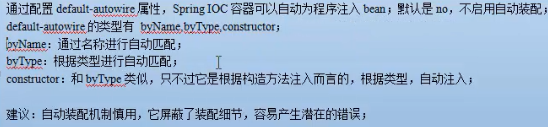
一、default-autowire="byName"通过名称自动装配
如果头文件不写default-autowire,系统自动默认为default-autowire="default",就是不自动装配
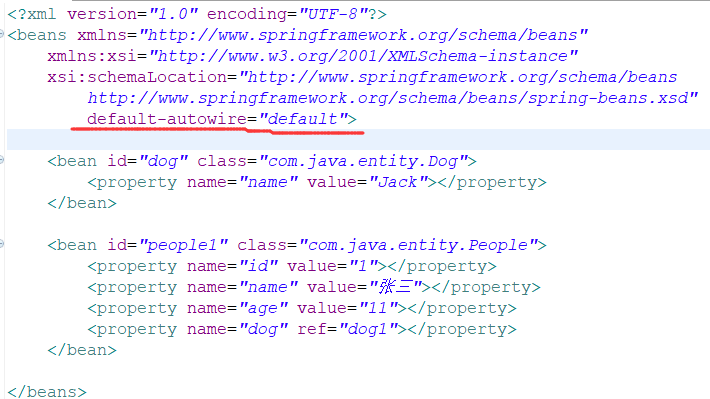
现在我们将bean.xml头文件改为default-autowire="byName",把手动注入的Dog删掉
<?xml version="1.0" encoding="UTF-8"?>
<beans xmlns="http://www.springframework.org/schema/beans"
    xmlns:xsi="http://www.w3.org/2001/XMLSchema-instance"
    xsi:schemaLocation="http://www.springframework.org/schema/beans
        http://www.springframework.org/schema/beans/spring-beans.xsd"
        default-autowire="byName">

	<bean id="dog" class="com.java.entity.Dog">
		<property name="name" value="Jack"></property>
	</bean>
	<bean id="dog2" class="com.java.entity.Dog">
		<property name="name" value="Tom"></property>
	</bean>

	<bean id="people1" class="com.java.entity.People">
		<property name="id" value="1"></property>
		<property name="name" value="张三"></property>
		<property name="age" value="11"></property>
	</bean>

</beans>
Dog.java
package com.java.entity;

public class Dog {
	private String name;

	public String getName() {
		return name;
	}

	public void setName(String name) {
		this.name = name;
	}

}
People.java
这里的狗是Dog,不是Dog1,所以根据名称自动装配的时候People1装配Jack狗
package com.java.entity;


public class People {
	private int id;
	private int age;
	private String name;
	private Dog dog;
	public int getId() {
		return id;
	}
	public void setId(int id) {
		this.id = id;
	}
	public int getAge() {
		return age;
	}
	public void setAge(int age) {
		this.age = age;
	}
	public String getName() {
		return name;
	}
	public void setName(String name) {
		this.name = name;
	}
	public Dog getDog() {
		return dog;
	}
	public void setDog(Dog dog) {
		this.dog = dog;
	}
	@Override
	public String toString() {
		return "People [id=" + id + ", age=" + age + ", name=" + name + ", dog=" + dog.getName() + "]";
	}


}
测试:
T.java
package com.java.test;
import org.junit.Before;
import org.junit.Test;
import org.springframework.context.ApplicationContext;
import org.springframework.context.support.ClassPathXmlApplicationContext;
import com.java.entity.People;
public class T {
private ApplicationContext ac;
@Before
public void setUp() throws Exception {
ac=new ClassPathXmlApplicationContext("beans.xml");
}
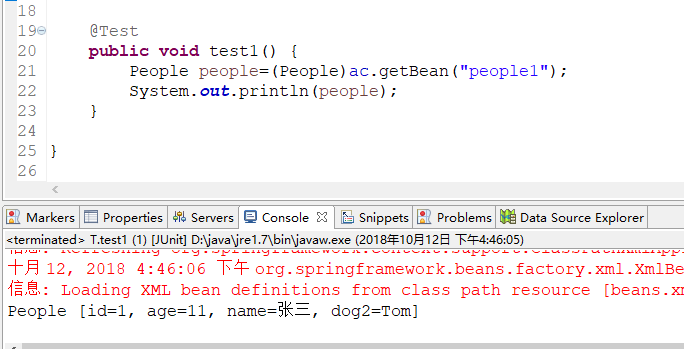
@Test
public void test1() {
People people=(People)ac.getBean("people1");
System.out.println(people);
}
}
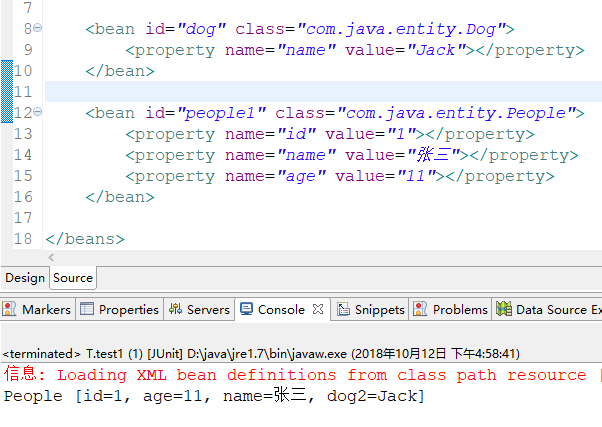
结果:bean.xml没有手动注入,而是通过实体类属性名自动装配

当我将People.java修改为Dog2时
package com.java.entity;


public class People {
	private int id;
	private int age;
	private String name;
	private Dog dog2;
	public int getId() {
		return id;
	}
	public void setId(int id) {
		this.id = id;
	}
	public int getAge() {
		return age;
	}
	public void setAge(int age) {
		this.age = age;
	}
	public String getName() {
		return name;
	}
	public void setName(String name) {
		this.name = name;
	}
	public Dog getDog2() {
		return dog2;
	}
	public void setDog2(Dog dog2) {
		this.dog2 = dog2;
	}
	@Override
	public String toString() {
		return "People [id=" + id + ", age=" + age + ", name=" + name + ", dog2=" + dog2.getName() + "]";
	}


}
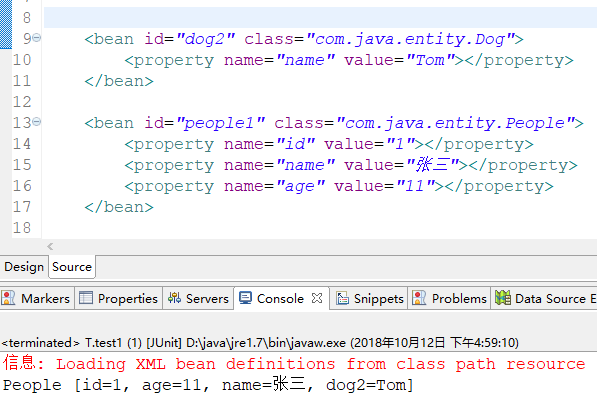
结果装配Tom狗
二、 default-autowire="byType通过类型自动匹配
改为byType自动装配时,因为People.java有private Dog dog;
所以bean.xm会自动装配一条狗进去
前面我们bean.xml如下:有dog和dog2两条狗,这样测试,people发现两个相同类型的bean却不懂注入哪个类型,所以会报错
<?xml version="1.0" encoding="UTF-8"?>
<beans xmlns="http://www.springframework.org/schema/beans"
    xmlns:xsi="http://www.w3.org/2001/XMLSchema-instance"
    xsi:schemaLocation="http://www.springframework.org/schema/beans
        http://www.springframework.org/schema/beans/spring-beans.xsd"
        default-autowire="byType">

	<bean id="dog" class="com.java.entity.Dog">
		<property name="name" value="Jack"></property>
	</bean>
	<bean id="dog2" class="com.java.entity.Dog">
		<property name="name" value="Tom"></property>
	</bean>

	<bean id="people1" class="com.java.entity.People">
		<property name="id" value="1"></property>
		<property name="name" value="张三"></property>
		<property name="age" value="11"></property>
	</bean>

</beans>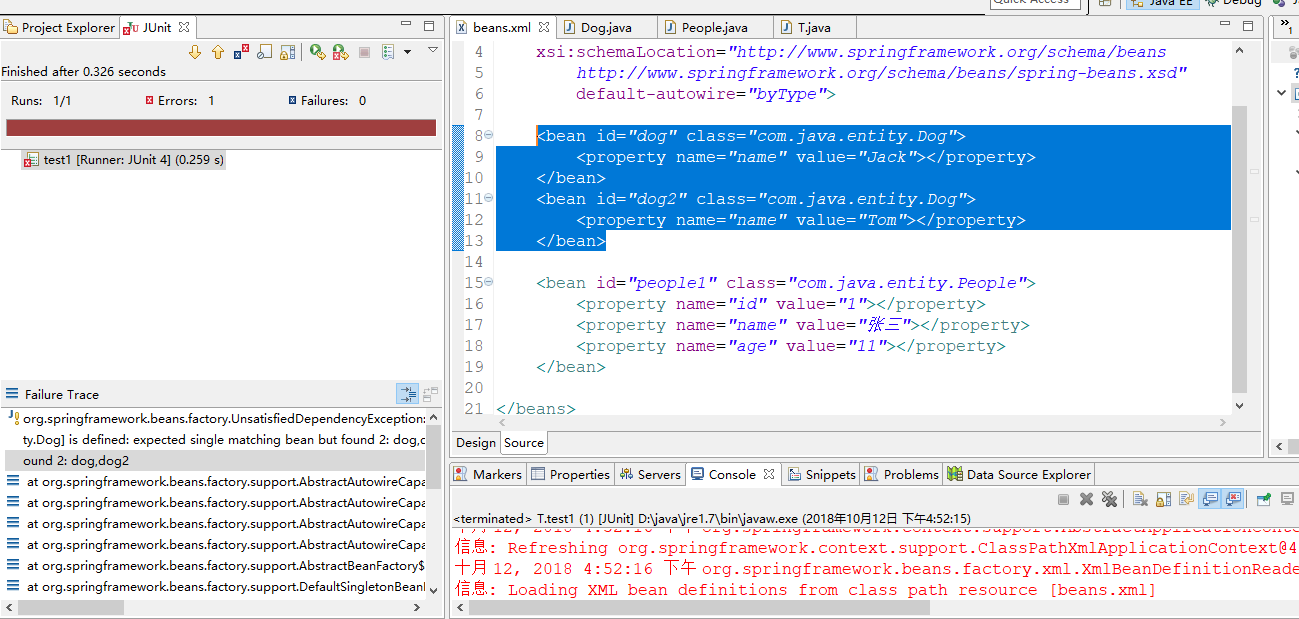
所以设置根据Type自动装配时,只需要一条狗就行了
dag时:把dog2删除
dag2时:把dog删除
三、default-autowire="constructor"构造方法注入
和type类似,只能一条狗
修改People的构造方法
package com.java1234.entity;

import java.util.ArrayList;
import java.util.HashMap;
import java.util.HashSet;
import java.util.List;
import java.util.Map;
import java.util.Properties;
import java.util.Set;

public class People {

	private int id;
	private String name;
	private int age;
	private Dog dog;


	public People() {
		super();
		// TODO Auto-generated constructor stub
	}


	public People(Dog dog) {
		super();
		System.out.println("constructor");
		this.dog = dog;
	}


	public int getId() {
		return id;
	}
	public void setId(int id) {
		this.id = id;
	}
	public String getName() {
		return name;
	}
	public void setName(String name) {
		this.name = name;
	}
	public int getAge() {
		return age;
	}
	public void setAge(int age) {
		this.age = age;
	}
	public Dog getDog() {
		return dog;
	}
	public void setDog(Dog dog) {
		this.dog = dog;
	}
	@Override
	public String toString() {
		return "People [id=" + id + ", name=" + name + ", age=" + age
				+ ", dog=" + dog.getName() + "]";
	}


}
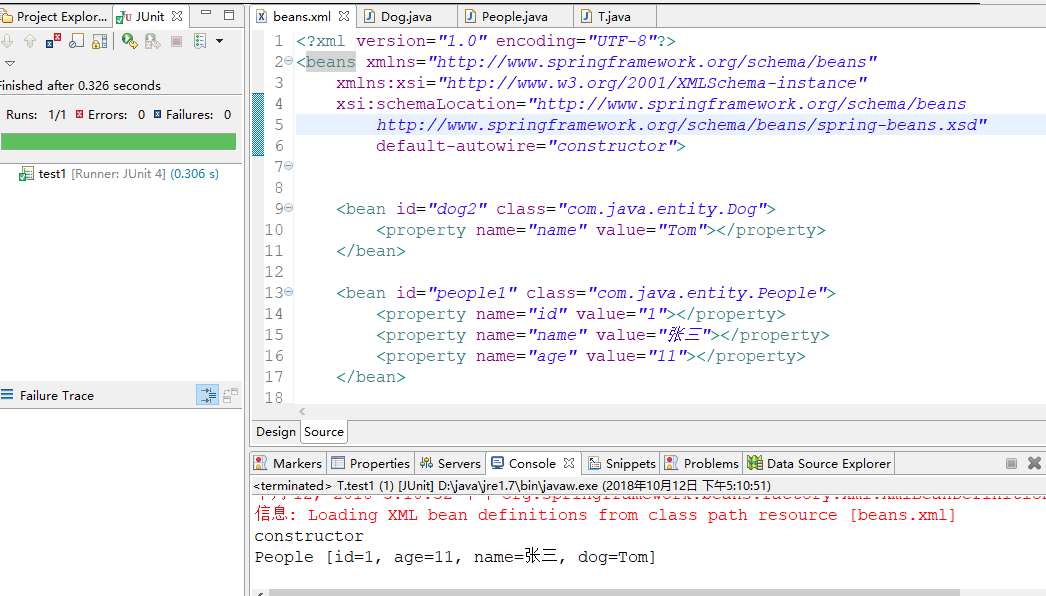
bean.xml
<?xml version="1.0" encoding="UTF-8"?>
<beans xmlns="http://www.springframework.org/schema/beans"
    xmlns:xsi="http://www.w3.org/2001/XMLSchema-instance"
    xsi:schemaLocation="http://www.springframework.org/schema/beans
        http://www.springframework.org/schema/beans/spring-beans.xsd"
        default-autowire="constructor">


	<bean id="dog2" class="com.java.entity.Dog">
		<property name="name" value="Tom"></property>
	</bean>

	<bean id="people1" class="com.java.entity.People">
		<property name="id" value="1"></property>
		<property name="name" value="张三"></property>
		<property name="age" value="11"></property>
	</bean>

</beans>
结果:通过构造函数来找bean自动装配


 852
852

 被折叠的 条评论
为什么被折叠?
被折叠的 条评论
为什么被折叠?
 到【灌水乐园】发言


