


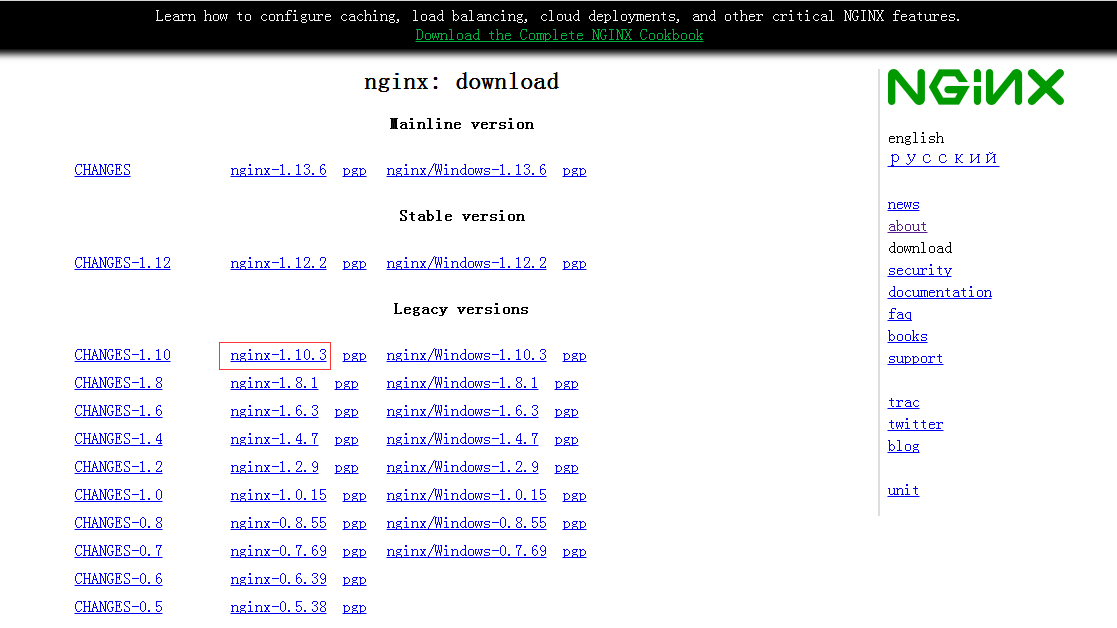
一时兴起,想尝试一下用nginx搭建一个图片服务器。于是到官网(http://nginx.org/en/download.html)下载了一个linux版的nginx。
通过WinSCP把它上传到服务器后,通过tar -xvf XXXX.tar解压后,切换到nginx的目录下,通过./configure --prefix=/opt/nginx
报错:error: C compiler cc is not found

检查是否安装gcc whereis gcc:
![]()
如图显示没有安装gcc,即可安装gcc:通过yum -y install gcc(yum是个好东西)
完成后继续执行./configure --prefix=/opt/nginx
报错:缺少pcre
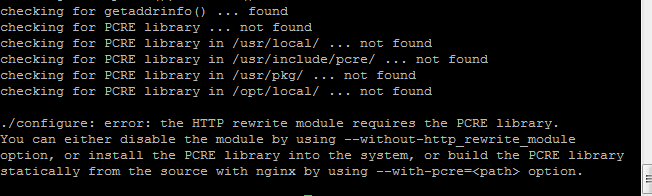
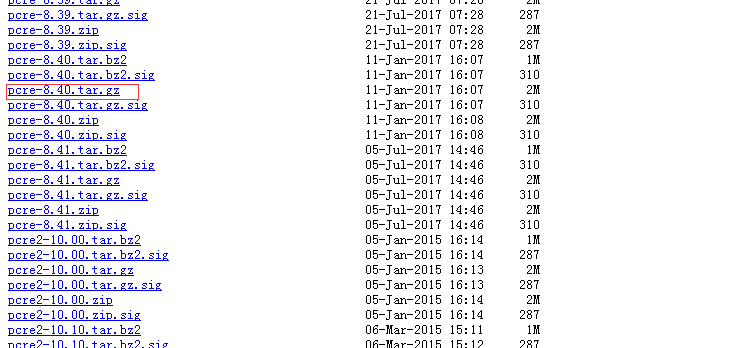
到pcre官网(https://ftp.pcre.org/pub/pcre/)下载pcre依赖包:
丢到服务器上,解压并切换到解压目录执行./configure
报错:You need a C++ compiler for C++ support.
通过yum -y install gcc-c++即可完成
继续执行./configure 完成后继续执行make & make install即可
返回nginx目录执行./configure
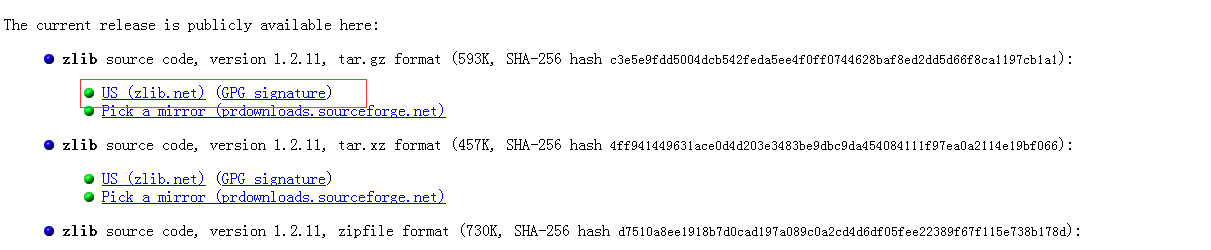
报错:缺少zlib

到zlib官网(http://www.zlib.net/)下载
丢到服务器上,解压并切换到解压目录执行./configure后执行 make & make install即可
完成后继续执行./configure --prefix=/opt/nginx
报错:缺少openssl
到openssl官网(https://www.openssl.org/source/)下载
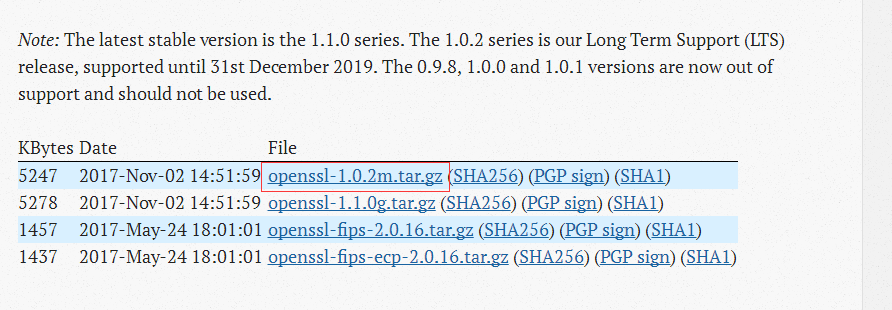
丢到服务器上,解压并切换到解压目录执行./config后执行 make & make install即可
完成后继续执行./configure --prefix=/opt/nginx
此时,nginx便会安装在/opt/nginx下。修改conf下的nginx.conf文件,我的配置文件如下
#user  nobody;
worker_processes  1;

#error_log  logs/error.log;
#error_log  logs/error.log  notice;
#error_log  logs/error.log  info;

#pid        logs/nginx.pid;


events {
    worker_connections  1024;
}


http {
    include       mime.types;
    default_type  application/octet-stream;

    #log_format  main  '$remote_addr - $remote_user [$time_local] "$request" '
    #                  '$status $body_bytes_sent "$http_referer" '
    #                  '"$http_user_agent" "$http_x_forwarded_for"';

    #access_log  logs/access.log  main;

    sendfile        on;
    #tcp_nopush     on;

    #keepalive_timeout  0;
    keepalive_timeout  65;

    gzip  on;

    server {
        listen       8989;
        server_name  localhost;

        #charset koi8-r;

        #access_log  logs/host.access.log  main;

        location / {
            root   html;
            index  index.html index.htm;
        }

        #error_page  404              /404.html;

        # redirect server error pages to the static page /50x.html
        #
        error_page   500 502 503 504  /50x.html;
        location = /50x.html {
            root   html;
        }

        # proxy the PHP scripts to Apache listening on 127.0.0.1:80
        #
        #location ~ \.php$ {
        #    proxy_pass   http://127.0.0.1;
        #}

        # pass the PHP scripts to FastCGI server listening on 127.0.0.1:9000
        #
        #location ~ \.php$ {
        #    root           html;
        #    fastcgi_pass   127.0.0.1:9000;
        #    fastcgi_index  index.php;
        #    fastcgi_param  SCRIPT_FILENAME  /scripts$fastcgi_script_name;
        #    include        fastcgi_params;
        #}

        # deny access to .htaccess files, if Apache's document root
        # concurs with nginx's one
        #
        #location ~ /\.ht {
        #    deny  all;
        #}
        location ~ .*\.(gif|jpg|jpeg|png)$ {
            expires 24h;
            root /opt/upload/;#指定图片存放路径
            access_log /opt/upload/img_nginx.log;#图片路径
            proxy_store on;
            proxy_store_access user:rw group:rw all:rw;
            proxy_temp_path         /opt/upload/;#图片路径
            proxy_redirect          off;

            proxy_set_header        Host 127.0.0.1;
            proxy_set_header        X-Real-IP $remote_addr;
            proxy_set_header        X-Forwarded-For $proxy_add_x_forwarded_for;
            client_max_body_size    10m;
            client_body_buffer_size 1280k;
            proxy_connect_timeout   900;
            proxy_send_timeout      900;
            proxy_read_timeout      900;
            proxy_buffer_size       40k;
            proxy_buffers           40 320k;
            proxy_busy_buffers_size 640k;
            proxy_temp_file_write_size 640k;
            if ( !-e $request_filename)
            {
                 proxy_pass  http://127.0.0.1:8989;#代理访问地址
            }
    }
    }


    # another virtual host using mix of IP-, name-, and port-based configuration
    #
    #server {
    #    listen       8000;
    #    listen       somename:8080;
    #    server_name  somename  alias  another.alias;

    #    location / {
    #        root   html;
    #        index  index.html index.htm;
    #    }
    #}


    # HTTPS server
    #
    #server {
    #    listen       443 ssl;
    #    server_name  localhost;

    #    ssl_certificate      cert.pem;
    #    ssl_certificate_key  cert.key;

    #    ssl_session_cache    shared:SSL:1m;
    #    ssl_session_timeout  5m;

    #    ssl_ciphers  HIGH:!aNULL:!MD5;
    #    ssl_prefer_server_ciphers  on;

    #    location / {
    #        root   html;
    #        index  index.html index.htm;
    #    }
    #}

}
最后切换到sbin目录下,执行./nginx -c /opt/nginx/conf/nginx.conf启动nginx服务器即可。


 575
575

 被折叠的 条评论
为什么被折叠?
被折叠的 条评论
为什么被折叠?
 到【灌水乐园】发言


