


1.搭建注册中心--Euraka
1-1 pom文件
<dependencies>
    <dependency>
        <groupId>org.springframework.cloud</groupId>
        <artifactId>spring-cloud-starter-netflix-eureka-client</artifactId>
    </dependency>

    <dependency>
        <groupId>org.springframework.boot</groupId>
        <artifactId>spring-boot-starter-test</artifactId>
        <scope>test</scope>
    </dependency>
</dependencies>

<dependencyManagement>
    <dependencies>
        <dependency>
            <groupId>org.springframework.cloud</groupId>
            <artifactId>spring-cloud-dependencies</artifactId>
            <version>${spring-cloud.version}</version>
            <type>pom</type>
            <scope>import</scope>
        </dependency>
    </dependencies>
</dependencyManagement>

<build>
    <plugins>
        <plugin>
            <groupId>org.springframework.boot</groupId>
            <artifactId>spring-boot-maven-plugin</artifactId>
        </plugin>
    </plugins>
</build>
1-2 application.yml
server:
  port: 8761
eureka:
  instance:
    hostname: eureka-server #实例主机名
  client:
    register-with-eureka: false #不把自己注册到eureka上
    fetch-registry: false  #不从eureka上获取服务的注册信息
    service-url:
      defaultZone: http://localhost:8761/eureka/
1-3 启动类
import org.springframework.boot.SpringApplication;
import org.springframework.boot.autoconfigure.SpringBootApplication;
import org.springframework.cloud.netflix.eureka.server.EnableEurekaServer;

/**
 * 注册中心
 */
@SpringBootApplication
@EnableEurekaServer
public class EurekaServerApplication {

    public static void main(String[] args) {
        SpringApplication.run(EurekaServerApplication.class, args);
    }

}
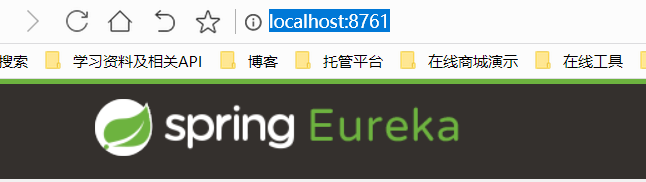
1-4 启动main方法 访问http://localhost:8761/
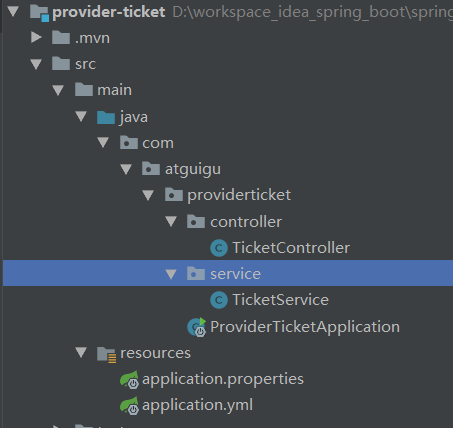
2 服务提供者
2-1 pom文件
<dependencies>
    <dependency>
        <groupId>org.springframework.cloud</groupId>
        <artifactId>spring-cloud-starter-netflix-eureka-client</artifactId>
    </dependency>

    <dependency>
        <groupId>org.springframework.boot</groupId>
        <artifactId>spring-boot-starter-test</artifactId>
        <scope>test</scope>
    </dependency>
    <dependency>
        <groupId>org.springframework.boot</groupId>
        <artifactId>spring-boot-starter-web</artifactId>
    </dependency>
</dependencies>

<dependencyManagement>
    <dependencies>
        <dependency>
            <groupId>org.springframework.cloud</groupId>
            <artifactId>spring-cloud-dependencies</artifactId>
            <version>${spring-cloud.version}</version>
            <type>pom</type>
            <scope>import</scope>
        </dependency>
    </dependencies>
</dependencyManagement>

<build>
    <plugins>
        <plugin>
            <groupId>org.springframework.boot</groupId>
            <artifactId>spring-boot-maven-plugin</artifactId>
        </plugin>
    </plugins>
</build>
2-2 yml文件
server:
  port: 8002
spring:
  application:
    name: provider-ticket


eureka:
  instance:
    prefer-ip-address: true # 注册服务的时候使用服务的ip地址
  client:
    service-url:
      defaultZone: http://localhost:8761/eureka/  #注册到这个地址
提供者结构图
2-3 控制层
import com.atguigu.providerticket.service.TicketService;
import com.netflix.discovery.converters.Auto;
import org.springframework.beans.factory.annotation.Autowired;
import org.springframework.web.bind.annotation.GetMapping;
import org.springframework.web.bind.annotation.RestController;

@RestController
public class TicketController {
    @Autowired
    TicketService ticketService;
    @GetMapping("/getTicket")
    public String getTicket(){
        System.out.println("8002");
        String ticket = ticketService.getTicket();
         return ticket;
    }
}
2-4 实现类
import org.springframework.stereotype.Service;

@Service
public class TicketService {
    public String getTicket(){
        return "<厉害了,我的国>";
    }
}
2-5 启动类
import org.springframework.boot.SpringApplication;
import org.springframework.boot.autoconfigure.SpringBootApplication;

@SpringBootApplication
public class ProviderTicketApplication {

    public static void main(String[] args) {
        SpringApplication.run(ProviderTicketApplication.class, args);
    }

}
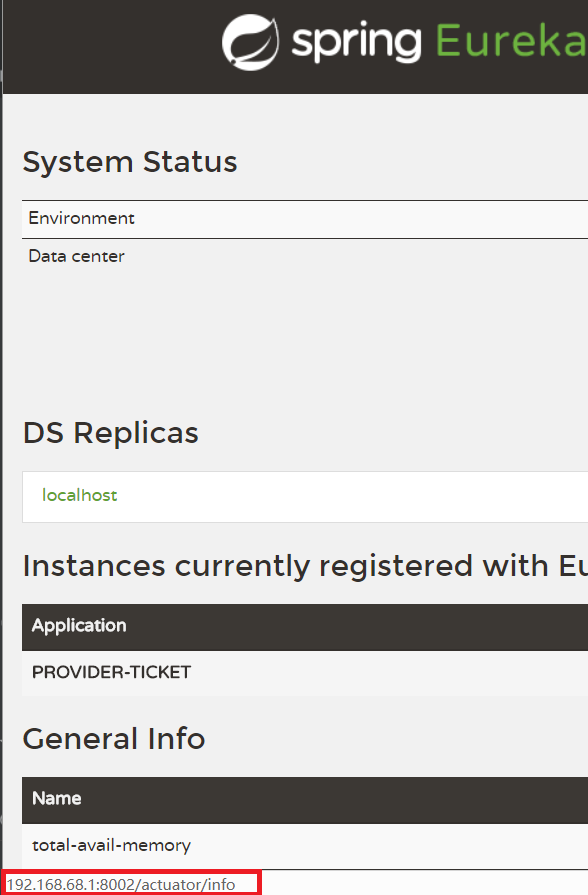
2-6 启动后查看到服务

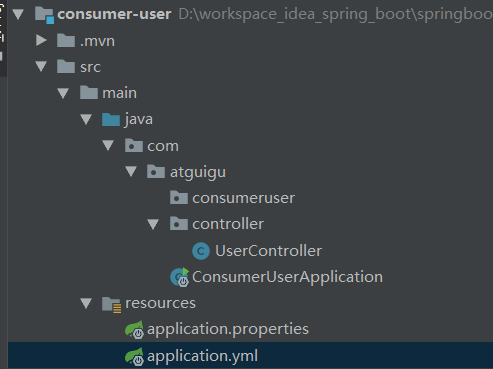
3.消费者
3-1 pom文件
<dependencies>
    <dependency>
        <groupId>org.springframework.cloud</groupId>
        <artifactId>spring-cloud-starter-netflix-eureka-client</artifactId>
    </dependency>
    <dependency>
        <groupId>org.springframework.boot</groupId>
        <artifactId>spring-boot-starter-web</artifactId>
    </dependency>
    <dependency>
        <groupId>org.springframework.boot</groupId>
        <artifactId>spring-boot-starter-test</artifactId>
        <scope>test</scope>
    </dependency>
</dependencies>

<dependencyManagement>
    <dependencies>
        <dependency>
            <groupId>org.springframework.cloud</groupId>
            <artifactId>spring-cloud-dependencies</artifactId>
            <version>${spring-cloud.version}</version>
            <type>pom</type>
            <scope>import</scope>
        </dependency>
    </dependencies>
</dependencyManagement>

<build>
    <plugins>
        <plugin>
            <groupId>org.springframework.boot</groupId>
            <artifactId>spring-boot-maven-plugin</artifactId>
        </plugin>
    </plugins>
</build>
3-2 yml文件
spring:
  application:
    name: consumer-user
server:
  port: 8200

eureka:
  instance:
    prefer-ip-address: true # 注册服务的时候使用服务的ip地址
  client:
    service-url:
      defaultZone: http://localhost:8761/eureka/  #注册地址
结构图
3-3 控制层
import org.springframework.beans.factory.annotation.Autowired;
import org.springframework.web.bind.annotation.GetMapping;
import org.springframework.web.bind.annotation.RestController;
import org.springframework.web.client.RestTemplate;
@RestController
public class UserController {
@Autowired
RestTemplate restTemplate;
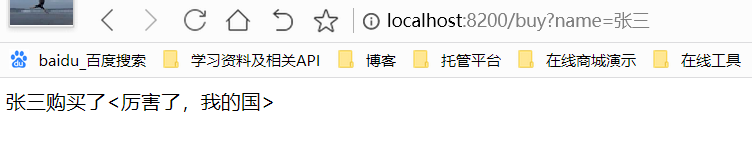
@GetMapping("/buy")
public String buy(String name){
String s = restTemplate.getForObject("http://PROVIDER-TICKET/getTicket", String.class);
return name+"购买了"+s;
}
3-4 启动类
import org.springframework.boot.SpringApplication;
import org.springframework.boot.autoconfigure.SpringBootApplication;
import org.springframework.cloud.client.discovery.EnableDiscoveryClient;
import org.springframework.cloud.client.loadbalancer.LoadBalanced;
import org.springframework.context.annotation.Bean;
import org.springframework.web.client.RestTemplate;

@EnableDiscoveryClient //开启发现服务功能
@SpringBootApplication
public class ConsumerUserApplication {

    public static void main(String[] args) {
        SpringApplication.run(ConsumerUserApplication.class, args);
    }


    @LoadBalanced  //使用负载均衡机制
    @Bean
    public RestTemplate restTemplate(){
        return new RestTemplate();
    }
}
3-5 启动访问控制层---得到结果
5.实现负载均衡-测试
通过java -jar 发布两个服务 打包jar的时候(区别端口和打印在控制台的内容)
就可以看到轮询的情况。
6.修改注册的ip别名

yml文件
server:
  port: 8002
spring:
  application:
    name: provider-ticket


eureka:
  instance:
    prefer-ip-address: true # 注册服务的时候显示服务的ip地址,见下图3
    instance-id: abcdefg #别名
  client:
    service-url:
      defaultZone: http://localhost:8761/eureka/  #注册到这个地址
图三


 271
271


 被折叠的 条评论
为什么被折叠?
被折叠的 条评论
为什么被折叠?
 到【灌水乐园】发言


