


私服不是Maven的核心概念,它仅仅是一种衍生出来的特殊的Maven仓库。通过建立自己的私服,就可以降低中央仓库负荷、节省外网带宽、加速Maven构建、自己部署构建等,从而高效地使用Maven。Nexus也是当前最流行的Maven仓库管理软件。
1. 安装Nexus
Nexus是典型的Java Web应用,它有两种安装包,一种是包含Jetty容器的Bundle包,另一种是不包含Web容器的war包。
1)下载Nexus
读者可以从官网http://www.sonatype.org/nexus/ 下载最新的Nexus,也可以到我分享的路径下载http://download.csdn.net/detail/amuguelove/6578111(竟然还要一个积分,服了自己了,没积分的就忽略这个地址吧)。
2)Bundle方式安装Nexus
a. 首先看下解压后的目录,结构:

nexus-2.6.2-01: 该目录包含了Nexus运行所需要的文件,如启动脚本、依赖jar包等。
sonatype-work:该目录包含Nenus生成的配置文件、日志文件、仓库文件等。
其中第一个目录是运行Nexus必须的,而第二个不是必须的,Nexus会在运行的时候动态创建该目录。
b. 配置Path,启动Nexus
首先在环境变量path下加入如下地址:D:\j2ee\nexus-2.6.2-01-bundle\nexus-2.6.2-01\bin;之后在cmd下启动Nexus服务: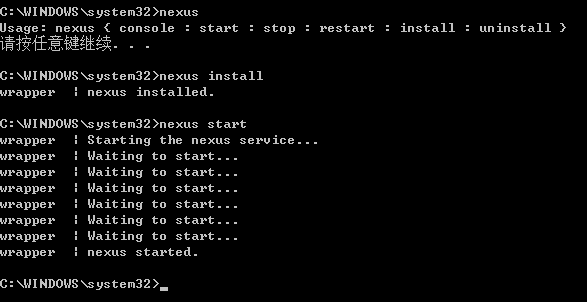
如果看到以上输出,就说明启动成功了。这时打开浏览器访问:http://localhost:8081/nexus 就可以看到Nexus的界面了,如下图: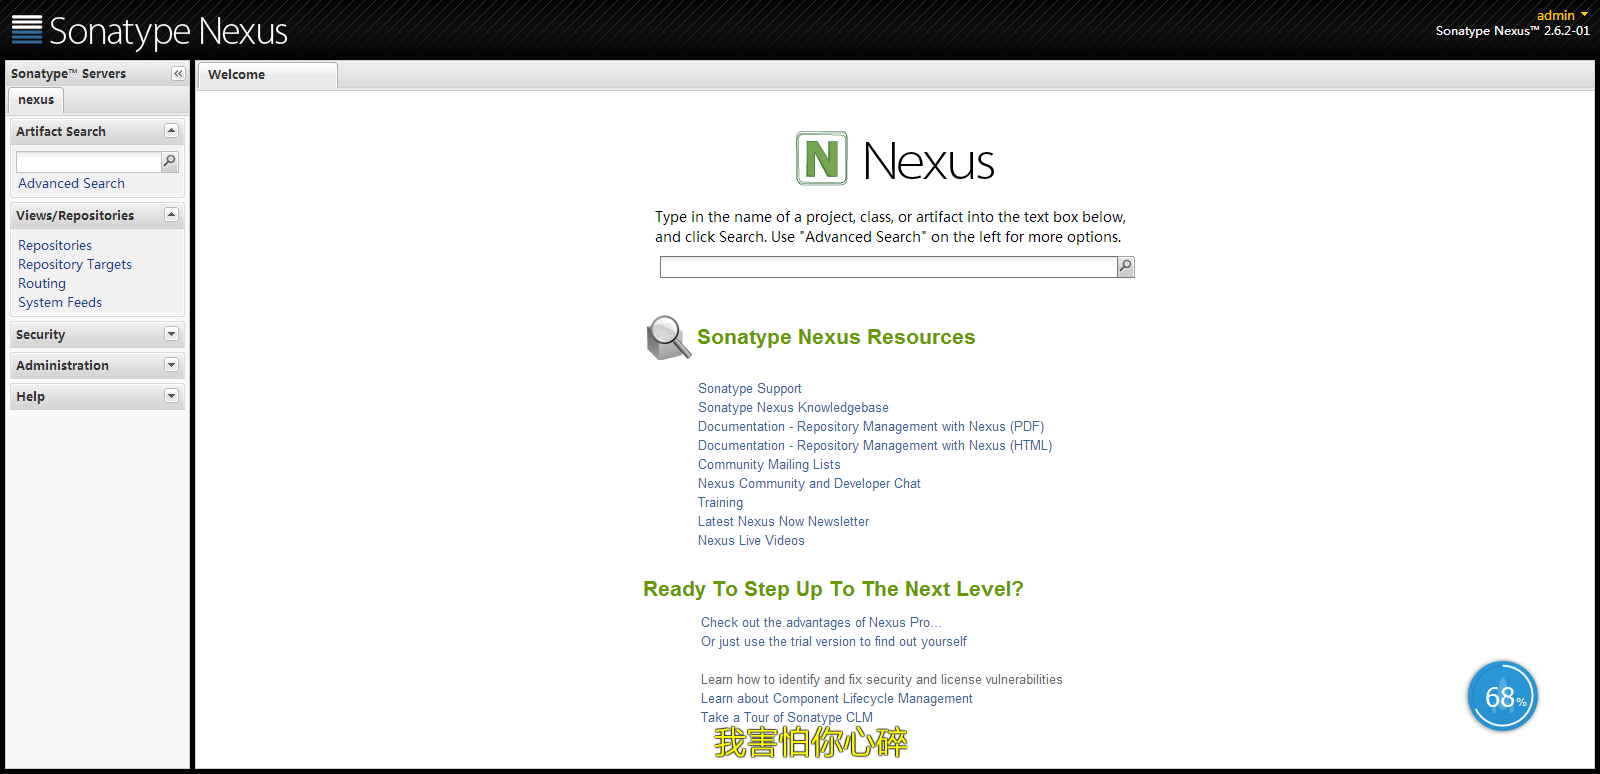
这时你可以单击界面右上角的Login进行登录,Nexus默认管理用户名和密码为admin/admin123。
2. Nexus的索引
这时你使用Nexus搜索插件得不到任何结果,为了能够搜索Maven中央库,首先需要设置Nexus中的Maven Central仓库下载远程索引。如下图:
单击左边导航栏的Repositories,可以link到这个页面,选择Central,点击Configuration,里面有一个Download Remote Indexes配置,默认状态是false,将其改为true,‘Save’后,单击Administration==> Scheduled Tasks, 就有一条更新Index的任务,这个是Nexus在后天运行了一个任务来下载中央仓库的索引。由于中央仓库的内容比较多,因此其索引文件比较大,Nexus下载该文件也需要比较长的时间。请读者耐心等待把。如果网速不好的话,可以使用其他人搭建好的的Nexus私服。后面会介绍。下图为Nexus后台运行的task图:
3. 配置Maven从Nexus下载构件
1)在POM中配置Nexus私服,这样的配置只对当前的Maven项目有效。
|
1
2
3
4
5
6
7
8
9
10
11
12
13
|
<repositories>
<repository>
<id>nexus</id>
<name>Nexus Repository</name>
<url>http://localhost:8081/nexus/content/groups/public/</url>
<releases>
<enabled>true</enabled>
</releases>
<snapshots>
<enabled>true</enabled>
</snapshots>
</repository>
</repositories>
|
2)在settings.xml中配置profile元素,这样就能让本机所有的Maven项目都使用自己的Maven私服。
|
1
2
3
4
5
6
7
8
9
10
11
12
13
14
15
16
17
18
19
20
21
22
23
24
25
26
|
<mirrors>
<mirror>
<id>central</id>
<mirrorOf>*</mirrorOf>
<name>Human Readable Name for this Mirror.</name>
<url>http://localhost:8081/nexus/content/groups/public/</url>
</mirror>
</mirrors>
<profiles>
<profile>
<id>nexus</id>
<repositories>
<repository>
<id>nexus</id>
<name>Nexus</name>
<url>http://localhost:8081/nexus/content/groups/public/</url>
<span></span><releases>
<enabled>true</enabled>
</releases>
<snapshots>
<enabled>true</enabled>
</snapshots>
</repository>
</repositories>
</profile>
</profiles>
|
以上配置所有Maven下载请求都仅仅通过Nexus,以全面发挥私服的作用。
4. 部署构件到Nexus
1)在POM中配置
|
1
2
3
4
5
6
7
8
9
10
11
12
13
14
15
16
17
18
19
|
<project>
...
<distributionManagement>
<snapshotRepository>
<id>user-snapshots</id>
<name>User Project SNAPSHOTS</name>
<url>http://localhost:8081/nexus/content/repositories/MyUserReposSnapshots/</url>
</snapshotRepository>
<repository>
<id>user-releases</id>
<name>User Project Release</name>
<url>http://localhost:8081/nexus/content/repositories/MyUserReposRelease/</url>
</repository>
</distributionManagement>
...
</project>
|
|
1
2
3
4
5
6
7
8
9
10
11
12
13
14
15
|
<servers>
<server>
<id>user-snapshots</id>
<username>lb</username>
<password>123456</password>
</server>
<server>
<id>user-releases</id>
<username>lb</username>
<password>123456</password>
</server>
</servers>
|
最后,如果不想自己构建Nexus私服,或者更新Index很慢的话,可以使用OSChina搭建的Nexus私服,地址如下:http://maven.oschina.net/index.html,如下图:


 7450
7450


 被折叠的 条评论
为什么被折叠?
被折叠的 条评论
为什么被折叠?
 到【灌水乐园】发言


