


1、pom.xml文件增加
<dependency>
    <groupId>org.springframework.boot</groupId>
    <artifactId>spring-boot-devtools</artifactId>
    <optional>true</optional>
</dependency>
2、在pom.xml里增加插件
<plugin>
    <groupId>org.springframework.boot</groupId>
    <artifactId>spring-boot-maven-plugin</artifactId>
    <configuration>
        <fork>true</fork> <!-- 如果没有该配置,devtools不会生效 -->
    </configuration>
    <executions>
        <execution>
            <goals>
                <goal>repackage</goal>
            </goals>
        </execution>
    </executions>
</plugin>
3、修改idea里的选项
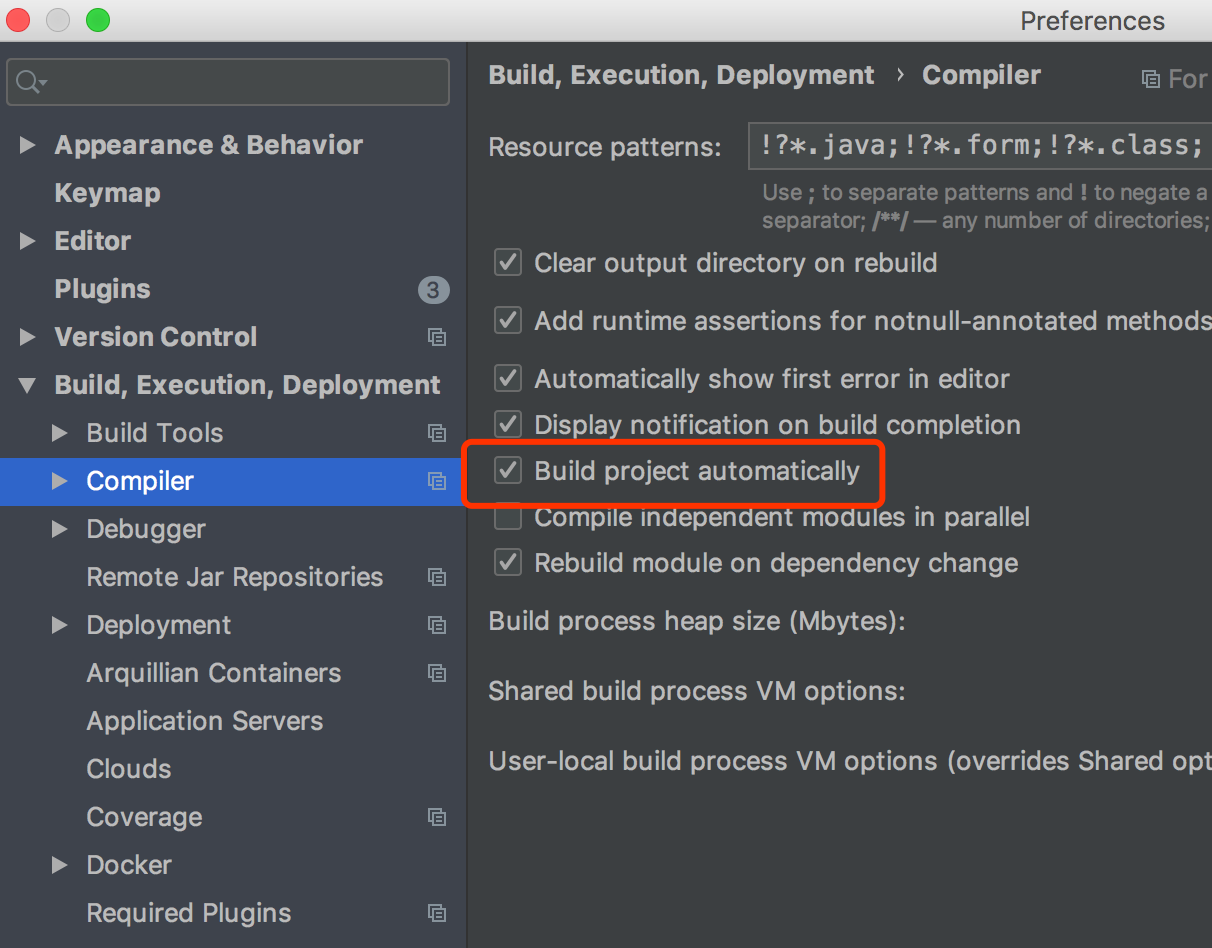
打开idea ,File->Settings-> Build-Execution-Deployment -> Compiler,勾选 Build Project Automatically.
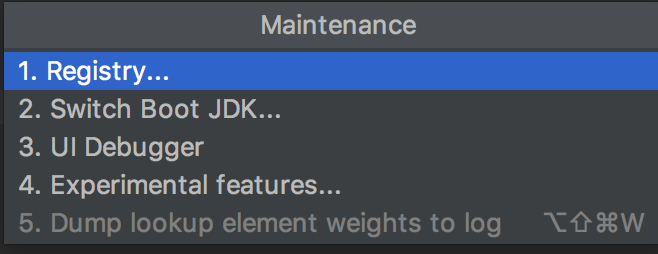
4、mac按shift+command+/
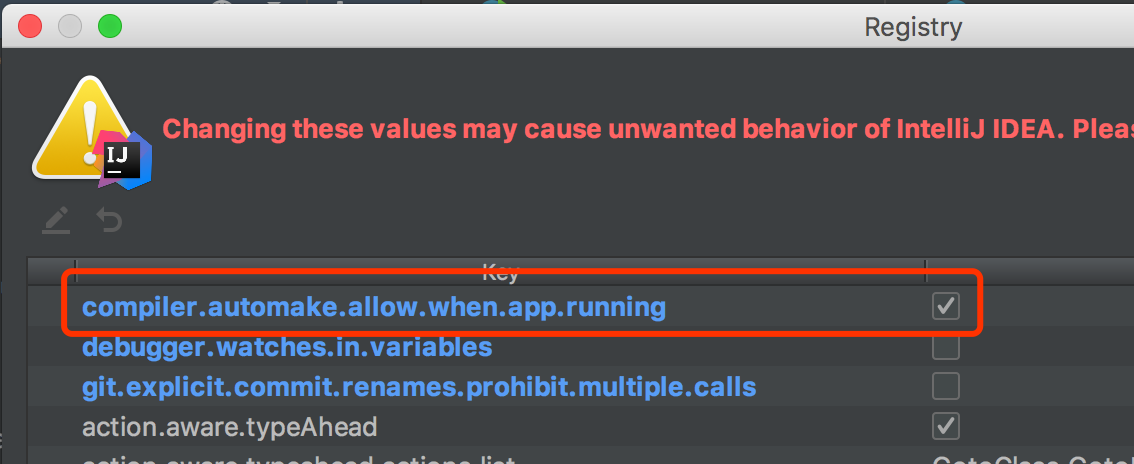
将看到弹窗 Enter Action or option name,输入"registry",双击第一项"Registry..." ,会弹出另一个窗口,寻找< compiler.automake.allow.when.app.running> 选中,参考如图:
5、项目 Update选择Update Classes and resource

6、热部署注意事项
(1)如果使用模板引擎,关闭缓存
在application.properties中添加
#禁止thymeleaf缓存(建议:开发环境设置为false,生成环境设置为true)
spring.thymeleaf.cache=false
(2)开启热部署后,session每次都会重置的


 1323
1323

 被折叠的 条评论
为什么被折叠?
被折叠的 条评论
为什么被折叠?
 到【灌水乐园】发言


