


上篇文章介绍了OSGI Web应用的两种开发模式,并把Jetty应用服务器以Bundle的形式整合到Equinox容器中,已这种模式开发Web应用,所有的应用程序资源,例如Servlet、JSP、HTML页面等,都需要使用OSGI规范提供的HttpService服务进行注册,否则无法通过浏览器请求服务器端资源。
一、HttpService服务详解
接着我们就来了解一些HttpService服务,它实际上就是一个接口,具体的服务类由OSGI框架(例如Felix、Equinox等)实现,HttpService接口的定义如下:
org.osgi.service.http.HttpService
package org.osgi.service.http;

import java.util.Dictionary;
import javax.servlet.Servlet;
import javax.servlet.ServletException;

public interface HttpService {

    public void registerServlet(String alias, Servlet servlet, Dictionary initparams, HttpContext context) throws ServletException, NamespaceException;


    public void registerResources(String alias, String name, HttpContext context) throws NamespaceException;

    public void unregister(String alias);


    public HttpContext createDefaultHttpContext();
}
如上面代码所示,HttpService接口仅有4个方法,而且这些方法在实际开发中使用非常广泛,所以我们必须清楚的知道每个方法的作用,以及每个参数的含义。
registerServlet(String alias, Servlet servlet, Dictionary initparams, HttpContext context)
传统Java EE应用中Servlet只需要在web.xml文件中配置即可,但是使用將应用服务器整合到OSGI容器这种模式开发Web应用,Servlet实例必须被注册后才能被客户端访问。
HttpService接口的registerServlet()方法就是用于注册Servlet,参数含义如下:
第一个参数alias用于指定请求Servlet的URL模式,例如参数值为/login.do时,我们可以在浏览器中以http://localhost:8080/login.do的形式请求该Servlet,除此之外该参数还支持使用通配符,如/*.do,表示任意以.do结尾的请求都会被该Servlet处理。
第二个参数是一个Servlet实例,通常我们通过new关键字实例化一个Servlet对象即可。
大家在传统Java EE项目web.xml配置Servlet时,可以指定一些初始化参数,第三个参数作用就是为Servlet指定初始化参数。
第四个参数是一个HttpContext实例,他表示Http请求上下文,可以通过createDefaultHttpContext()方法创建一个默认的HttpContext实例,也可以將该参数指定为null。
registerResources(String alias, String name, HttpContext context)
该方法的作用和registerServlet()方法类似,只不过它用于注册静态的资源,例如CSS、图片、JavaScript文件等,使用方法也很简单,参数含义如下:
前面两个参数要结合起来使用,第一个参数表示客户端请求资源的URL模式,第二个参数表示资源映射在Bundle中的位置。
例如alias参数内容为”/js”,name参数值为”/WebContent/js”时,当客户端请求的URL为http://localhost:8080/js/index.js时,会返回Bundle中WebContent/js/index.js文件。
第三个参数和registerServlet()方法一样,不在赘述。
unregister()方法就比较简单了,当资源不需要被客户端请求时,可以调用该方法卸载资源;createDefaultHttpContext()方法用于创建默认的HttpContext实例。
二、Web应用开发实战
前面介绍了一些HttpService的理论基础,这对我们后面整合Spring MVC框架非常重要,接下来就介绍一下实际项目中何如使用HttpService的。
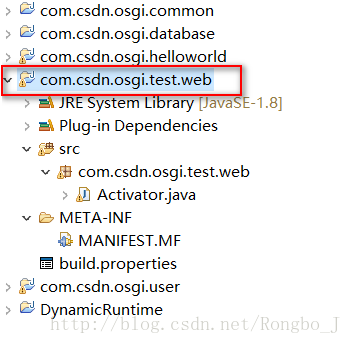
我们在前面文章中搭建的环境基础上进行演示,首先新建一个新的Plug-in Project,名称为com.csdn.osgi.test.web,完成后整个项目结构如下图所示:
需要注意的是,在新建com.csdn.osgi.test.web工程选择模版时,选择Hello OSGI Bundle,这样Eclipse会为我们生成一个Activator类,我们可以在该类中完成资源的注册操作,当然并不一定要使用工具生成,读者也可以自己注册一个Bundle生命周期类。
接下来我们就来新建一个Servlet,由于是演示用的,名称就叫TestServlet,代码如下:
com.csdn.osgi.web.servlet.TestServlet
import java.io.IOException;
import java.io.PrintWriter;

import javax.servlet.ServletException;
import javax.servlet.http.HttpServlet;
import javax.servlet.http.HttpServletRequest;
import javax.servlet.http.HttpServletResponse;

public class TestServlet extends HttpServlet{

    @Override
    protected void doPost(HttpServletRequest req, HttpServletResponse resp)
            throws ServletException, IOException {

        PrintWriter writer = resp.getWriter();
        writer.println("Hello OSGI Web Appication!");
    }

    @Override
    protected void doGet(HttpServletRequest req, HttpServletResponse resp)
            throws ServletException, IOException {
        this.doPost(req, resp);
    }
}
如上面代码所示,我们重写了HttpServlet的doPost()和doGet()方法,在doPost()方法中,向客户端返回一段简单的文本信息,接下来还需要注册该Servlet。
修改Eclipse为com.csdn.osgi.test.web工程生成的Activator类,增加如下内容:
package com.csdn.osgi.test.web;

import java.util.Dictionary;
import java.util.Hashtable;

import javax.servlet.Servlet;

import org.osgi.framework.BundleActivator;
import org.osgi.framework.BundleContext;
import org.osgi.framework.ServiceReference;
import org.osgi.service.http.HttpService;

import com.csdn.osgi.web.servlet.TestServlet;

public class Activator implements BundleActivator {


    public void start(BundleContext bundleContext) throws Exception {

        ServiceReference serviceReference = bundleContext.getServiceReference(HttpService.class.getName());
        HttpService service = (HttpService) bundleContext.getService(serviceReference);

        // 注册Servlet
        Servlet testServlet = new TestServlet();
        Dictionary<String, String> initparams = new Hashtable<String, String>();
        initparams.put("load-on-startup", "1");
        initparams.put("servlet-name", "testServlet");

        service.registerServlet("/testServlet.do", testServlet, initparams, null);


    }


    public void stop(BundleContext bundleContext) throws Exception {
        System.out.println("Goodbye World!!");
    }

}
我们首先通过下面两行代码获取HttpService实例,如下:
ServiceReference serviceReference = bundleContext.getServiceReference(HttpService.class.getName());
HttpService service = (HttpService) bundleContext.getService(serviceReference);
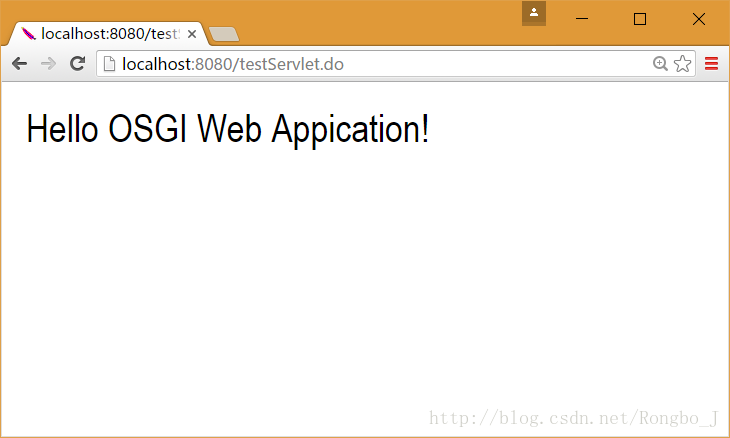
接着new了一个TestServlet实例,然后调用HttpService实例的registerServlet()方法注册testServlet对象,请求的URL为/testServlet.do。
接下来我们可以重新启动OSGI容器,然后打开浏览器访问http://localhost:8080/testServlet.do,如下图所示,会发现浏览器中显示Servlet返回的文本内容:
接下来我们再来了解一下JSP的注册,首先在com.csdn.osgi.test.web工程中新建一个WebContent/jsp目录,然后在该目录中新建一个test.jsp文件,内容如下:
<%@ page language="java" contentType="text/html; charset=utf-8"
    pageEncoding="utf-8"%>
<!DOCTYPE html>
<html>
<head>
<title>首页面</title>
</head>
<body>
<h1>这是首页面!</h1>
</body>
</html>
在这种情况下,客户端是没办法访问到JSP页面的,Jetty服务器也不会把test.jsp文件作为JSP解析,这就需要我们对JSP进行注册,將客户端请求的URL映射到Bundle中的JSP文件。
我们依然在Activator 类的start()方法中对JSP进行注册,代码如下:
package com.csdn.osgi.test.web;

import java.util.Dictionary;
import java.util.Hashtable;

import javax.servlet.Servlet;

import org.eclipse.equinox.jsp.jasper.JspServlet;
import org.osgi.framework.BundleActivator;
import org.osgi.framework.BundleContext;
import org.osgi.framework.ServiceReference;
import org.osgi.service.http.HttpService;

import com.csdn.osgi.web.servlet.TestServlet;

public class Activator implements BundleActivator {


    public void start(BundleContext bundleContext) throws Exception {

        ServiceReference serviceReference = bundleContext.getServiceReference(HttpService.class.getName());
        HttpService service = (HttpService) bundleContext.getService(serviceReference);

        // 注册Servlet
        Servlet testServlet = new TestServlet();
        Dictionary<String, String> initparams = new Hashtable<String, String>();
        initparams.put("load-on-startup", "1");
        initparams.put("servlet-name", "testServlet");

        service.registerServlet("/testServlet.do", testServlet, initparams, null);

        Dictionary jspParams = new Hashtable<String, String>();
        JspServlet jspServlet = new JspServlet(bundleContext.getBundle(), "/WebContent/jsp", "/jsp");
        service.registerServlet("/jsp", jspServlet, jspParams, null);
    }


    public void stop(BundleContext bundleContext) throws Exception {
        System.out.println("Goodbye World!!");
    }
}
其中下面几行代码为新增:
Dictionary jspParams = new Hashtable<String, String>();
JspServlet jspServlet = new JspServlet(bundleContext.getBundle(), "/WebContent/jsp", "/jsp");
service.registerServlet("/jsp", jspServlet, jspParams, null);
注册JSP需要使用JspServlet类,该类的构造方法有三个参数,第一个参数为bundle实例,后面两个参数需要配合起来使用,第二个参数为请求URL映射到Bundle中JSP文件的路径,第三个参数为请求的URL模式,上面代码中创建的JspServlet实例的含义为:
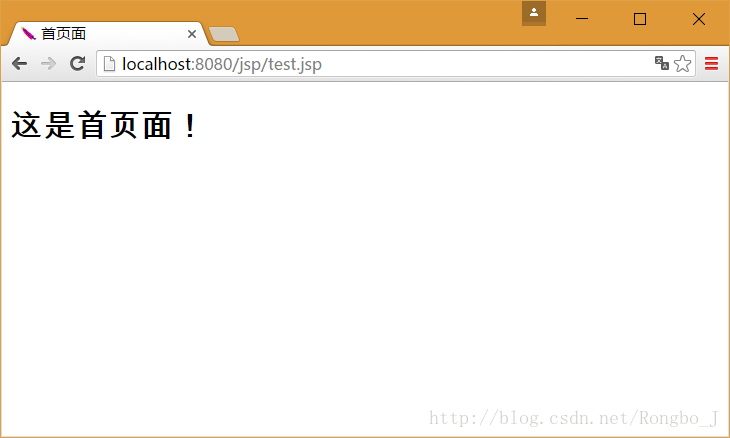
將请求URL中的/jsp/*.jsp映射到Bundle中/WebConten/jsp目录下对应的JSP文件,例如请求URL为http://localhost:8080/jsp/test.jsp时,则返回Bundle中/WebConten/jsp/test.jsp文件内容。
注意:需要將org.eclipse.equinox.jsp.jasper这个Bundle添加到运行环境中。
接下来我们可以重新启动OSGI容器,然后打开浏览器访问http://localhost:8080/jsp/test.jsp,如下图所示,可以发现页面中显示对应JSP文件的内容:
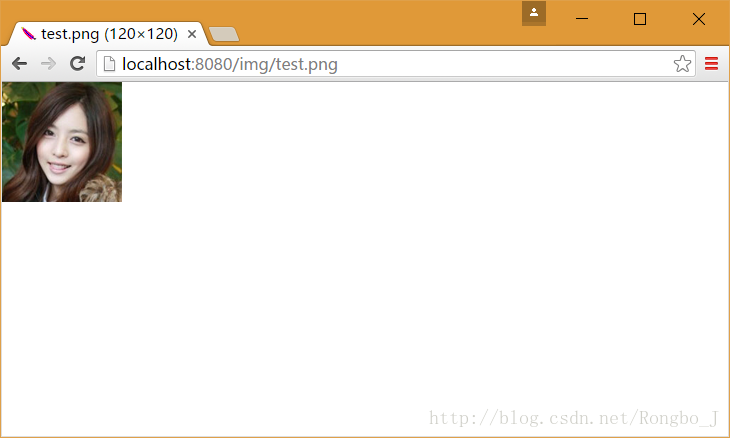
最后就是图片资源的注册,也很简单,以图片资源为例,注册代码如下:
service.registerResources("/img", "/WebContent/img", null);
重新启动OSGI容器,在/WebContent/img目录下放一张test.png图片,浏览器中访问http://localhost:8080/img/test.png,如下图所示:
再来看一下com.csdn.osgi.test.web工程的项目结构,如下图所示:

到此为止,OSGI Web应用开发的内容就介绍的差不多了,下篇文章开始介绍在Web应用中整合Spring MVC框架,尽请期待!


 188
188


 被折叠的 条评论
为什么被折叠?
被折叠的 条评论
为什么被折叠?
 到【灌水乐园】发言


