


序列图
为了理顺用户的操作逻辑,我们将监控点的设定分到选择监控点和编辑监控条件两个画面进行;
为了新建监控点和编辑监控点流程的共通化,创建监控点对象的工作被分配到了主画面。

index.js
newButtonTaped: function () {
console.log("index.js::newButtonTaped")
this.mapCtx.getCenterLocation({
success: function (res) {
app.globalData.currentAlarm = {
longitude: res.longitude,
latitude: res.latitude
}
wx.navigateTo({
url: '../setpoint/setpoint'
})
}
})
},
创建监控点画面的同时,设定坐标的初值。
setpoint.js
getPoisInformation:function(){
var that = this
var mapCtx = wx.createMapContext('alarmMap')
mapCtx.getCenterLocation({
success: function (res) {
util.getPoisByLocation(res.longitude, res.latitude, function (data) {
console.log(data)
that.setData({
pois: data.pois,
location: res.latitude.toFixed(4) + ',' + res.longitude.toFixed(4),
});
app.globalData.currentAlarm = {
longitude: res.longitude,
latitude: res.latitude,
title: data.pois[0].title
};
})
}
})
},
设定坐标和监控点标题。其画面如下:
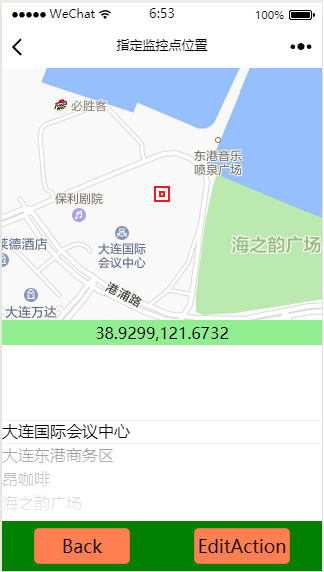
画面上选择了大连会议中心。上面就是著名的音乐喷泉广场。
editaction.js
编辑监控条件画面的功能正在编写中。先给大家看画面。
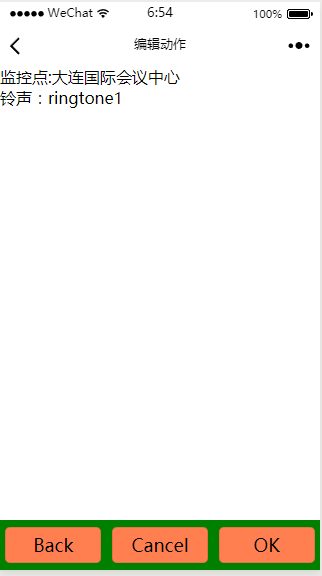
画面只是一个雏形,目前可以显示选择监控点画面指定的地点和铃声。选择其他铃声后,可以播放该铃声。
小程序代码
最新代码已经将代码上传到GitHub上了。这样大家就可以随时看到小程序的进步。欢迎参观,拍砖。
https://github.com/xueweiguo/alarmmap
写在文章的最后


 170
170


 被折叠的 条评论
为什么被折叠?
被折叠的 条评论
为什么被折叠?
 到【灌水乐园】发言


