


设置服务器时区
1. timedatectl set-timezone Asia/Shanghai
2. timedatectl set-ntp yes
3. timedatectl status
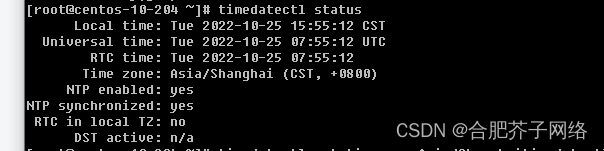
local time与本地时间一致,time zone与本地时区一致,即可。
修改yum源
1. 阿里源
wget -O /etc/yum.repos.d/CentOS-Base.repo http://mirrors.aliyun.com/repo/Centos-7.repo
或者
curl -o /etc/yum.repos.d/CentOS-Base.repo http://mirrors.aliyun.com/repo/Centos-7.repo
2.清华源
# CentOS-Base.repo
#
# The mirror system uses the connecting IP address of the client and the
# update status of each mirror to pick mirrors that are updated to and
# geographically close to the client.  You should use this for CentOS updates
# unless you are manually picking other mirrors.
#
# If the mirrorlist= does not work for you, as a fall back you can try the
# remarked out baseurl= line instead.
#
#

[base]
name=CentOS-$releasever - Base
baseurl=https://mirrors.tuna.tsinghua.edu.cn/centos/$releasever/os/$basearch/
#mirrorlist=http://mirrorlist.centos.org/?release=$releasever&arch=$basearch&repo=os
gpgcheck=1
gpgkey=file:///etc/pki/rpm-gpg/RPM-GPG-KEY-CentOS-7

#released updates
[updates]
name=CentOS-$releasever - Updates
baseurl=https://mirrors.tuna.tsinghua.edu.cn/centos/$releasever/updates/$basearch/
#mirrorlist=http://mirrorlist.centos.org/?release=$releasever&arch=$basearch&repo=updates
gpgcheck=1
gpgkey=file:///etc/pki/rpm-gpg/RPM-GPG-KEY-CentOS-7

#additional packages that may be useful
[extras]
name=CentOS-$releasever - Extras
baseurl=https://mirrors.tuna.tsinghua.edu.cn/centos/$releasever/extras/$basearch/
#mirrorlist=http://mirrorlist.centos.org/?release=$releasever&arch=$basearch&repo=extras
gpgcheck=1
gpgkey=file:///etc/pki/rpm-gpg/RPM-GPG-KEY-CentOS-7

#additional packages that extend functionality of existing packages
[centosplus]
name=CentOS-$releasever - Plus
baseurl=https://mirrors.tuna.tsinghua.edu.cn/centos/$releasever/centosplus/$basearch/
#mirrorlist=http://mirrorlist.centos.org/?release=$releasever&arch=$basearch&repo=centosplus
gpgcheck=1
enabled=0
gpgkey=file:///etc/pki/rpm-gpg/RPM-GPG-KEY-CentOS-7
3. yum clean all # 清除系统所有的yum缓存
yum makecache # 生成yum缓存
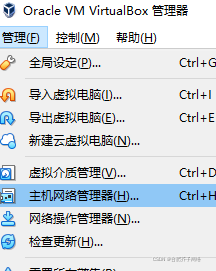
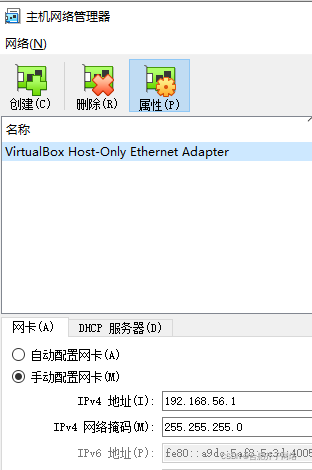
配置网络服务
1. sudo vi /etc/sysconfig/network-scripts/ifcfg-enp0s3
修改onboot=yes
2. service network restart
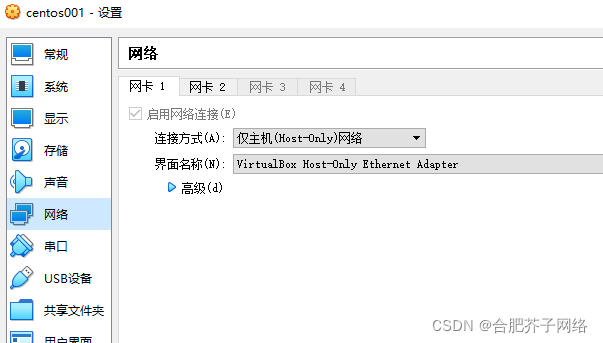
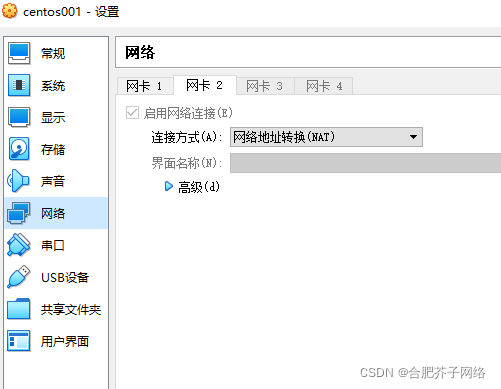
这里配了两个网卡,一个是连主机,一个是连外网,需要修改ifcfg-enp0s3 ifcfg-enp0s8这两个文件,ONBOOT=yes,只改一个文件的话会影响网络使用【我遇到的问题是连不了外网】。
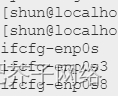
sudo vi /etc/sysconfig/network-scripts/ifcfg-enp0s3
修改BOOTPROTO=static
ONBOOT=yes
IPADDR=192.168.56.10
多台虚拟机只要将ipaddr修改一下就可以了
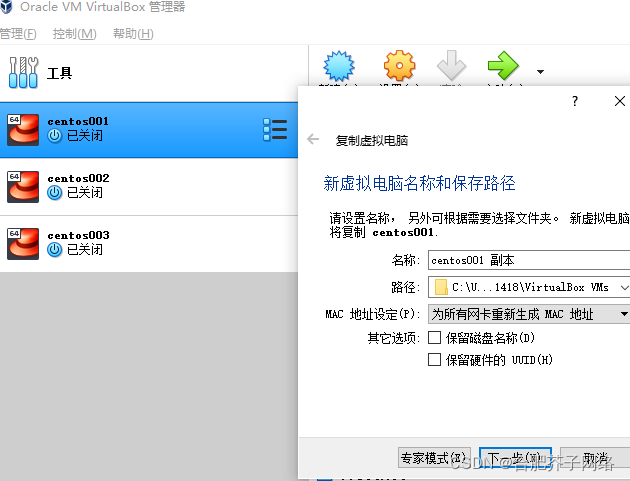
复制虚拟机,右键选择复制,做如下修改。开机后,修改/etc/hostname和/etc/hosts
安装java
1. sudo yum install java-1.8.0-openjdk* -y
2. vim /etc/profile
export JAVA
 最低0.47元/天 解锁文章


 2398
2398


 被折叠的 条评论
为什么被折叠?
被折叠的 条评论
为什么被折叠?
 到【灌水乐园】发言


