


In this tutorial you will learn how to use fresco android image library.
在本教程中,您将学习如何使用fresco android图像库。
Fresco is an image library created by Facebook developers that can be used to display image from internet or local storage. Many popular android apps like facebook, twitter, wikipedia, 9gag, etc uses this library. If you want to create an app that loads lot of image from internet then this library is the best choice. It is great alternative of other android image libraries Picasso and Glide.
Fresco是由Facebook开发人员创建的图像库,可用于显示来自互联网或本地存储的图像。 许多流行的android应用程序(例如facebook,twitter,Wikipedia,9gag等)都使用此库。 如果您要创建一个从互联网上加载大量图像的应用程序,那么此库是最佳选择。 它是其他Android图像库Picasso和Glide的绝佳替代品。
It manages memory so efficiently that app works faster and causes less crashes. Using this you can display jpg, png, gif and WebPs. Below I have shown usage of this library using one simple example.
它高效地管理内存,以使应用程序运行更快,并减少崩溃次数。 使用此工具,您可以显示jpg,png,gif和WebP。 下面我用一个简单的例子展示了这个库的用法。

Fresco Android教程 (Fresco Android Tutorial)
Create an android studio project with package name com.frescoandroid.
创建一个名为com.frescoandroid的android studio项目。
Add following dependency in app level build.gradle file under dependencies section then sync the project.
在“依赖关系”部分的应用程序级别build.gradle文件中添加以下依赖关系,然后同步项目。
compile 'com.facebook.fresco:fresco:1.5.0'Note: If you want to display gif or WebPs then you need to include some more dependencies. To learn about them visit this link.
注意:如果要显示gif或WebP,则需要包括更多依赖项。 要了解他们,请访问此链接 。
Create java class with name MyApplication that extend Application class. Before using Fresco in our project we have to initialize it, this class is used for initialization purpose. In this way we have to initialize it once and then we can use the library throughout the project.
创建名称为MyApplication的 Java类,以扩展Application类。 在我们的项目中使用Fresco之前,我们必须对其进行初始化,该类用于初始化。 这样,我们必须对其进行一次初始化,然后才能在整个项目中使用该库。
MyApplication.java
MyApplication.java
package com.frescoandroid;

import android.app.Application;

import com.facebook.drawee.backends.pipeline.Fresco;

public class MyApplication extends Application {
    @Override
    public void onCreate() {
        super.onCreate();
        Fresco.initialize(this);
    }
}
Put this class entry in AndroidManifest.xml file. For that add android:name=”.MyApplication” attribute inside <application> tag.
将该类条目放入AndroidManifest.xml文件中。 为此,在<application>标记内添加android:name =”。MyApplication”属性。
As I will load image from internet so add internet access permission in AndroidManifest.xml.
由于我将从Internet加载图像,因此在AndroidManifest.xml中添加Internet访问权限。
<uses-permission android:name="android.permission.INTERNET" />activity_main.xml
activity_main.xml
<?xml version="1.0" encoding="utf-8"?>
<RelativeLayout xmlns:android="http://schemas.android.com/apk/res/android"
    xmlns:app="http://schemas.android.com/apk/res-auto"
    xmlns:tools="http://schemas.android.com/tools"
    xmlns:fresco="http://schemas.android.com/apk/res-auto"
    android:layout_width="match_parent"
    android:layout_height="match_parent"
    tools:context="com.frescoandroid.MainActivity">\

    <com.facebook.drawee.view.SimpleDraweeView
        android:layout_width="150dp"
        android:layout_height="150dp"
        android:id="@+id/image"
        fresco:placeholderImage="@drawable/loading"
        />

</RelativeLayout>
For displaying the image we use <com.facebook.drawee.view.SimpleDraweeView> element in layout file. Also mention custom namespace in top level element by adding xmlns:fresco=”http://schemas.android.com/apk/res-auto” attribute.
为了显示图像,我们在布局文件中使用<com.facebook.drawee.view.SimpleDraweeView>元素。 通过添加xmlns:fresco =” http://schemas.android.com/apk/res-auto”属性,还可以在顶级元素中提及自定义名称空间。
Here I have also used placeholder image, that will be displayed until image is downloaded from internet. Make sure to place a placeholder image in drawable folder.
在这里,我还使用了占位符图像,该图像将一直显示到从互联网下载图像为止。 确保将占位符图像放置在可绘制文件夹中。
MainActivity.java
MainActivity.java
package com.frescoandroid;
import android.net.Uri;
import android.support.v7.app.AppCompatActivity;
import android.os.Bundle;
import com.facebook.drawee.view.SimpleDraweeView;
public class MainActivity extends AppCompatActivity {
SimpleDraweeView image;
String url ="https://upload.wikimedia.org/wikipedia/en/thumb/8/80/Wikipedia-logo-v2.svg/1200px-Wikipedia-logo-v2.svg.png";
@Override
protected void onCreate(Bundle savedInstanceState) {
super.onCreate(savedInstanceState);
setContentView(R.layout.activity_main);
image = (SimpleDraweeView)findViewById(R.id.image);
//loading image from url
Uri uri = Uri.parse(url);
image.setImageURI(uri);
}
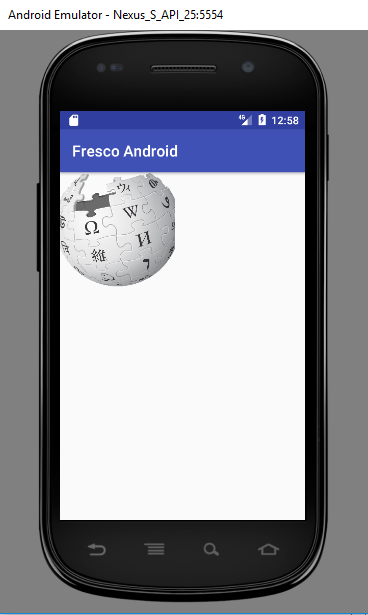
}To show the image you just have to set the image in SimpleDraweeView ui element using setImageURI() method. Rest of the code is self explanatory. Finally save and run the project.
要显示图像,您只需要使用setImageURI()方法在SimpleDraweeView ui元素中设置图像。 其余代码不言自明。 最后保存并运行项目。
Screenshot
屏幕截图
To learn more functionalities of fresco library visit its official website http://frescolib.org/.
要了解壁画库的更多功能,请访问其官方网站http://frescolib.org/ 。
Comment below if you have doubts related to above fresco android tutorial.
如果您对上述壁画android教程有疑问,请在下面评论。
翻译自: https://www.thecrazyprogrammer.com/2017/09/fresco-android-tutorial.html


 1万+
1万+

 被折叠的 条评论
为什么被折叠?
被折叠的 条评论
为什么被折叠?
 到【灌水乐园】发言


