


vue.js 构建项目
Vue is a simple and minimal progressive JavaScript framework that can be used to build powerful web applications incrementally.
Vue是一个简单而最少的渐进式JavaScript框架,可用于逐步构建强大的Web应用程序。
Vue is a lightweight alternative to other JavaScript frameworks like AngularJS. With an intermediate understanding of HTML, CSS and JS, you should be ready to get up and running with Vue.
Vue是AngularJS等其他JavaScript框架的轻量级替代方案。 对HTML,CSS和JS有一定的了解,您应该已经准备好开始使用Vue。

In this article, we will be building a To-Do application with Vue while highlighting the bundle of awesomeness that it has to offer.
在本文中,我们将使用Vue构建一个To-Do应用程序,同时强调其必须提供的强大功能。
Let's get started!
让我们开始吧!
先决条件 ( Prerequisites )
We'll need the Vue CLI to get started. The CLI provides a means of rapidly scaffolding Single Page Applications and in no time you will have an app running with hot-reload, lint-on-save, and production-ready builds.
我们需要Vue CLI才能开始。 CLI提供了一种快速搭建单页应用程序的方法,并且您将很快拥有运行有热重载,保存时不掉毛和生产就绪版本的应用程序。
Vue CLI offers a zero-configuration development tool for jumpstarting your Vue apps and component.
Vue CLI提供了零配置开发工具,可用于快速启动Vue应用程序和组件。
A lot of the decisons you have to make regarding how your app scales in future are taken care of. The Vue CLI comes with an array of templates that provide a self-sufficient, out-of-the-box ready to use package. The currently available templates are:
您需要考虑很多有关将来如何扩展应用程序的决定。 Vue CLI附带了一系列模板,这些模板提供了一个自给自足,即用即用的软件包。 当前可用的模板是:
webpack - A full-featured Webpack + Vue-loader setup with hot reload, linting, testing& CSS extraction.

webpack-simple - A simple Webpack + Vue-loader setup for quick prototyping.

browserify - A full-featured Browserify + vueify setup with hot-reload, linting & unit testing.

browserify-simple - A simple Browserify + vueify setup for quick prototyping.

simple - The simplest possible Vue setup in a single HTML file
Simply put, the Vue CLI is your is the fastest way to get your apps up and running.
简而言之,Vue CLI是启动和运行应用程序的最快方法。
# install vue-cli
$ npm install --global vue-cli
In this tutorial, we will be focusing on the use of single file components instead of instances. We'll also touch on how to use parent and child components and data exchange between them. Vue's learning curve is especially gentle when you use single file components. Additionally, they allow you to place everything regarding a component in one place. When you begin working on large applications, the ability to write reusable components will be a life saver.
在本教程中,我们将专注于使用单个文件组件而不是实例。 我们还将介绍如何使用父子组件以及它们之间的数据交换。 当您使用单个文件组件时,Vue的学习曲线特别柔和。 此外,它们使您可以将有关组件的所有内容都放在一个位置。 当您开始在大型应用程序上工作时,编写可重用组件的功能将为您节省生命。
创建Vue 2应用程序 ( Creating A Vue 2 Application )
Next, we'll set up our Vue app with the CLI.
接下来,我们将使用CLI设置Vue应用。
# create a new project using the "webpack" template
$ vue init webpack todo-app
You will be prompted to enter a project name, description, author and Vue build. We will not install Vue-router for our app. You will also be required to enable linting and testing options or the app. You can follow my example below.

系统将提示您输入项目名称,描述,作者和Vue构建。 我们不会为我们的应用安装Vue-router。 您还需要启用启动和测试选项或应用程序。 您可以在下面按照我的示例进行操作。
Once we have initialized our app, we will need to install the required dependencies.
初始化应用程序后,我们将需要安装所需的依赖项。
# install dependencies and go!
$ cd todo-app
$ npm install
To serve the app, run
要投放该应用,请运行
$npm run devThis will immediately open your browser and direct you to http://localhost:8080 . The page will look as follows.

这将立即打开浏览器,并将您定向到http:// localhost:8080 。 该页面将如下所示。
To style our application we will use Semantic. Semantic is a development framework that helps create beautiful, responsive layouts using human-friendly HTML. We will also use Sweetalert to prompt users to confirm actions. Sweetalert is a library that provides beautiful alternatives to the default JavaScript alert. Add the minified JavaScript and CSS scripts and links to your index.html file found at the root of your folder structure.
为样式化我们的应用程序,我们将使用Semantic 。 语义是一个开发框架,可使用人类友好HTML帮助创建美观,响应式的布局。 我们还将使用Sweetalert提示用户确认操作。 Sweetalert是一个库,可为默认JavaScript警报提供漂亮的替代方案。 将缩小JavaScript和CSS脚本以及链接添加到在文件夹结构根目录下找到的index.html文件。
<!-- ./index.html -->
<head>
  <meta charset="utf-8">
  <title>todo-app</title>
  <script src="https://cdnjs.cloudflare.com/ajax/libs/jquery/3.2.1/jquery.min.js"></script>
  <link rel="stylesheet" type="text/css" href="https://cdnjs.cloudflare.com/ajax/libs/semantic-ui/2.2.7/semantic.min.css">
  <script src="https://cdnjs.cloudflare.com/ajax/libs/semantic-ui/2.2.7/semantic.min.js"></script>
  <link rel="stylesheet" type="text/css" href="https://cdnjs.cloudflare.com/ajax/libs/sweetalert/1.1.3/sweetalert.min.css">
  <script src="https://cdnjs.cloudflare.com/ajax/libs/sweetalert/1.1.3/sweetalert.min.js"></script>
</head>
组件结构 ( Component structure )
Every Vue app, needs to have a top level component that serves as the framework for the entire application. Fo our application, we will have a main component and nested within shall be a TodoList Component. Within this there will be todo sub-components.
每个Vue应用程序都需要具有一个顶级组件,以作为整个应用程序的框架。 对于我们的应用程序,我们将有一个主要组件,并且嵌套在其中的应该是TodoList组件。 其中将包含待办事项子组件。
主应用程序组件 ( Main App Component )
Let's dive into building our application. First, we'll start with the main top level component. The Vue CLI already generates a main component that can be found in src/App.vue. We will build out the other necessary components.
让我们开始构建应用程序。 首先,我们将从主要的顶层组件开始。 Vue CLI已经生成了一个主要组件,可以在src/App.vue找到src/App.vue 。 我们将构建其他必要的组件。
创建一个组件 ( Creating a Component )
The Vue CLI creates a component Hello during set up that can be found in src/components/Hello.vue. We will create our own component called TodoList.vue and won't be needing this anymore.
Vue CLI在设置过程中会创建一个组件Hello,可以在src/components/Hello.vue找到src/components/Hello.vue 。 我们将创建自己的名为TodoList.vue的组件,并且不再需要此组件。
Inside of the new TodoList.vue file, write the following.
在新的TodoList.vue文件中,编写以下内容。
<template>
  <div>
    <ul>
        <li> Todo A </li>
        <li> Todo B </li>
        <li> Todo C </li>
    </ul>
  </div>
</template>

<script type = "text/javascript" >

export default {
};
</script>
<style>
</style>
A component file consists three parts; template, component class and styles sections. The template area is the visual part of a component. Behaviour, events and data storage for the template are handled by the class. The style section serves to further improve the appearance of the template.
组件文件由三部分组成: 模板,组件类和样式部分。 模板区域是组件的可视部分。 模板的行为,事件和数据存储由类处理。 样式部分用于进一步改善模板的外观。
导入元件 ( Importing Components )
To utilize the component we just created, we need to import it in our main component. Inside of src/App.vue make the following changes just above the script section and below the template closing tag.
要利用我们刚刚创建的组件,我们需要将其导入到我们的主要组件中。 在src/App.vue内部,在脚本部分上方和模板结束标记下方进行以下更改。
// add this line
import TodoList from './components/TodoList'
// remove this line
import Hello from './components/Hello'
We will also need to reference the TodoList component in the components property and delete the previous reference to Hello Component. After the changes, our script should look like this.
我们还需要在components属性中引用TodoList组件,并删除以前对Hello Component的引用。 更改后,我们的脚本应如下所示。
<script>
import TodoList from './components/TodoList';

export default {
  components: {
    // Add a reference to the TodoList component in the components property
    TodoList,
  },
};
</script>
To render the component, we invoke it like an HTML element. Component words are separated with dashes like below instead of camel case.
为了渲染组件,我们像HTML元素一样调用它。 组成词之间用短划线分隔,如下所示,而不是驼峰式大小写。
<template>
  <div>
    // Render the TodoList component
    // TodoList becomes
    <todo-list></todo-list>
  </div>
</template>
When we have saved our changes our rudimentary app should look like this.
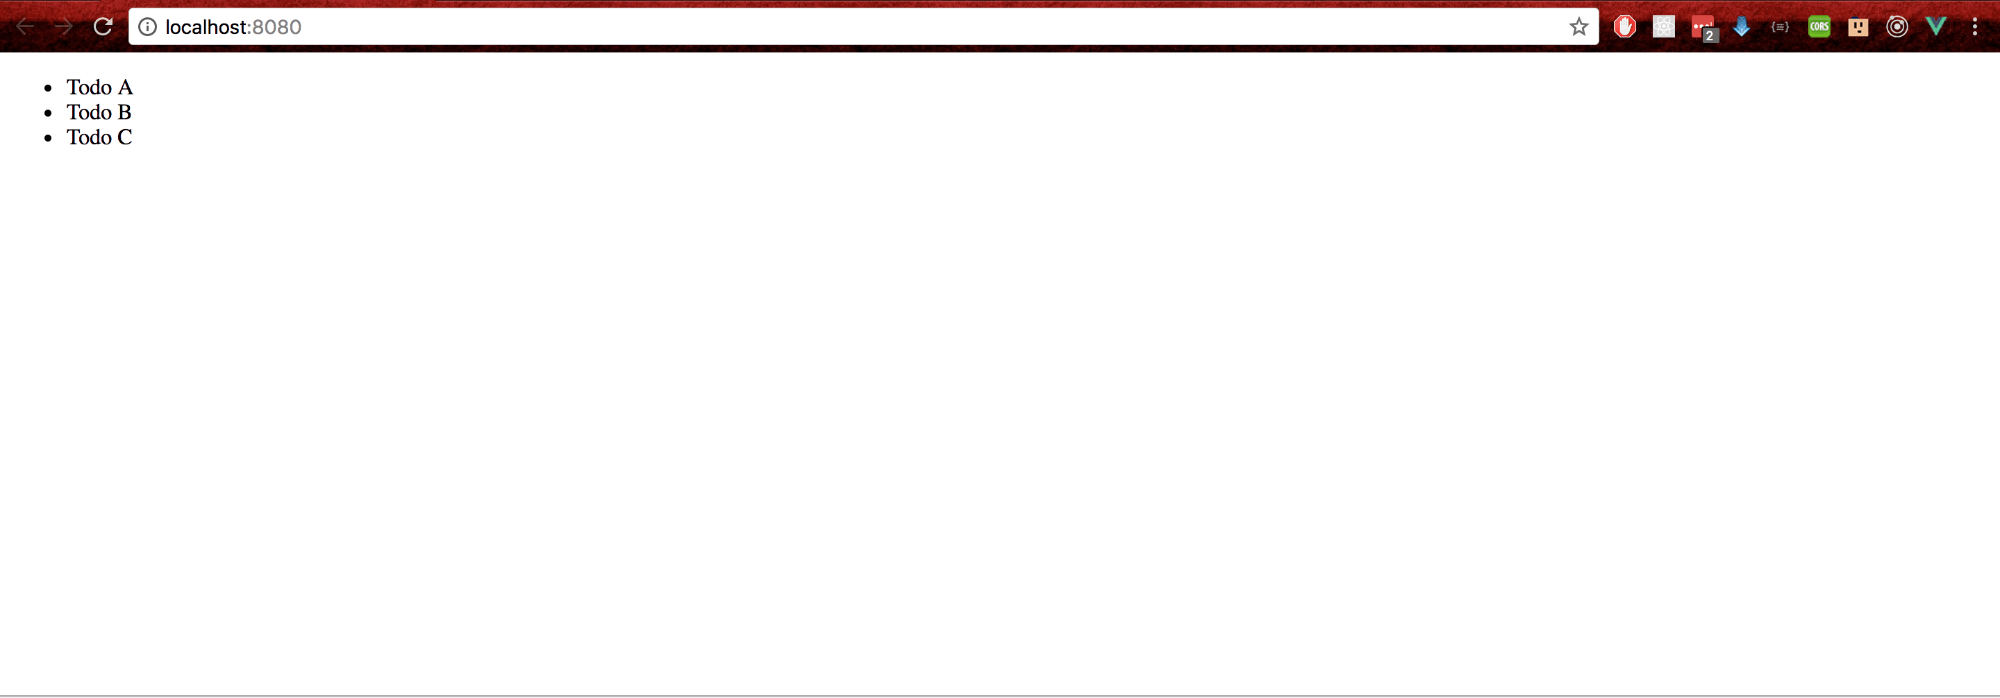
保存更改后,我们的基本应用程序应如下所示。
添加组件数据 ( Adding Component Data )
We will need to supply data to the main component that will be used to display the list of todos. Our todos will have three properties; The title, project and done(to indicate if the todo is complete or not). Components avail data to their respective templates using a data function. This function returns an object with the properties intended for the template. Let's add some data to our component.
我们将需要向主要组件提供数据,这些数据将用于显示待办事项列表。 我们的待办事项将具有三个属性: 标题,项目和完成(指示待办事项是否完整)。 组件使用数据功能将数据用于其各自的模板。 此函数返回一个对象,该对象具有用于模板的属性。 让我们向组件中添加一些数据。
export default {
  name: 'app',
  components: {
    TodoList,
  },
  // data function avails data to the template
  data() {
    return {
      todos: [{
        title: 'Todo A',
        project: 'Project A',
        done: false,
      }, {
        title: 'Todo B',
        project: 'Project B',
        done: true,
      }, {
        title: 'Todo C',
        project: 'Project C',
        done: false,
      }, {
        title: 'Todo D',
        project: 'Project D',
        done: false,
      }],
    };
  },
};
We will need to pass data from the main component to the TodoList component. For this, we will use the v-bind directive. The directive takes an argument which is indicated by a colon after the directive name. Our argument will be todos which tells the v-bind directive to bind the element’s todos attribute to the value of the expression todos.
我们将需要将数据从主要组件传递到TodoList组件。 为此,我们将使用v-bind指令。 该指令采用一个参数,该参数由指令名称后面的冒号表示。 我们的参数是todos,它告诉v-bind指令将元素的todos属性绑定到表达式todos的值。
<todo-list v-bind:todos="todos"></todo-list>The todos will now be available in the TodoList component as todos. We will have to modify our TodoList component to access this data. The TodoList component has to declare the properties it will accept when using it. We do this by adding a property to the component class.
现在,待办事项将在todoList组件中作为todos 。 我们将不得不修改TodoList组件以访问此数据。 TodoList组件必须声明使用时将接受的属性。 为此,我们向组件类添加了一个属性。
export default {
    props: ['todos'],
}
循环和渲染数据 ( Looping and Rendering Data )
Inside our TodoList template lets loop over the list of Todos and also show the the number of completed and uncompleted tasks. To render a list of items, we use the v-for directive. The syntax for doing this is represented as v-for="item in items" where items is the array with our data and item is a representation of the array element being iterated on.
在我们的TodoList模板内部,可以循环显示Todos列表,并显示已完成和未完成任务的数量。 要呈现项目列表,我们使用v-for指令。 这样做的语法表示为v-for="item in items" ,其中item是包含我们的数据的数组,而item是对其进行迭代的数组元素的表示。
<template>
  <div>
    // JavaScript expressions in Vue are enclosed in double curly brackets.
    <p>Completed Tasks: {{todos.filter(todo => {return todo.done === true}).length}}</p>
    <p>Pending Tasks: {{todos.filter(todo => {return todo.done === false}).length}}</p>
    <div class='ui centered card' v-for="todo in todos">
      <div class='content'>
        <div class='header'>
          {{ todo.title }}
        </div>
        <div class='meta'>
          {{ todo.project }}
        </div>
        <div class='extra content'>
          <span class='right floated edit icon'>
            <i class='edit icon'></i>
          </span>
        </div>
      </div>
      <div class='ui bottom attached green basic button' v-show="todo.done">
        Completed
      </div>
      <div class='ui bottom attached red basic button' v-show="!todo.done">
        Complete
      </div>
  </div>
</template>

<script type = "text/javascript" >

export default {
  props: ['todos'],
};
</script>
编辑待办事项 ( Editing a Todo )
Let's extract the todo template into it's own component for cleaner code. Create a new component file Todo.vue in src/components and transfer the todo template. Our file should now look like this:
让我们将待办事项模板提取到其自己的组件中以获取更清洁的代码。 在src/components创建一个新的组件文件Todo.vue并传输todo模板。 我们的文件现在应如下所示:
<template>
  <div class='ui centered card'>
    <div class='content'>
        <div class='header'>
            {{ todo.title }}
        </div>
        <div class='meta'>
            {{ todo.project }}
        </div>
        <div class='extra content'>
            <span class='right floated edit icon'>
            <i class='edit icon'></i>
          </span>
        </div>
    </div>
    <div class='ui bottom attached green basic button' v-show="todo.done">
        Completed
    </div>
    <div class='ui bottom attached red basic button' v-show="!todo.done">
        Complete
    </div>
</div>
</template>

<script type="text/javascript">
  export default {
    props: ['todo'],
  };
</script>
In the TodoList component refactor the code to render the Todo component. We will also need to change the way our todos are passed to the Todo component. We can use the v-for attribute on any components we create just like we would in any other element. The syntax will be like this: <my-component v-for="item in items" :key="item.id"></my-component>. Note that from 2.2.0 and above, a key is required when using v-for with components. An important thing to note is that this does not automatically pass the data to the component since components have their own isolated scopes. To pass the data, we have to use props.
在TodoList组件中,重构代码以呈现Todo组件。 我们还需要更改待办事项传递到Todo组件的方式。 我们可以在创建的任何组件上使用v-for属性,就像在其他任何元素中一样。 语法如下: <my-component v-for="item in items" :key="item.id"></my-component> 。 请注意,从2.2.0及更高版本开始, v-for组件使用v-for时需要一个密钥。 需要注意的重要一点是,这不会自动将数据传递给组件,因为组件具有自己的隔离范围。 要传递数据,我们必须使用道具。
<my-component v-for="(item, index) in items" v-bind:item="item"  v-bind:index="index">
</my-component>
Our refactored TodoLost component template:
我们重构的TodoLost组件模板:
<template>
  <div>
    <p>Completed Tasks: {{todos.filter(todo => {return todo.done === true}).length}}</p>
    <p>Pending Tasks: {{todos.filter(todo => {return todo.done === false}).length}}</p>
   // we are now passing the data to the todo component to render the todo list
    <todo  v-for="todo in todos" v-bind:todo="todo"></todo>
  </div>
</template>

<script type = "text/javascript" >

import Todo from './Todo';

export default {
  props: ['todos'],
  components: {
    Todo,
  },
};
</script>
Let's add a property to the Todo component class called isEditing. This will be used to dertermine whether the Todo is in edit mode or not. We will have an event handler on the Edit span in the template. This will trigger the showForm method when it gets clicked. This will set the isEditing property to true. Before we take a look at that, we will add a form and set conditionals to show the todo or the edit form depending on whether isEditing property is true or false. Our template should now look like this.
让我们向Todo组件类添加一个名为isEditing的属性。 这将用于确定Todo是否处于编辑模式。 我们将在模板的“编辑”跨度中有一个事件处理程序。 单击它会触发showForm方法。 这会将isEditing属性设置为true。 在查看之前,我们将添加一个表单并设置条件以显示isdoing或edit表单,具体取决于isEditing属性是true还是false。 现在,我们的模板应如下所示。
<template>
  <div class='ui centered card'>
    // Todo shown when we are not in editing mode.
    <div class="content" v-show="!isEditing">
      <div class='header'>
          {{ todo.title }}
      </div>
      <div class='meta'>
          {{ todo.project }}
      </div>
      <div class='extra content'>
          <span class='right floated edit icon' v-on:click="showForm">
          <i class='edit icon'></i>
        </span>
      </div>
    </div>
    // form is visible when we are in editing mode
    <div class="content" v-show="isEditing">
      <div class='ui form'>
        <div class='field'>
          <label>Title</label>
          <input type='text' v-model="todo.title" >
        </div>
        <div class='field'>
          <label>Project</label>
          <input type='text' v-model="todo.project" >
        </div>
        <div class='ui two button attached buttons'>
          <button class='ui basic blue button' v-on:click="hideForm">
            Close X
          </button>
        </div>
      </div>
    </div>
    <div class='ui bottom attached green basic button' v-show="!isEditing &&todo.done" disabled>
        Completed
    </div>
    <div class='ui bottom attached red basic button' v-show="!isEditing && !todo.done">
        Pending
    </div>
  </div>
</template>
</template>
In addition to the showForm method we will need to add a hideForm method to close the form when the cancel button is clicked. Let's see what our script now looks like.
除了showForm方法,我们还需要添加一个hideForm方法,以在单击“取消”按钮时关闭该窗体。 让我们看看脚本现在的样子。
<script>
export default {
  props: ['todo'],
  data() {
    return {
      isEditing: false,
    };
  },
  methods: {
    showForm() {
      this.isEditing = true;
    },
    hideForm() {
      this.isEditing = false;
    },
  },
};
</script>
Since we have bound the form values to the todo values, editing the values will immediately edit the todo. Once done, we'll press the close button to see the updated todo.
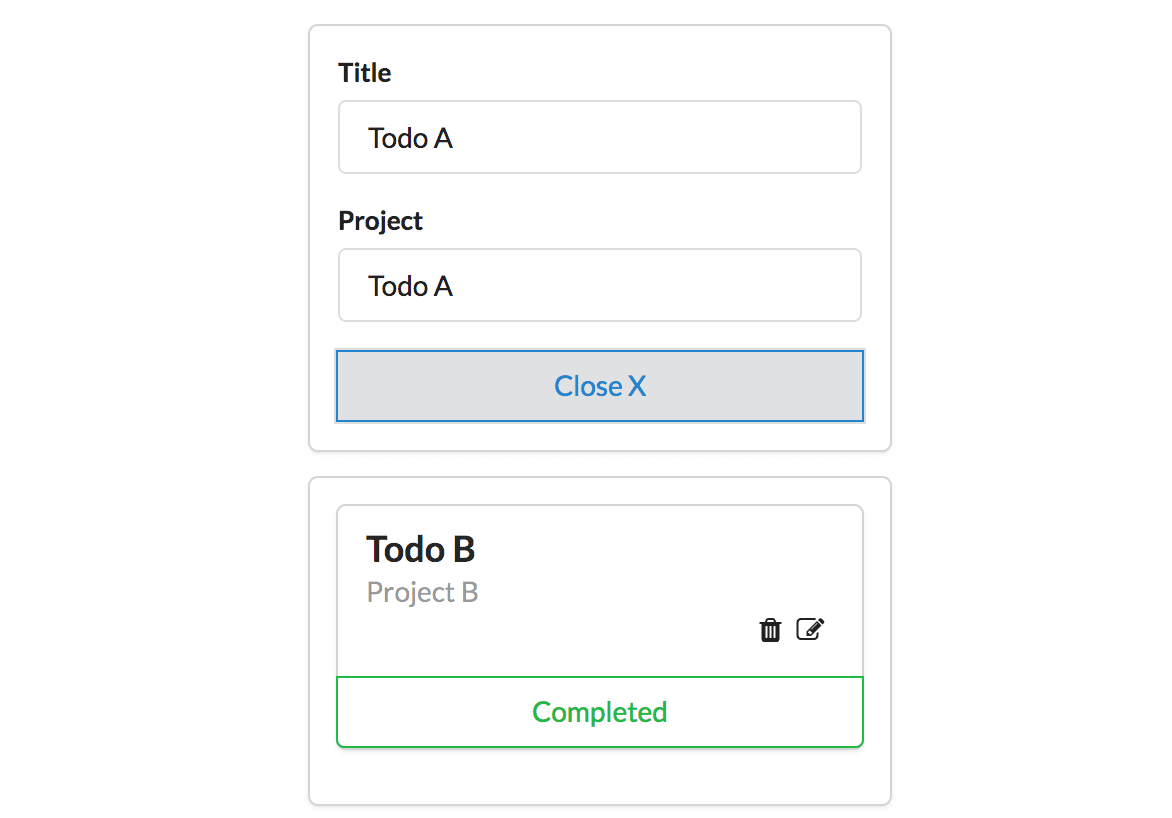
由于我们已将表单值绑定到待办事项值,因此编辑值将立即编辑待办事项。 完成后,我们将按关闭按钮以查看更新的待办事项。
删除待办事项 ( Deleting a Todo )
Let's begin by adding an icon to delete a Todo just below the edit icon.
让我们从添加图标开始,以删除位于编辑图标正下方的Todo。
<template>
    <span class='right floated edit icon' v-on:click="showForm">
      <i class='edit icon'></i>
    </span>
    /* add the trash icon in below the edit icon in the template */
    <span class='right floated trash icon' v-on:click="deleteTodo(todo)">
      <i class='trash icon'></i>
    </span>
</template>
Next, we'll add a method to the component class to handle the icon click. This method will emit an event delete-todo to the parent TodoList Component and pass the current Todo to delete. We will add an event listener to delete icon.
接下来,我们将向组件类添加一个方法来处理图标单击。 此方法将向父TodoList组件发出事件delete-todo ,并将当前Todo传递给delete。 我们将添加一个事件监听器以删除图标。
<span class='right floated trash icon' v-on:click="deleteTodo(todo)">// Todo component
methods: {
deleteTodo(todo) {
this.$emit('delete-todo', todo);
},
},The parent component(TodoList) will need an event handler to handle the delete. Let's define it.
父组件(TodoList)将需要一个事件处理程序来处理删除。 让我们定义它。
// TodoList component
methods: {
    deleteTodo(todo) {
      const todoIndex = this.todos.indexOf(todo);
      this.todos.splice(todoIndex, 1);
    },
  },
The deleteTodo method will be passed to the Todo component as follows.
deleteTodo方法将按以下方式传递给Todo组件。
// TodoList template
<todo  v-on:delete-todo="deleteTodo" v-for="todo in todos" v-bind:todo="todo"></todo>
Once we click on the delete icon, an event will be emitted and propagated to the parent component which will then delete it.
单击删除图标后,将发出一个事件并将其传播到父组件,然后将其删除。
添加新的待办事项 ( Adding A New Todo )
To create a new todo, we'll start by creating a new component CreateTodo in src/components. This will display a button with a plus sign that will turn into a form when clicked. It should look something like this.
要创建一个新的待办事项,我们将从在src/components创建一个新组件CreateTodo开始。 这将显示一个带有加号的按钮,单击该按钮将变为表格。 它应该看起来像这样。
<template>
  <div class='ui basic content center aligned segment'>
    <button class='ui basic button icon' v-on:click="openForm" v-show="!isCreating">
      <i class='plus icon'></i>
    </button>
    <div class='ui centered card' v-show="isCreating">
      <div class='content'>
        <div class='ui form'>
          <div class='field'>
            <label>Title</label>
            <input v-model="titleText" type='text' ref='title' defaultValue="">
          </div>
          <div class='field'>
            <label>Project</label>
            <input type='text' ref='project' defaultValue="">
          </div>
          <div class='ui two button attached buttons'>
            <button class='ui basic blue button' v-on:click="sendForm()">
              Create
            </button>
            <button class='ui basic red button' v-on:click="closeForm">
              Cancel
            </button>
          </div>
        </div>
      </div>
    </div>
  </div>
</template>

<script>
export default {
  data() {
    return {
      titleText: '',
      projectText: '',
      isCreating: false,
    };
  },
  methods: {
    openForm() {
      this.isCreating = true;
    },
    closeForm() {
      this.isCreating = false;
    },
    sendForm() {
      if (this.titleText.length > 0 && this.projectText.length > 0) {
        const title = this.titleText;
        const project = this.projectText;
        this.$emit('create-todo', {
          title,
          project,
          done: false,
        });
        this.newTodoText = '';
      }
      this.isCreating = false;
    },
  },
};
</script>
After creating the new component, we import it and add it to the components property in the component class.
创建新组件之后,我们将其导入并将其添加到组件类的components属性中。
// Main Component App.vue
components: {
    TodoList,
    CreateTodo,
  },
We'll also add a method for creating new Todos.
我们还将添加一种用于创建新的Todos的方法。
// App.vue
methods: {
    addTodo(title) {
      this.todos.push({
        title,
        done: false,
      });
    },
  },
The CreateTodo component will be invoked in the App.vue template as follows:
将在App.vue模板中调用CreateTodo组件,如下所示:
<create-todo v-on:add-todo="addTodo">
完成待办事项 ( Completing A Todo )
Finally, we'll add a method completeTodo to the Todo Component that emits an event complete-todo to the parent component when the pending button is clicked and sets the done status of the todo to true.
最后,我们向Todo Component添加一个completeTodo方法,当单击挂起按钮并将Todo的完成状态设置为true时,该方法将向父组件发出一个complete-todo事件。
// Todo component
methods: {
      completeTodo(todo) {
        this.$emit('complete-todo', todo);
      },
}
An event handler will be added to the TodoList component process the event.
一个事件处理程序将被添加到处理事件的TodoList组件中。
methods: {
    completeTodo(todo) {
      const todoIndex = this.todos.indexOf(todo);
      this.todos[todoIndex].done = true;
    },
  },
To pass the TodoList method to the Todo component we will add it to the Todo component invokation.
要将TodoList方法传递给Todo组件,我们将其添加到Todo组件调用中。
<todo v-on:delete-todo="deleteTodo" v-on:complete-todo="completeTodo" v-for="todo in todos" :todo.sync="todo"></todo>结论 ( Conclusion )
We have learned how to initialize a Vue app using the Vue CLI. In addition, we learned about component structure, adding data to components, event listeners and event handlers. We saw how to create a todo, edit it and delete it. There is a lot more to learn. We used static data in our main component. The next step it to retrieve the data from a server and update it accordingly. We are now prepared to create interactive Vue application. Try something else on your own and see how it goes. Cheers!
我们已经学习了如何使用Vue CLI初始化Vue应用。 此外,我们了解了组件结构,将数据添加到组件,事件侦听器和事件处理程序。 我们看到了如何创建,编辑和删除待办事项。 还有很多东西要学习。 我们在主要组件中使用了静态数据。 下一步是从服务器检索数据并进行相应更新。 现在,我们准备创建交互式Vue应用程序。 自己尝试其他事情,看看进展如何。 干杯!
翻译自: https://scotch.io/tutorials/build-a-to-do-app-with-vue-js-2
vue.js 构建项目


 136
136

 被折叠的 条评论
为什么被折叠?
被折叠的 条评论
为什么被折叠?
 到【灌水乐园】发言


