


python 微框架
Flask is a simple, easy-to-use microframework for Python that can help build scalable and secure web applications. Here are a few reasons why Flask is great for beginners:
Flask是适用于Python的简单易用的微框架,可帮助构建可扩展且安全的Web应用程序。 以下是Flask非常适合初学者的一些原因:
- It's easy to set up 设置容易
- It's supported by an active community 它得到了活跃社区的支持
- It's well documented 有据可查
- It's very simple and minimalistic, and doesn't include anything you won't use 它非常简单和简约,不包含您不会使用的任何内容
- At the same time, it's flexible enough that you can add extensions if you need more functionality 同时,它足够灵活,可以在需要更多功能时添加扩展
In this tutorial, we'll cover the following:
在本教程中,我们将介绍以下内容:
- Installation of Flask and its prerequisites Flask的安装及其先决条件
- Recommended file and directory structure for a Flask project Flask项目的推荐文件和目录结构
- Configuration and initialization of a Flask app Flask应用程序的配置和初始化
- Creating views and templates 创建视图和模板
By the end of this tutorial, we will have built a simple static website using Flask. The code used in this tutorial is available for your reference on GitHub.
在本教程结束时,我们将使用Flask构建一个简单的静态网站。 本教程中使用的代码可在GitHub上供您参考。
Ready? Let's dive in!
准备? 让我们潜入吧!
安装 ( Installation )
We'll need the following installed for this tutorial:
本教程需要安装以下内容:
- Python (this tutorial uses Python 2) Python (本教程使用Python 2)
- virtualenv and virtualenvwrapper virtualenv和virtualenvwrapper
- Flask 烧瓶
You may already have Python installed on your system. You can check by running the python command in your terminal. If it's installed, you should see the following output:
您可能已经在系统上安装了Python。 您可以通过在终端中运行python命令进行检查。 如果已安装,则应该看到以下输出:
$ python
Python 2.7.10(default, Oct 23 2015, 19:19:21)
[GCC 4.2.1 Compatible Apple LLVM 7.0.0 (clang-700.0.59.5)] on darwin
Type "help", "copyright", "credits" or "license" for more information.
>>>
If you don't have it installed, you can download it here.
如果尚未安装,则可以在此处下载。
We'll start by installing virtualenv, a tool to create isolated Python environments. We need to use virtual environments to keep the dependencies used by different Python projects separate, and to keep our global site-packages directory clean. We'll go one step further and install virtualenvwrapper, a set of extensions that make using virtualenv a whole lot easier by providing simpler commands.
我们将首先安装virtualenv,这是一个用于创建隔离的Python环境的工具。 我们需要使用虚拟环境来使不同的Python项目所使用的依赖项保持独立,并保持全局站点包目录的整洁。 我们将更进一步,并安装virtualenvwrapper,这是一组扩展,通过提供更简单的命令,可以更轻松地使用virtualenv。
$ pipinstall virtualenv
$ pip install virtualenvwrapper
$ export WORKON_HOME=~/Envs
$ source /usr/local/bin/virtualenvwrapper.sh
To create and activate a virtualenv, run the following commands:
要创建和激活virtualenv,请运行以下命令:
$ mkvirtualenv my-venv
$ workon my-venv
Told you the commands were simple! We now have a virtualenv called my-venv, which we have activated and are currently working on. Now, any dependencies we install will be installed here and not globally. Remember to activate the virtualenv whenever you want to use or work on this project!
告诉您命令很简单! 现在,我们有一个名为my-venv的virtualenv,它已经激活并且正在开发中。 现在,我们安装的所有依赖项都将安装在这里,而不是全局安装。 请记住,无论何时要使用或处理此项目,都要激活virtualenv!
Next, let's create a directory for our app. This is where all our files will go:
接下来,让我们为我们的应用程序创建一个目录。 这是我们所有文件所在的位置:
$mkdir my-project
$ cd my-project
Finally, let's install Flask:
最后,让我们安装Flask:
$ pipinstall FlaskInstalling Flask also installs a few other dependencies, which you will see when you run the following command:
安装Flask还会安装其他一些依赖项,在运行以下命令时会看到这些依赖项:
$ pip freeze
click==6.6
Flask==0.11.1
itsdangerous==0.24
Jinja2==2.8
MarkupSafe==0.23
Werkzeug==0.11.11
What do all these packages do? Flask uses Click (Command Line Interface Creation Kit) for its command-line interface, which allows you to add custom shell commands for your app. ItsDangerous provides security when sending data using cryptographical signing. Jinja2 is a powerful template engine for Python, while MarkupSafe is a HTML string handling library. Werkzeug is a utility library for WSGI, a protocol that ensures web apps and web servers can communicate effectively.
所有这些软件包都做什么? Flask在命令行界面中使用Click(命令行界面创建工具包),它允许您为应用添加自定义Shell命令。 当使用密码签名发送数据时,ItsDangerous提供安全性。 Jinja2是Python的强大模板引擎,而MarkupSafe是HTML字符串处理库。 Werkzeug是WSGI的实用程序库,WSGI是确保Web应用程序和Web服务器可以有效通信的协议。
You can save the output above in a file. This is good practice because anyone who wants to work on or run your project will need to know the dependencies to install. The following command will save the dependencies in a requirements.txt file:
您可以将上面的输出保存在文件中。 这是一个好习惯,因为任何想要处理或运行您的项目的人都需要知道要安装的依赖项。 以下命令会将依赖项保存在requirements.txt文件中:
pip freeze> requirements.txt说“ Hello World!” 与烧瓶 ( Say "Hello World!" with Flask )
I think any beginner programming tutorial would be remiss if it didn't start with the classic "Hello World!" So here's how to do this in Flask:
我认为,如果不以经典的“ Hello World!”开头,那么任何初学者编程教程都将被忽略。 因此,这是在Flask中执行此操作的方法:
Create the following file, hello_world.py, in your favourite text editor (I'm an Atom girl, myself):
在您喜欢的文本编辑器中创建以下文件hello_world.py(我自己是Atom女孩):
# hello_world.py

from flask import Flask
app = Flask(__name__)


@app.route('/')
def hello_world():
    return 'Hello World!'
We begin by importing the Flask class, and creating an instance of it. We use the __name__ argument to indicate the app's module or package, so that Flask knows where to find other files such as templates. Then we have a simple function that will display the string Hello World!. The preceeding decorator simply tells Flask which path to display the result of the function. In this case, we have specified the route /, which is the home URL.
我们首先导入Flask类,然后创建它的实例。 我们使用__name__参数指示应用程序的模块或软件包,以便Flask知道在哪里可以找到其他文件(例如模板)。 然后,我们有一个简单的函数,它将显示字符串Hello World! 。 前面的修饰符只是告诉Flask哪个路径显示函数的结果。 在这种情况下,我们指定了路由/ ,这是家庭URL。
Let's see this in action, shall we? In your terminal, run the following:
让我们看看实际情况,对吧? 在您的终端中,运行以下命令:
$export FLASK_APP=hello_world.py
$ flask run
 * Serving Flask app "hello_world"
 * Running on http://127.0.0.1:5000/ (Press CTRL+C to quit)
The first command tells the system which app to run. The next one starts the server. Enter the specified URL (http://127.0.0.1:5000/) in your browser. Voila! It works!
第一个命令告诉系统要运行哪个应用程序。 下一个启动服务器。 在浏览器中输入指定的URL( http://127.0.0.1:5000/ )。 瞧! 有用!

目录结构 ( Directory Structure )
So far, we only have one functional file in our project: hello_world.py. A real-world web project usually has more files than that. It's important to maintain a good directory structure, so as to organize the different components of the application separately. These are a few of the common directories in a Flask project:
到目前为止,我们的项目中只有一个功能文件: hello_world.py 。 实际的Web项目通常包含的文件更多。 保持良好的目录结构很重要,以便分别组织应用程序的不同组件。 这些是Flask项目中的一些常见目录:
/app: This is a directory withinmy-project. We'll put all our code in here, and leave other files, such as therequirements.txtfile, outside./app:这是my-project的目录。 我们将所有代码都放在这里,并将其他文件(例如requirements.txt文件)放在外面。/app/templates: This is where our HTML files will go./app/templates:这是我们HTML文件所在的位置。/app/static: This is where static files such as CSS and JavaScript files as well as images usually go. However, we won't be needing this folder for this tutorial since we won't be using any static files./app/static:通常是静态文件(例如CSS和JavaScript文件以及图像)所在的位置。 但是,由于我们不会使用任何静态文件,因此本教程将不需要此文件夹。
$mkdir app app/templatesYour project directory should now look like this:
您的项目目录现在应如下所示:
├── my-project
       ├── app
       │   ├── templates
       ├── hello_world.py
       └── requirements.txt
The hello_world.py seems a little out of place now, doesn't it? Don't worry, we'll fix that in the next section.
hello_world.py现在似乎有点hello_world.py了,不是吗? 不用担心,我们将在下一部分中对其进行修复。
档案结构 ( File Structure )
For the "Hello World!" example, we only had one file. To build our website, we'll need more files that serve various functions. Most Flask apps have the following basic file structure:
对于“ Hello World!” 例如,我们只有一个文件。 要建立我们的网站,我们需要更多具有各种功能的文件。 大多数Flask应用具有以下基本文件结构:
run.py: This is the application's entry point. We'll run this file to start the Flask server and launch our application.run.py:这是应用程序的入口点。 我们将运行该文件以启动Flask服务器并启动我们的应用程序。config.py: This file contains the configuration variables for your app, such as database details.config.py:此文件包含您的应用程序的配置变量,例如数据库详细信息。app/__init__.py: This file intializes a Python module. Without it, Python will not recognize theappdirectory as a module.app/__init__.py:该文件初始化一个Python模块。 没有它,Python将无法将app目录识别为模块。app/views.py: This file contains all the routes for our application. This will tell Flask what to display on which path.app/views.py:此文件包含我们应用程序的所有路由。 这将告诉Flask在哪个路径上显示什么。app/models.py: This is where the models are defined. A model is a representation of a database table in code. However, because we will not be using a database in this tutorial, we won't be needing this file.app/models.py:这是定义模型的地方。 模型是代码中数据库表的表示。 但是,由于在本教程中我们不会使用数据库,因此不需要此文件。
Some projects have more modules (for example, an app/views directory with many views files in it), but this'll do for now. Go ahead and create these files, and delete hello_world.py since we won't be needing it anymore:
有些项目具有更多模块(例如,其中包含许多视图文件的app/views目录),但是现在就可以了。 继续创建这些文件,并删除hello_world.py因为我们不再需要它了:
$touch run.py config.py
$ cd app
$ touch __init__.py views.py
$ rm hello_world.py
Here's our latest directory structure:
这是我们最新的目录结构:
├── my-project
       ├── app
       │   ├── __init__.py
       │   ├── templates
       │   └── views.py
       ├── config.py
       ├── requirements.txt
       └── run.py
Now let's fill these empty files with some code!
现在,让我们用一些代码填充这些空文件!
组态 ( Configuration )
The config.py file should contain one variable per line, like so:
config.py文件应每行包含一个变量,如下所示:
# config.py

# Enable Flask's debugging features. Should be False in production
DEBUG = True
Note that this config file is very simplified and would not be appropriate for a more complex application. For bigger applications, you may choose to have different config.py files for testing, development, and production, and put them in a config directory, making use of classes and inheritance. You may have some variables that should not be publicly shared, such as passwords and secret keys. These can be put in an instance/config.py file, which should not be pushed to version control.
请注意,此配置文件非常简化,不适用于更复杂的应用程序。 对于较大的应用程序,您可以选择具有不同的config.py文件进行测试,开发和生产,并将它们放置在config目录中,以使用类和继承。 您可能有一些不应公开共享的变量,例如密码和秘密密钥。 这些可以放在instance/config.py文件中,不应将其推送到版本控制中。
初始化 ( Initialization )
Next, we have to initialize our app with all our configurations. This is done in the app/__init__.py file. Note that if we set instance_relative_config to True, we can use app.config.from_object('config') to load the config.py file.
接下来,我们必须使用所有配置来初始化我们的应用程序。 这是在app/__init__.py文件中完成的。 请注意,如果将instance_relative_config设置为True ,则可以使用app.config.from_object('config')加载config.py文件。
# app/__init__.py

from flask import Flask

# Initialize the app
app = Flask(__name__, instance_relative_config=True)

# Load the views
from app import views

# Load the config file
app.config.from_object('config')
快跑,烧瓶,快跑! ( Run, Flask, Run! )
All we have to do now is configure our run.py file so we can start the Flask server.
现在我们要做的就是配置run.py文件,以便我们启动Flask服务器。
# run.py

from app import app

if __name__ == '__main__':
    app.run()
To use the command flask run like we did before, we would need to set the FLASK_APP environment variable to run.py, like so:
要像以前一样使用命令flask run ,我们需要将FLASK_APP环境变量设置为run.py ,如下所示:
$export FLASK_APP=run.py
$ flask run
We'll get a 404 page because we haven't written any views for our app. We'll be fixing that shortly.
我们将得到一个404页面,因为我们尚未为应用编写任何视图。 我们将尽快修复。
观看次数 ( Views )
From the "Hello World!" example, you already have an understanding of how views work. We use the @app.route decorator to specify the path we'd like the view to be dispayed on. We've already seen how to write a view that returns a string. Let's see what else we can do with views.
来自“ Hello World!” 例如,您已经了解视图的工作原理。 我们使用@app.route装饰器来指定要在其上使用视图的路径。 我们已经看到了如何编写返回字符串的视图。 让我们看看我们还能对视图做些什么。
# views.py

from flask import render_template

from app import app

@app.route('/')
def index():
    return render_template("index.html")


@app.route('/about')
def about():
    return render_template("about.html")
Flask provides a method, render_template, which we can use to specifiy which HTML file should be loaded in a particular view. Of course, the index.html and about.html files don't exist yet, so Flask will give us a Template Not Found error when we navigate to these paths. Go ahead; run the app and see:
Flask提供了方法render_template ,我们可以使用该方法指定应在特定视图中加载哪个HTML文件。 当然, index.html和about.html文件尚不存在,因此当我们导航到这些路径时,Flask将为我们提供Template Not Found错误。 前进; 运行该应用程序,然后查看:


范本 ( Templates )
Flask allows us to use a variety of template languages, but Jinja2 is by far the most popular one. Remember it from our installed dependencies? Jinja provides syntax that allows us to add some functionality to our HTML files, like if-else blocks and for loops, and also use variables inside our templates. Jinja also lets us implement template inheritance, which means we can have a base template that other templates inherit from. Cool, right?
Flask允许我们使用多种模板语言,但Jinja2是迄今为止最受欢迎的模板语言。 还记得我们安装的依赖项吗? Jinja提供的语法允许我们向HTML文件添加一些功能,例如if-else块和for循环,还可以在模板中使用变量。 Jinja还允许我们实现模板继承,这意味着我们可以拥有其他模板继承的基础模板。 酷吧?
Let's begin by creating the following three HTML files:
让我们从创建以下三个HTML文件开始:
$cd app/templates
$ touch base.html index.html about.html
We'll start with the base.html file, using a slightly modified version of this example Bootstrap template:
我们将从base.html文件开始,使用此示例Bootstrap模板的稍作修改的版本:
<!-- base.html -->

<!DOCTYPE html>
<html lang="en">
  <head>
    <title>{% block title %}{% endblock %}</title>
    <!-- Bootstrap core CSS -->
    <link href="https://maxcdn.bootstrapcdn.com/bootstrap/3.3.7/css/bootstrap.min.css" rel="stylesheet">
    <!-- Custom styles for this template -->
    <link href="https://getbootstrap.com/examples/jumbotron-narrow/jumbotron-narrow.css" rel="stylesheet">
  </head>
  <body>
    <div class="container">
      <div class="header clearfix">
        <nav>
          <ul class="nav nav-pills pull-right">
            <li role="presentation"><a href="/">Home</a></li>
            <li role="presentation"><a href="/about">About</a></li>
            <li role="presentation"><a href="http://flask.pocoo.org" target="_blank">More About Flask</a></li>
          </ul>
        </nav>
      </div>
      {% block body %}
      {% endblock %}
      <footer class="footer">
        <p>© 2016 Your Name Here</p>
      </footer>
    </div> <!-- /container -->
  </body>
</html>
Did you notice the {% block %} and {% endblock %} tags? We'll also use them in the templates that inherit from the base template:
您是否注意到{% block %}和{% endblock %}标签? 我们还将在从基本模板继承的模板中使用它们:
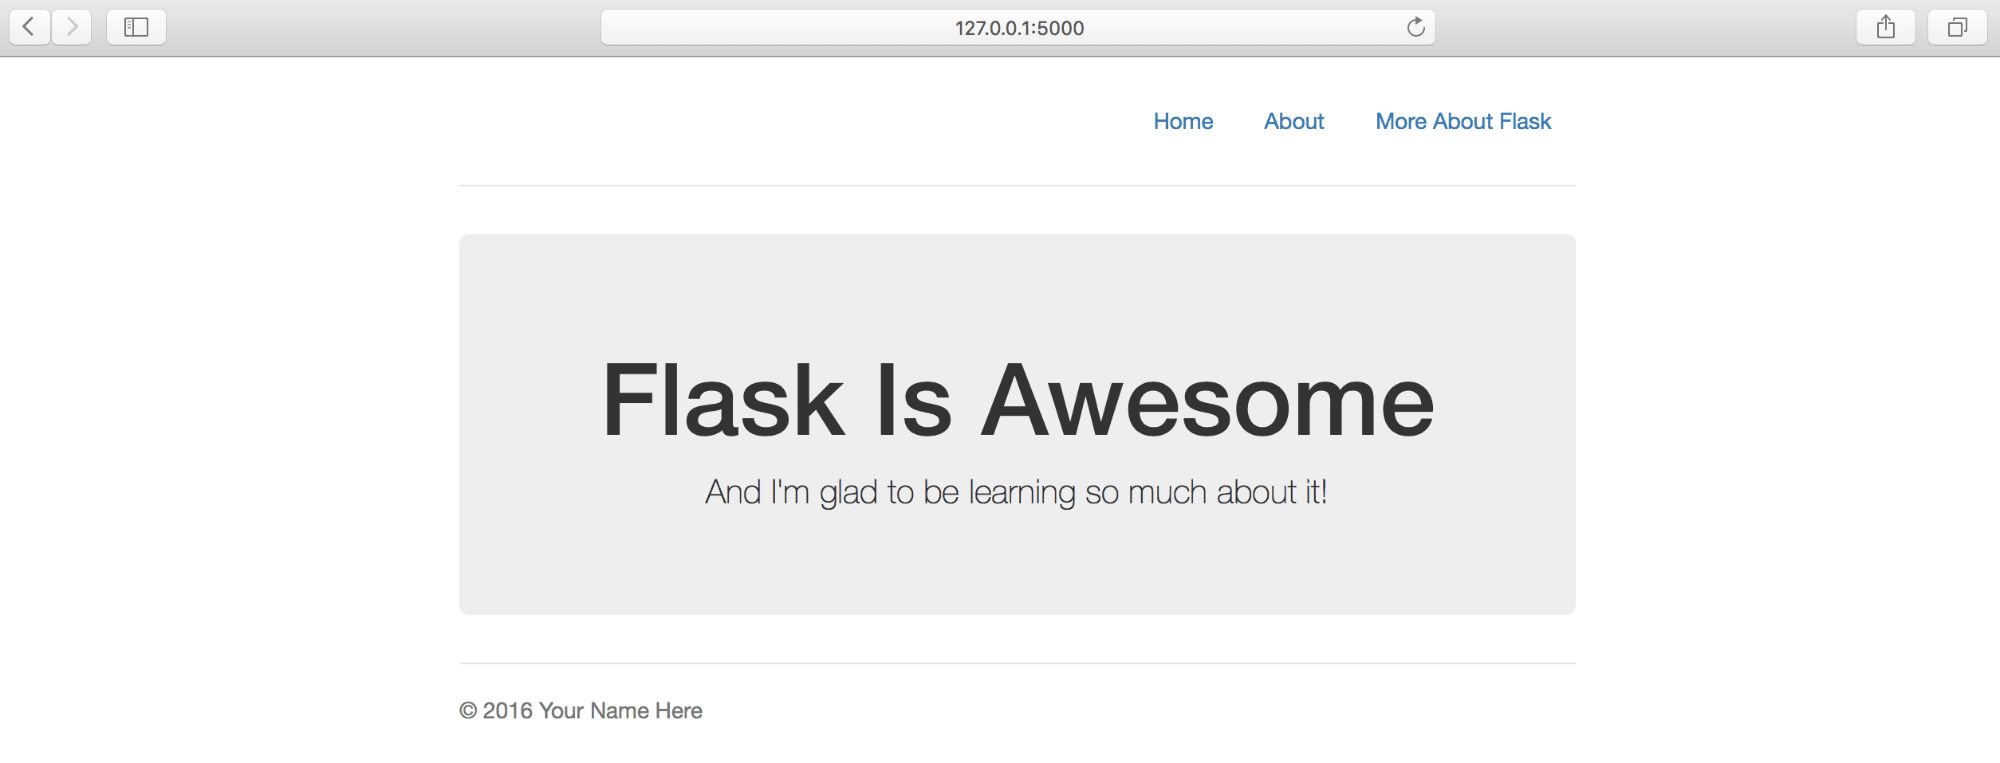
<!-- index.html-->
{% extends "base.html" %}
{% block title %}Home{% endblock %}
{% block body %}
<div class="jumbotron">
<h1>Flask Is Awesome</h1>
<p class="lead">And I'm glad to be learning so much about it!</p>
</div>
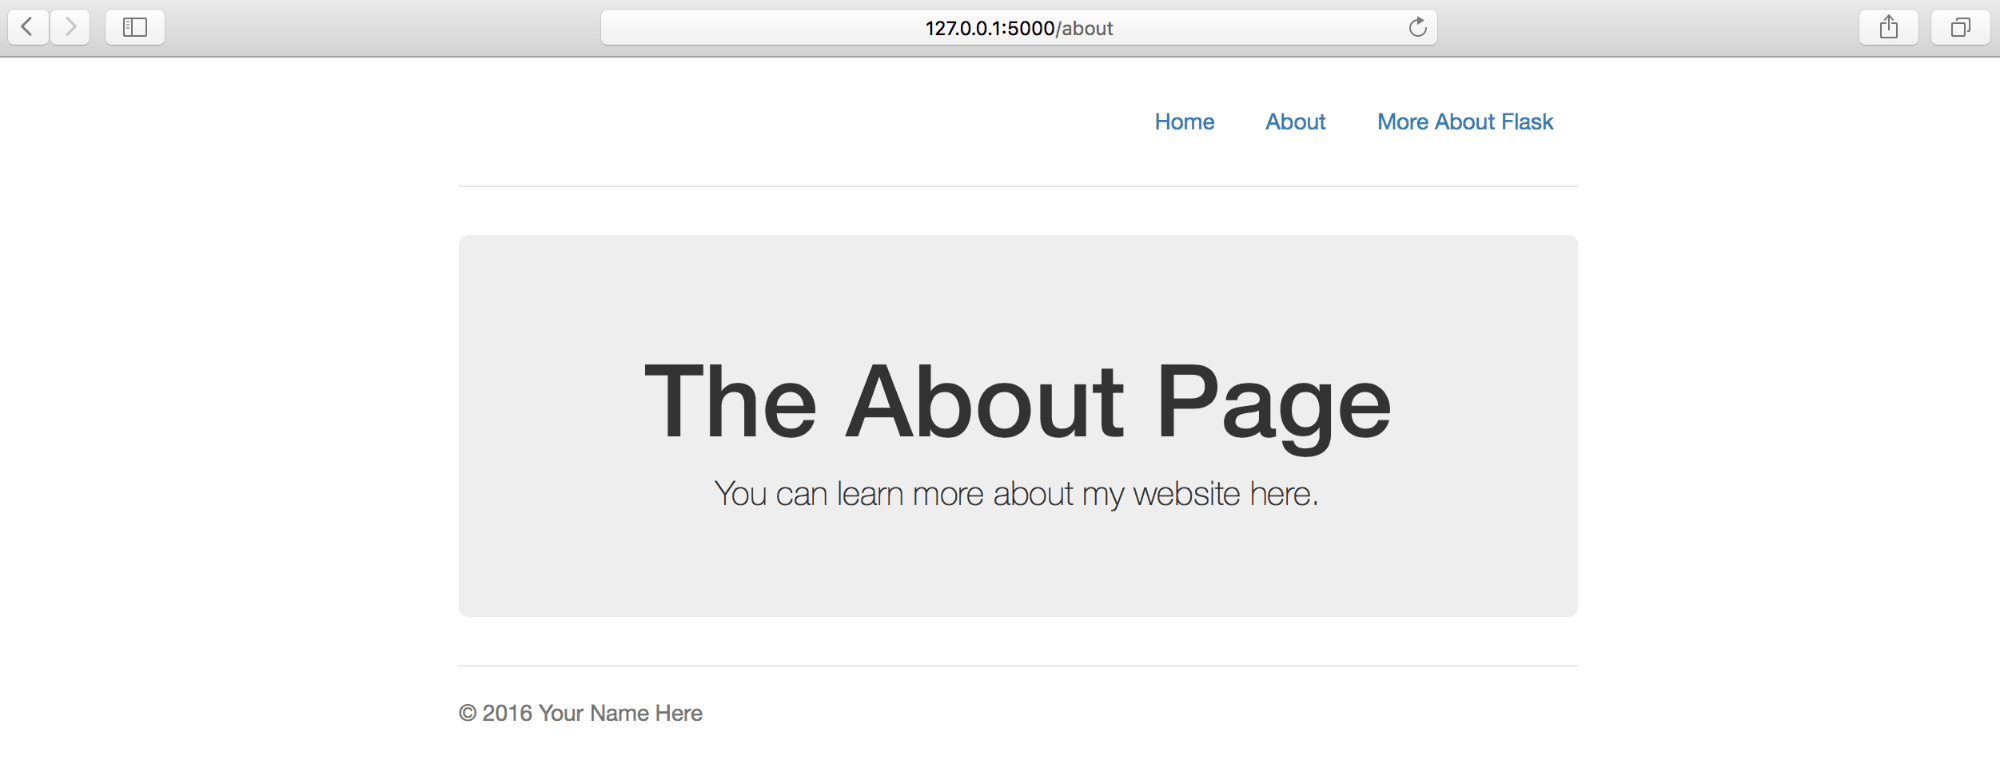
{% endblock %}<!-- about.html-->
{% extends "base.html" %}
{% block title %}About{% endblock %}
{% block body %}
<div class="jumbotron">
<h1>The About Page</h1>
<p class="lead">You can learn more about my website here.</p>
</div>
{% endblock %}We use the {% extends %} tag to inherit from the base template. We insert the dynamic content inside the {% block %} tags. Everything else is loaded right from the base template, so we don't have to re-write things that are common to all pages, such as the navigation bar and the footer.
我们使用{% extends %}标记从基本模板继承。 我们将动态内容插入{% block %}标签内。 其他所有内容都直接从基本模板加载,因此我们不必重新编写所有页面共有的内容,例如导航栏和页脚。
Let's refresh our browser and see what we have now:
让我们刷新浏览器,看看现在有什么:
结论 ( Conclusion )
Congratulations for making it this far and getting your first Flask website up and running! I hope this introduction to Flask has whetted your appetite for exploring more. You now have a great foundation to start building more complex apps. Do have a look at the official documentation for more information.
恭喜您取得了如此长的成就,并建立了您的第一个Flask网站并开始运行! 我希望对Flask的介绍能激发您的探索欲望。 您现在已经具备了开始构建更复杂的应用程序的强大基础。 请查看官方文档以获取更多信息。
Have you used other Python frameworks before? Where do you think Flask stands? Let's have a conversation in the comments below.
您以前使用过其他Python框架吗? 您认为Flask站在哪里? 在下面的评论中进行对话。
翻译自: https://scotch.io/tutorials/getting-started-with-flask-a-python-microframework
python 微框架


 1994
1994

 被折叠的 条评论
为什么被折叠?
被折叠的 条评论
为什么被折叠?
 到【灌水乐园】发言


