


photoshop脚本指南
As one of the hallmark features of Photoshop, Layers are the foundation of learning good photo editing techniques. In this article, we’ll go through their basic usage, as well as cover some basic types of layers.
作为Photoshop的标志性功能之一,“图层”是学习良好的照片编辑技术的基础。 在本文中,我们将介绍它们的基本用法,并介绍一些基本类型的图层。
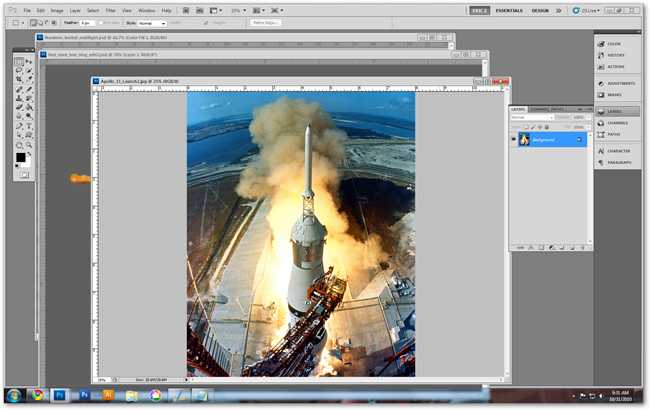
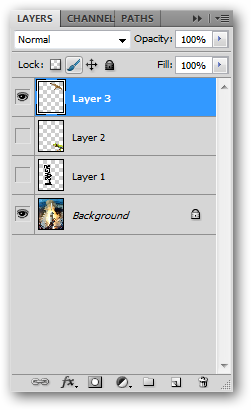
Your layer panel is one of the most important within Photoshop. Whenever you use Photoshop, you’ll work spend a lot of time working in it.
图层面板是Photoshop中最重要的面板之一。 每当您使用Photoshop时,您都将花费大量时间在其中工作。
If you’ve lost your layers panel, you can retrieve it by going to Window > Layers. For more on panels, look into Part Two of the How to Geek Guide to learning Photoshop.
如果您丢失了“图层”面板,则可以转到“窗口”>“图层”来检索它。 有关面板的更多信息,请参阅《如何学习Photoshop的极客指南》的第二部分 。
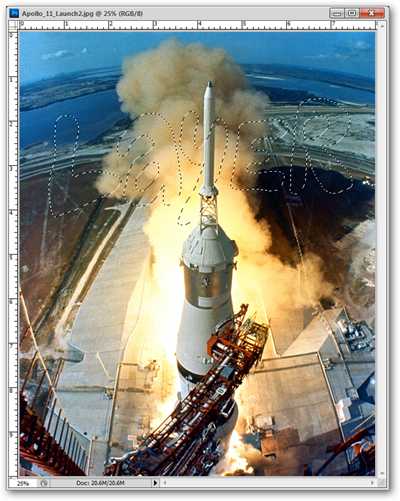
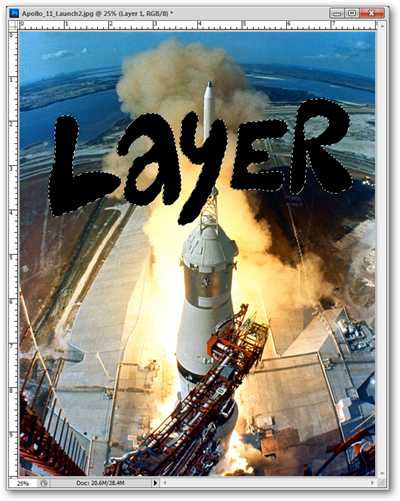
The lasso tool creates a selection in any shape: in this case, the word “Layer” is drawn in. But the lasso does not create a new layer, even though we can use the lasso tool to move our selection around.
套索工具可创建任何形状的选择:在这种情况下,将绘制“层”一词。但是套索不会创建新图层,即使我们可以使用套索工具来移动选择。
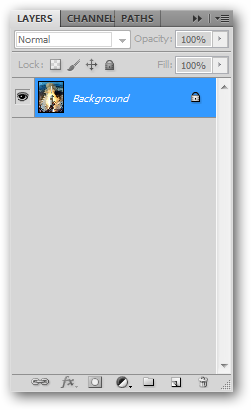
New layers can be created by clicking the button in the Layers panel. You can also press for a blank layer.
单击“图层”面板中的按钮可以创建新图层。 您也可以按以获得空白层。
You can think of these layers as entirely new image files stacked on top of each other in your layers panel. By default, a new layer is transparent.
您可以将这些图层视为全新的图像文件,在“图层”面板中彼此堆叠。 默认情况下,新层是透明的。
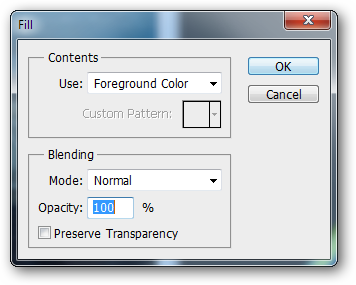
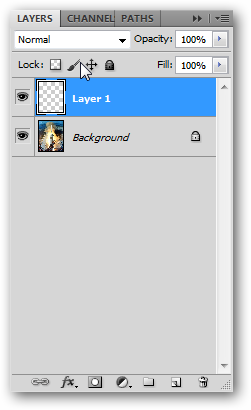
A simple Edit > Fill fills our selection with black. We’ve put it in a new layer, which will help us understand what a new layer is.
一个简单的“编辑”(Edit)>“填充”(Fill)用黑色填充我们的选择。 我们将其放在一个新层中,这将有助于我们了解什么是新层。
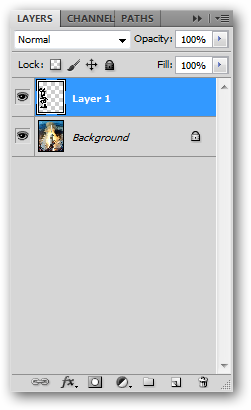
Our black fill exists in a new layer. We no longer need our selection, so pressing deselects it.
我们的黑色填充存在于新图层中。 我们不再需要选择,因此按取消选择它。

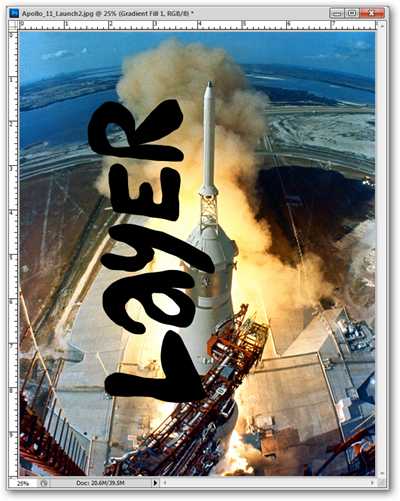
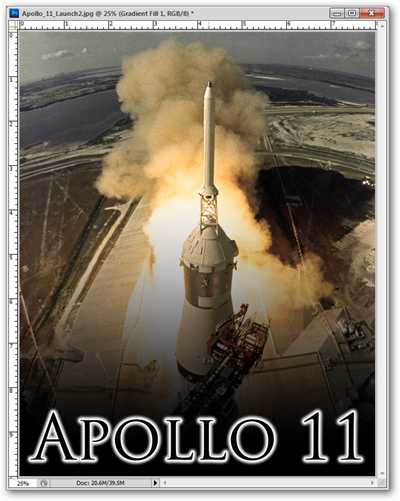
While this may look like a ruined image of the Apollo 11 rocket taking off, the drawn “Layer” text exists in its own separate layer, and is editable.
虽然这看起来像是阿波罗11号火箭起飞的残影,但绘制的“层”文本位于其自己的单独层中,并且是可编辑的。
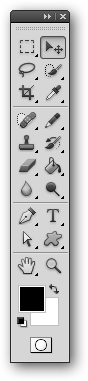
The Move Tool, shortcut key , illustrated above, is used for moving the layers selected in your layers panel.
如上所示,“移动工具”,快捷键用来移动在“图层”面板中选择的图层。
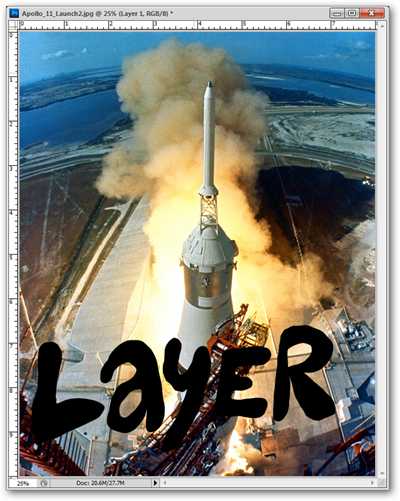
The image of the shuttle still exists beneath the new filled layer. It can be moved to any position without destroying any part of the layer below it.
航天飞机的图像仍然存在于新的填充层下面。 它可以移动到任何位置,而不会破坏其下面层的任何部分。
Individual layers can be moved, rotated, and transformed at your whim.
您可以根据需要随意移动,旋转和变换各个图层。
And again, since layers exist independent of each other, they do not have to affect each other.
同样,由于各层相互独立存在,因此它们不必相互影响。
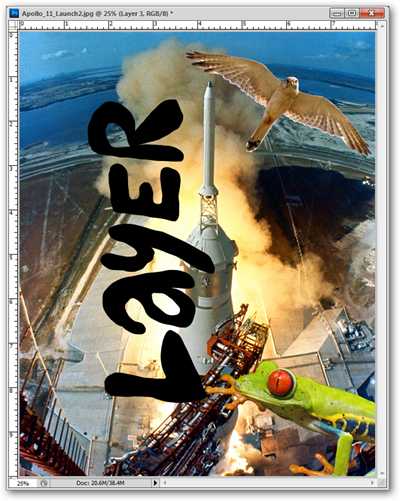
Returning to a few older How-Tos, we can very simply add objects that have had their backgrounds removed to our image.
返回到一些较旧的How-Tos ,我们可以非常简单地将背景被删除的对象添加到图像中。
Simply use the Move Tool (shortcut key) to drag images from any open file to the one you’re working with. Photoshop will create a new layer in your target file with the dragged layer information in it.
只需使用“移动工具”(快捷键)将图像从任何打开的文件拖到正在使用的文件中。 Photoshop将在目标文件中创建一个新图层,其中包含拖动的图层信息。
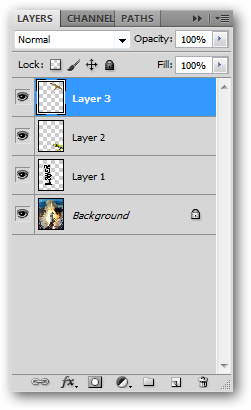
This image has quickly become ridiculous. Clicking the in the side of the layers panel will hide any layer you don’t care to see.
这个图像很快变得荒谬。 单击“图层”面板侧面的将隐藏您不希望看到的任何图层。
Shortcut key will give you the Type tool, which can create a different type of layer. Live type is editable, and can be changed at any time without disturbing other layers.
快捷键将为您提供“文字”工具,该工具可以创建其他类型的图层。 实时类型是可编辑的,并且可以随时更改而不会影响其他层。
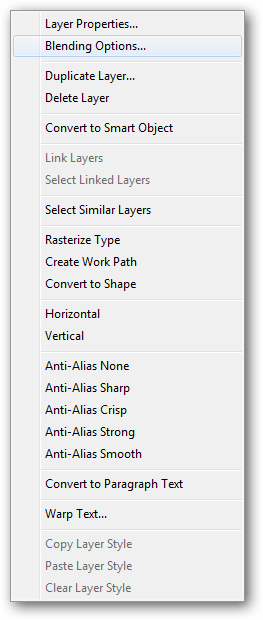
Layers also have “Blending Options,” as illustrated in the contextual menu here. Right click on any of the layers in your layers panel to open this menu.
图层还具有“混合选项”,如此处的上下文菜单所示。 右键单击“图层”面板中的任何图层以打开此菜单。
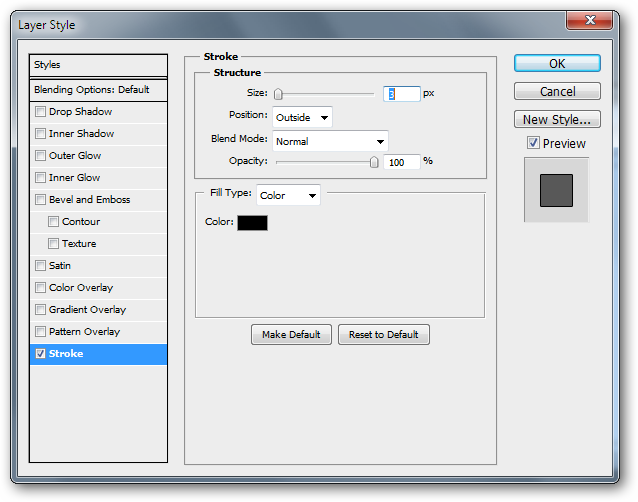
Blending Options takes us to the Layer Style dialog box. Here, we can add shadows and glows, all editable at any time through this same menu.
混合选项将我们带到“图层样式”对话框。 在这里,我们可以添加阴影和发光,这些都可以通过同一菜单随时进行编辑。
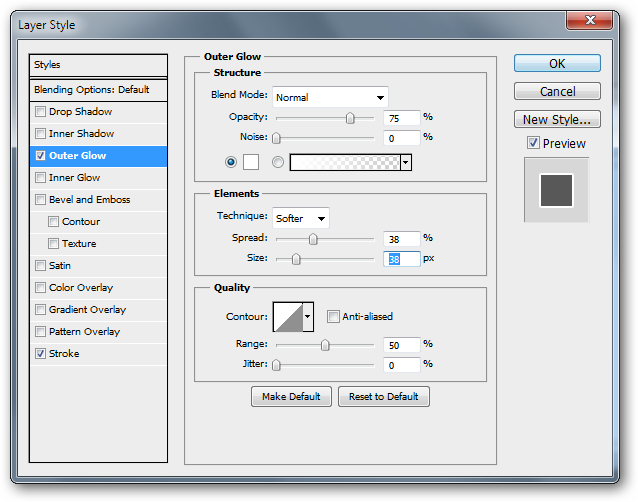
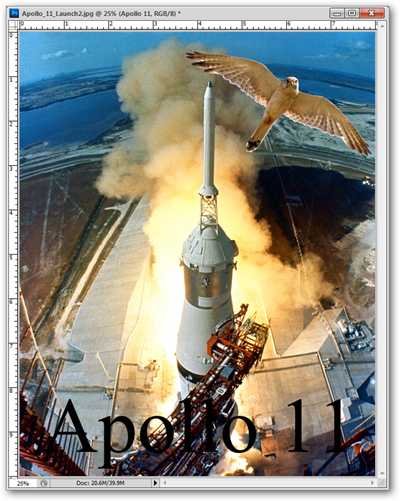
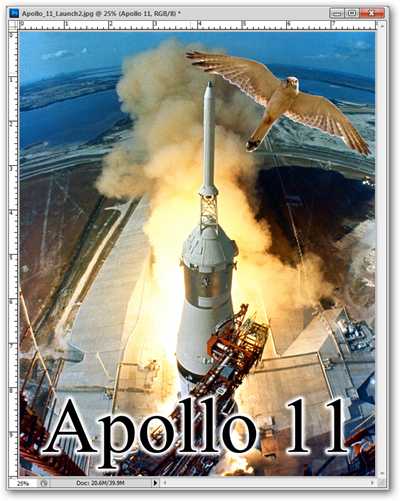
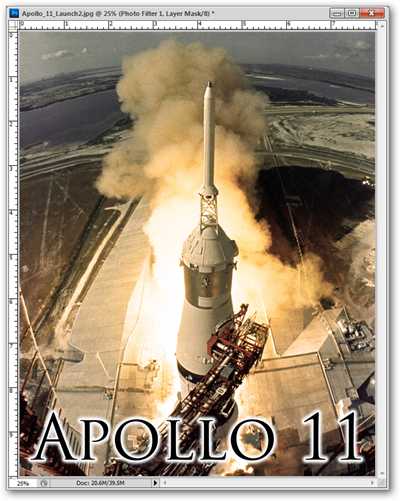
After adding a stroke to the text layer, other effects can also be added. A soft, white glow can make the text more legible against the complicated background.
将笔触添加到文本层后,还可以添加其他效果。 柔和的白色光芒可以使文本在复杂的背景下更清晰易读。
Even with these layer effects, these layers are still editable.
即使具有这些图层效果,这些图层仍可编辑。
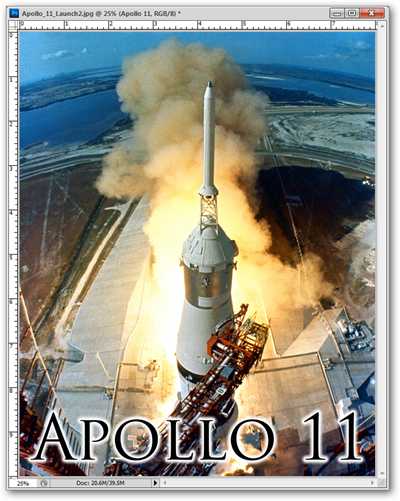
The text can easily be set in a different font, with all layer effects staying active.
可以轻松地将文本设置为其他字体,并使所有图层效果保持活动状态。
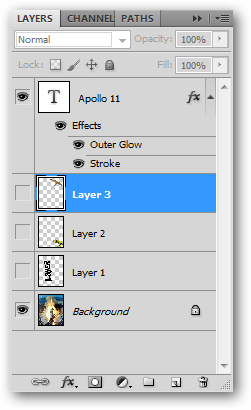
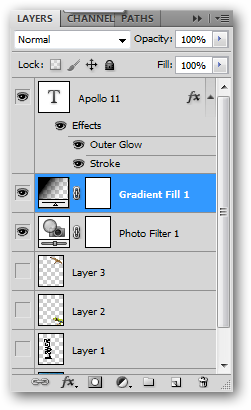
The layer effects look something like this in your layers panel.
图层效果在“图层”面板中看起来像这样。
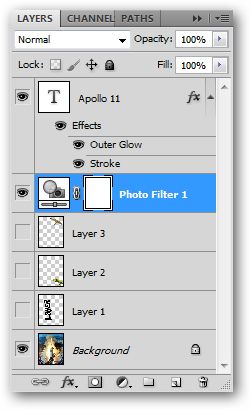
In your layers panel, you can click the to create a different type of layer, called an Adjustment Layer.
在“图层”面板中,您可以单击以创建另一种类型的图层,称为“调整图层”。
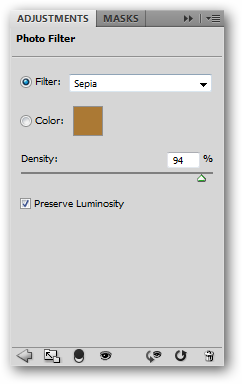
CS5 brings up this “Adjustments” panel. I create a “Photo Filter” adjustment layer to give my image a sepia tone effect.
CS5调出此“调整”面板。 我创建一个“照片滤镜”调整层,使图像具有棕褐色调效果。
Adjustment layers also have a position in your layers panel and only affect the layers below. In other words, you can move your adjustment layers to affect the layers below it. I have my text above my Sepia Adjustment Layer, keeping it from turning sepia toned.
调整图层在“图层”面板中也有位置,并且仅影响下面的图层。 换句话说,您可以移动调整图层以影响其下方的图层。 我将文本放在棕褐色调整层上方,以防止其变成棕褐色。
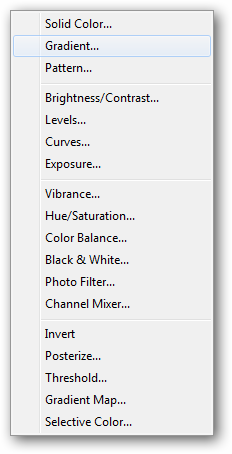
There are many options for Adjustment Layers, including the “Gradient” adjustment layer.
调整层有很多选项,包括“渐变”调整层。
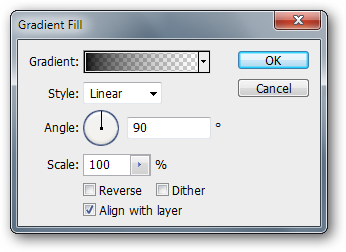
Gradients are great as adjustment layers, as they can easily be re-edited and adjusted. You’ll have numerous options for types of gradients, colors, angles, etc.
渐变非常适合用作调整图层,因为可以轻松地对其进行重新编辑和调整。 您将为渐变,颜色,角度等类型提供多种选择。
Adjustment layers can be hidden or edited by double clicking them in the layers panel.
可以在图层面板中双击调整图层来隐藏或编辑它们。
Simple mastery of layers and the layers panel will greatly increase your ability to use Photoshop and get the effects you want to see in your photography.
简单掌握图层和“图层”面板将大大提高您使用Photoshop并获得想要在摄影中看到的效果的能力。
Photoshop tips left you confused? Start at the Beginning! Check out the previous installments of the How-To Geek Guide to Learning Photoshop.
Photoshop提示让您感到困惑? 从头开始! 请查阅“如何学习Photoshop极客指南”的前几期。
Image credits: Apollo 11 image created by NASA, in public domain. Information about other images available on their original tutorials.
图片来源:NASA在公共领域创建的Apollo 11图片。 有关其他图像的信息可在其原始 教程中获得。
翻译自: https://www.howtogeek.com/howto/33683/the-how-to-geek-guide-to-learning-photoshop-part-3-layers/
photoshop脚本指南


 760
760


 被折叠的 条评论
为什么被折叠?
被折叠的 条评论
为什么被折叠?
 到【灌水乐园】发言


