


To implement complex functionalities for a dynamic web application, event listeners are used instead of just directly attaching events to the DOM elements. JavaScript developers mostly stay away from markups. For example, a developer working on a project would rarely ever look at the HTML. In those scenarios, event listeners are extensively used since you can directly attach an event listener to any DOM element from the script. In this article, we'll see how to add event listeners to DOM elements using JavaScript.
为了为动态Web应用程序实现复杂的功能,将使用事件侦听器,而不仅仅是将事件直接附加到DOM元素。 JavaScript开发人员大多远离标记。 例如,从事项目工作的开发人员很少会查看HTML。 在这些情况下,事件侦听器被广泛使用,因为您可以将事件侦听器直接附加到脚本中的任何DOM元素。 在本文中,我们将看到如何使用JavaScript将事件侦听器添加到DOM元素。
You can add event listeners to any DOM object. This means that the DOM object need not necessarily be a DOM element, you can also add event listeners to the window object. We add event listeners to an element using the addEventListener() method.
您可以将事件侦听器添加到任何DOM对象 。 这意味着DOM对象不必一定是DOM元素,您还可以将事件侦听器添加到window对象。 我们使用addEventListener()方法将事件侦听器添加到元素。
The general syntax for attaching event listeners is,
附加事件监听器的一般语法是:
element.addEventListener(event type, callback function);
We first grab an HTML element by querying the DOM and attach the addEventListener() method onto it. This method takes three parameters, however, we'll only look at the essential two. The first one is the type of event, ex click, focus, submit, etc and the second parameter is a callback function that will fire once the event is triggered.
我们首先通过查询DOM来获取HTML元素,并将addEventListener()方法附加到该元素上。 该方法需要三个参数,但是,我们只看两个基本参数。 第一个是事件的类型,例如单击,焦点,提交等,第二个参数是一个回调函数,一旦触发事件,该函数便会触发。
The addEventListener() method allows us to attach as many event listeners as we want to as many DOM elements we want. This means that you can attach the same event listeners to multiple elements or multiple event listeners to the same element.
addEventListener()方法允许我们将所需的事件侦听器附加到所需的DOM元素中。 这意味着您可以将相同的事件侦听器附加到多个元素,或将多个事件侦听器附加到同一元素。
Let's see a simple example of attaching an event listener to a DOM element.
让我们看一个将事件侦听器附加到DOM元素的简单示例 。
Create an index.html file with the following starter template,
使用以下入门模板创建index.html文件,
<html lang="en">

<head>
    <meta charset="UTF-8">
    <meta name="viewport" content="width=device-width, initial-scale=1.0">
    <meta http-equiv="X-UA-Compatible" content="ie=edge">
    <link rel="stylesheet" href="styles.css">
    <title>Events in DOM</title>

</head>

<body>
    <h1>Event Listeners</h1>
    <hr>
    <hr>
    <div class="container">
        <p>This button will trigger an alert </p>
        <button>Click me!</button>
    </div>

</body>
<script>
    const btn = document.querySelector('button');
    btn.addEventListener('click', () => {
        alert('This button was clicked!');
    })
</script>

</html>
Copy some basic styles to the styles.css file,
将一些基本样式复制到styles.css文件中,
body {
    background: mintcream;
}

h1 {
    padding: 20px 20px;
    margin: 10px auto;
    text-align: center;
    font-family: 'Trebuchet MS', 'Lucida Sans Unicode', 'Lucida Grande', 'Lucida Sans', Arial, sans-serif;
}

p {
    padding: 10px 10px;
    font-family: 'Trebuchet MS', 'Lucida Sans Unicode', 'Lucida Grande', 'Lucida Sans', Arial, sans-serif;
    color: chocolate;
    font-size: 22px;
}

.container {
    text-align: center;
}

button {
    padding: 10px;
    background: violet;
    color: white;
    border: 2px solid salmon;
    border-radius: 6px;
    cursor: pointer;
}
Output
输出量
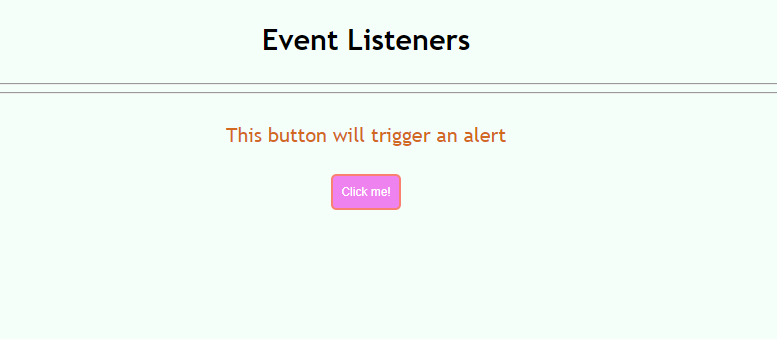
We will display an alert() on clicking the button so we need to attach an event listener to our button object.
我们将在单击按钮时显示一个alert() ,因此我们需要将事件侦听器附加到按钮对象上。
<script>
    const btn = document.querySelector('button');
    btn.addEventListener('click', () => {
        alert('This button was clicked!');
    })
</script>
Output
输出量

You can also remove an event listener using the removeEventListener() method.
您还可以使用removeEventListener()方法删除事件侦听器 。
Let's remove the event listener now. For that, we need to create a separate function in which we can then call our alert() and pass that function invocation as the second parameter in our event handler.
现在删除事件监听器 。 为此,我们需要创建一个单独的函数,然后可以在其中调用alert()并将该函数调用作为事件处理程序中的第二个参数传递。
<script>
	const btn=document.querySelector('button');
	btn.addEventListener('click',showAlert());
	function showAlert(){
		alert('This button was clicked!');
	}
	btn.removeEventListener('click',showAlert());
</script>
Now we no longer get an alert on clicking the button.
现在,我们不再收到有关单击按钮的警报。
This way we can easily attach event listeners to DOM elements.
这样,我们可以轻松地将事件侦听器附加到DOM元素 。
Let's see another example of how we can add an event listener to the window object.
让我们看一下如何向窗口对象添加事件侦听器的另一个示例。
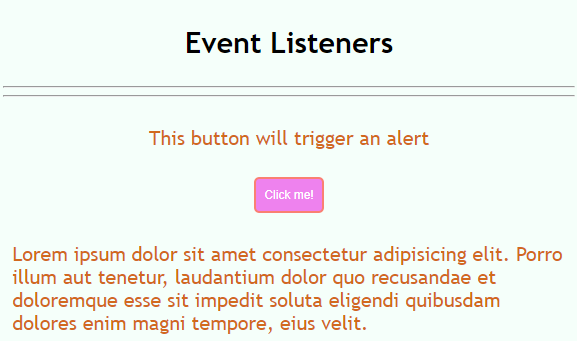
Add another <div> in the index.html. We'll append some lorem ipsum in this <div> on resizing the browser.
在index.html中添加另一个<div> 。 在调整浏览器大小时,我们将在此<div>中添加一些lorem ipsum。
<div class="para">
</div>
Now let's get a reference to this <div>,
现在让我们参考这个<div> ,
const para=document.querySelector('.para');
We'll attach an event listener of type resize to the window object and inside we'll add a template string with some lorem ipsum embedded in a <p>.
我们将把resize类型的事件侦听器附加到window对象,然后在内部添加一个模板字符串,该模板字符串的< em >中嵌入一些lorem ipsum。
const para=document.querySelector('.para');
window.addEventListener('resize',()=>{
	para.innerHTML='<p>Lorem ipsum dolor sit amet consectetur adipisicing elit. Porro illum aut tenetur, laudantium dolor quo recusandae et doloremque esse sit impedit soluta eligendi quibusdam dolores enim magni tempore, eius velit.</p>'
})
You can see now that on resizing your browser you get some lorem ipsum on the page.
您现在可以看到,调整浏览器大小后,您会在页面上获得lorem ipsum。
Output
输出量
翻译自: https://www.includehelp.com/code-snippets/event-listeners-in-dom.aspx


 被折叠的 条评论
为什么被折叠?
被折叠的 条评论
为什么被折叠?
 到【灌水乐园】发言


