


mac os maven
在Mac上安装Maven (Install Maven on Mac)
Maven is the most widely used build and project dependency management tool for Java-based applications.
Maven是针对基于Java的应用程序使用最广泛的构建和项目依赖项管理工具。
We can install Maven on Mac OS using a package manager such as HomeBrew or through XCode Command Line Tools. But, in this tutorial, we will learn how to install Maven on Mac OS without using any other software.
我们可以使用HomeBrew等软件包管理器或通过XCode命令行工具在Mac OS上安装Maven。 但是,在本教程中,我们将学习如何在不使用任何其他软件的情况下在Mac OS上安装Maven。
Maven requires Java to execute. So we will have to first install Java and then maven into our Mac OS.
Maven需要Java才能执行。 因此,我们必须首先安装Java,然后将其安装到Mac OS中。
1.在Mac上安装Java (1. Installing Java on Mac)
We will install OpenJDK in our Mac OS. It’s free and you don’t have to worry about licensing that comes with Oracle JDK build.
我们将在Mac OS中安装OpenJDK。 它是免费的,您不必担心Oracle JDK构建随附的许可。
1.1)下载适用于Mac OS的Java (1.1) Downloading Java for Mac OS)
Go to the latest JDK GA release page and download the tar file for Mac OS.
转到最新的JDK GA发布页面,然后下载Mac OS的tar文件。
Java 13 GA Release URL: https://jdk.java.net/13/
Java 13 GA发行版URL: https : //jdk.java.net/13/
Then extract it to the directory of your choice. I prefer to keep my JDK setup at “/Library/Java/JavaVirtualMachines/” directory.
然后将其解压缩到您选择的目录中。 我更喜欢将JDK设置保留在“ / Library / Java / JavaVirtualMachines /”目录中。
$ tar -xvf openjdk-13.0.1_osx-x64_bin.tar.gz
$ sudo mv jdk-13.0.1.jdk /Library/Java/JavaVirtualMachines/
Recommended Reading: Linux tar command to compress and extract files
推荐读物 : Linux tar命令压缩和解压缩文件
1.2)设置环境变量– JAVA_HOME和路径 (1.2) Setting Environment Variables – JAVA_HOME and Path)
Open .bash_profile and add the following entries at the end of it.
打开.bash_profile并在其末尾添加以下条目。
JAVA_HOME="/Library/Java/JavaVirtualMachines/jdk-13.0.1.jdk/Contents/Home"
PATH="${JAVA_HOME}/bin:${PATH}"
export PATH
You can relaunch the Terminal to apply these profile changes. Or you can also run source .bash_profile command to apply these environment variable changes.
您可以重新启动终端以应用这些配置文件更改。 或者,您也可以运行source .bash_profile命令以应用这些环境变量更改。
Recommended Reading: Linux Environment Variables
推荐读物 : Linux环境变量
1.3)验证JDK安装 (1.3) Verifying the JDK installation)
Open the Terminal and run java -version command. It should show the following output.
打开终端并运行java -version命令。 它应该显示以下输出。
$ java -version
openjdk version "13.0.1" 2019-10-15
OpenJDK Runtime Environment (build 13.0.1+9)
OpenJDK 64-Bit Server VM (build 13.0.1+9, mixed mode, sharing)
$
However, you might get an alert message with the following warning.
但是,您可能会收到带有以下警告的警报消息。
“jdk-13.0.1.jdk” cannot be opened because the developer cannot be verified.
macOS cannot verify that this app is free from malware.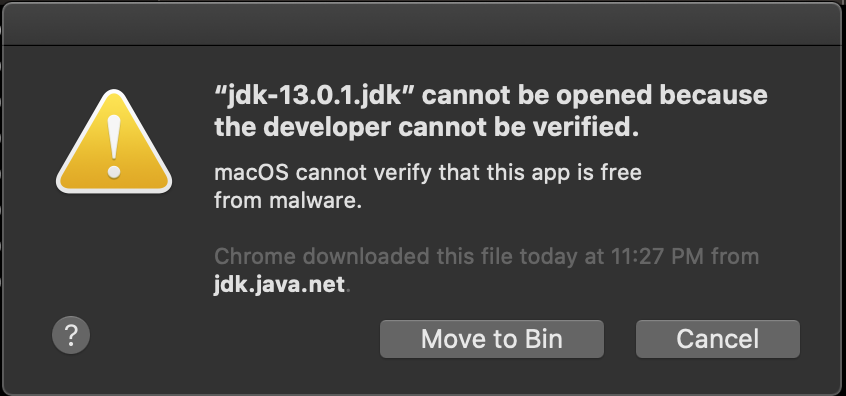
Jdk13 Macos Verify Error
Jdk13 Macos验证错误
You will have to allow the app to execute from the “Security and Privacy” settings.
您将必须允许该应用从“安全和隐私”设置中执行。
After that, the java command will work fine and the alert message will not be shown.
之后,java命令将正常运行,并且不会显示警报消息。
2.在Mac OS上安装Maven (2. Install Maven on Mac OS)
Now that we have successfully installed JDK, we are ready to download and install Maven in Mac OS.
现在我们已经成功安装了JDK,现在可以在Mac OS中下载并安装Maven了。
2.1)下载适用于Mac OS的Maven (2.1) Download Maven for Mac OS)
Go to the Maven Download site: https://maven.apache.org/download.cgi
转到Maven下载站点: https : //maven.apache.org/download.cgi
Download the “Binary tar.gz archive” file as shown in the below image.
下载“二进制tar.gz存档”文件,如下图所示。
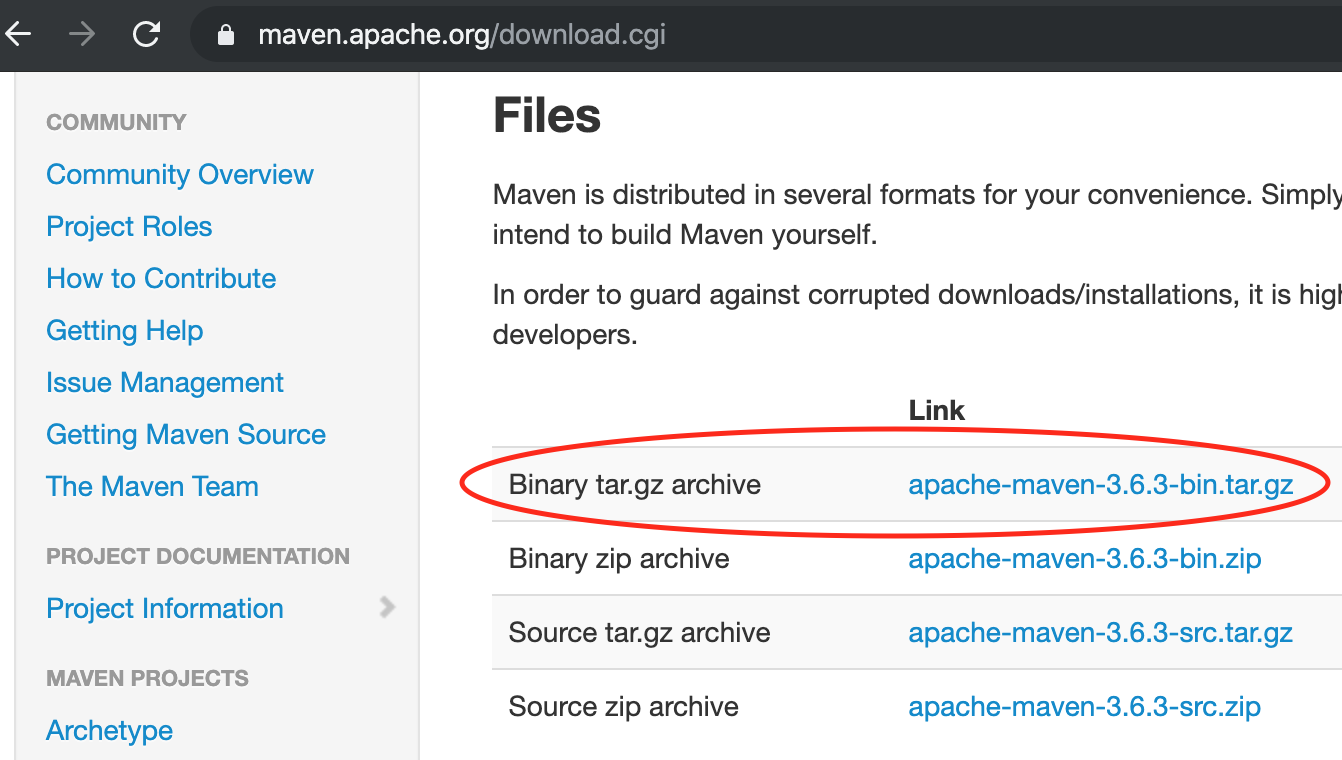
Maven Binary Tar Archive
Maven Binary Tar档案
After downloading, extract it using the below command.
下载后,使用以下命令将其解压缩。
$ tar -xvf apache-maven-3.6.3-bin.tar.gzThe binaries will be extracted in the “apache-maven-3.6.3” directory. You can keep them anywhere, I have kept it in the Downloads directory for the sake of easy access.
二进制文件将解压缩到“ apache-maven-3.6.3”目录中。 您可以将它们保存在任何地方,为了方便访问,我将其保存在Downloads目录中。
2.2)设置Maven环境变量– M2_HOME和路径 (2.2) Setting Maven Environment Variables – M2_HOME and Path)
The next step is to set up the environment variables – M2_HOME and Path. We have to add the Maven bin directory to the Path variable.
下一步是设置环境变量-M2_HOME和Path。 我们必须将Maven bin目录添加到Path变量中。
Open .bash_profile in your favorite text editor and add below lines to the end of it.
在您喜欢的文本编辑器中打开.bash_profile,并在其末尾添加以下几行。
export M2_HOME="/Users/pankaj/Downloads/apache-maven-3.6.3"
PATH="${M2_HOME}/bin:${PATH}"
export PATH
You can relaunch Terminal to load these profile settings or use source .bash_profile command to apply it.
您可以重新启动终端以加载这些配置文件设置,或使用source .bash_profile命令来应用它。
2.3)验证Maven安装 (2.3) Verifying the Maven Installation)
Finally, run the mvn -version command to check if Maven is installed successfully.
最后,运行mvn -version命令检查Maven是否成功安装。
$ mvn -version
OpenJDK 64-Bit Server VM warning: Ignoring option MaxPermSize; support was removed in 8.0
Apache Maven 3.6.3 (cecedd343002696d0abb50b32b541b8a6ba2883f)
Maven home: /Users/pankaj/Downloads/apache-maven-3.6.3
Java version: 13.0.1, vendor: Oracle Corporation, runtime: /Library/Java/JavaVirtualMachines/jdk-13.0.1.jdk/Contents/Home
Default locale: en_IN, platform encoding: UTF-8
OS name: "mac os x", version: "10.15.1", arch: "x86_64", family: "mac"
$
The output shows maven home location, the JDK it’s using and also the Mac OS version details.
输出显示maven的原始位置,它使用的JDK以及Mac OS版本的详细信息。
Maven is successfully installed in your Mac OS. You are ready to create a maven based Java projects.
Maven已成功安装在Mac OS中。 您已准备好创建基于Maven的Java项目。
参考资料 (References)
mac os maven


 1483
1483


 被折叠的 条评论
为什么被折叠?
被折叠的 条评论
为什么被折叠?
 到【灌水乐园】发言


