


xamp配置虚拟域名
XAMP is a popular software that provides some tools to run a website. These tools names first letters created the XAMP where X is used for both Linux and Windows, A for Apache Webserver, M for MySQL Database Server, P for PHP Programming Language and Interpreter. Also, some extra tools are provided to complement Apache, MySQL, and PHP. These tools are OpenSSL, FileZilla, Tomcat, phpMyAdmin etc.
XAMP是一种流行的软件,提供一些用于运行网站的工具。 这些工具将第一个字母命名为XAMP,其中X用于Linux和Windows,A用于Apache Webserver,M用于MySQL数据库服务器,P用于PHP编程语言和解释器。 此外,还提供了一些额外的工具来补充Apache,MySQL和PHP。 这些工具是OpenSSL,FileZilla,Tomcat,phpMyAdmin等。
What makes XAMP special is that it provides all of these different tools as a bundle and easy to install way. With a single XAMP download and install all of these tools and applications will be installed. All of these tools inside the XAMP are free and opensource projects which costs nothing.
XAMP之所以与众不同,是因为它捆绑提供了所有这些不同的工具,并且易于安装。 通过一次XAMP下载和安装,所有这些工具和应用程序都将被安装。 XAMP内的所有这些工具都是免费的开源项目,不花钱。
下载XAMP (Download XAMP)
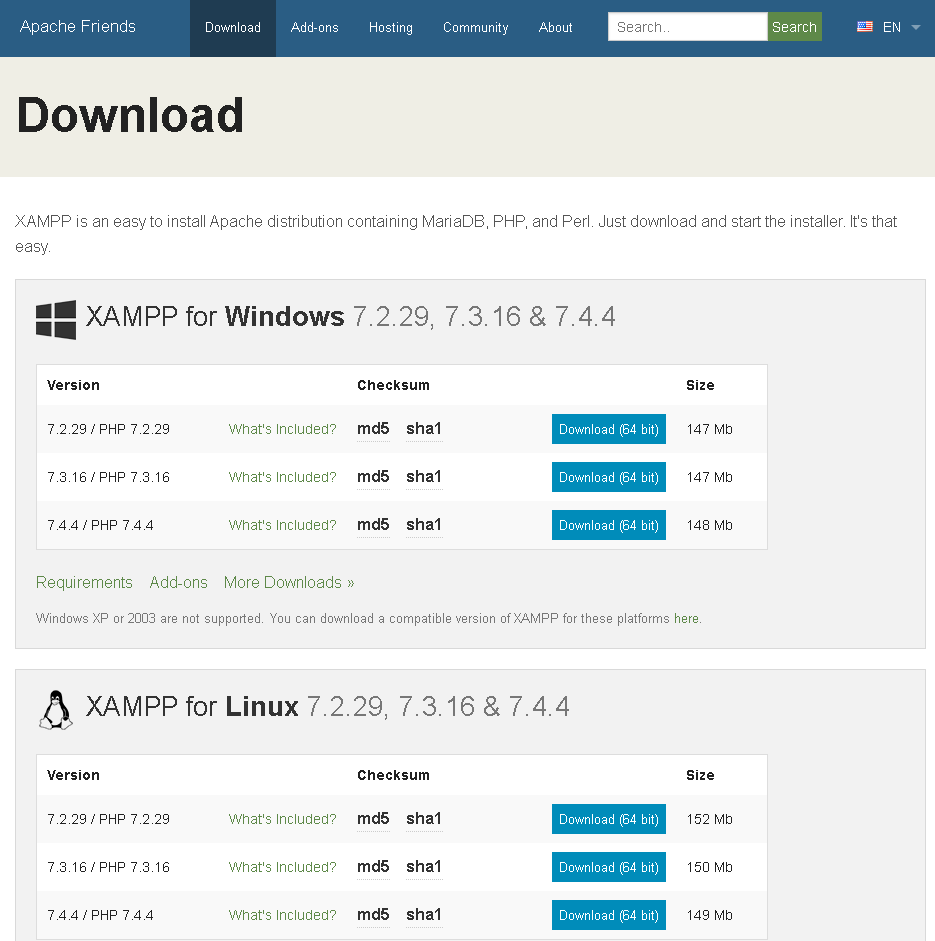
XAMP installer can be downloaded from the following link which is provided by the Apache Friends project. The download page provides different installer options.
可以从Apache Friends项目提供的以下链接下载XAMP安装程序。 下载页面提供了不同的安装程序选项。
https://www.apachefriends.org/download.html
https://www.apachefriends.org/download.html
XAMP is provided for the operating systems Windows, Linux and MacOS X. So the X letter will set for the operating system we want to use for example XAMP for Windows will be WAMP or Linux will be LAMP etc. The XAMP is only provided as 64-bit where Apache, MySQL, PHP Components are 64 bit too. The XAMP version is mainly related with the PHP version where the XAMP version will be the same the PHP installer version provided for the given XAMP installer.
XAMP为Windows,Linux和MacOS X操作系统提供。因此X字母将为我们要使用的操作系统设置,例如Windows的XAMP将为WAMP或Linux的将为LAMP等。XAMP仅以64提供-位,其中Apache,MySQL,PHP组件也是64位。 XAMP版本主要与PHP版本相关,其中XAMP版本与为给定XAMP安装程序提供PHP安装程序版本相同。
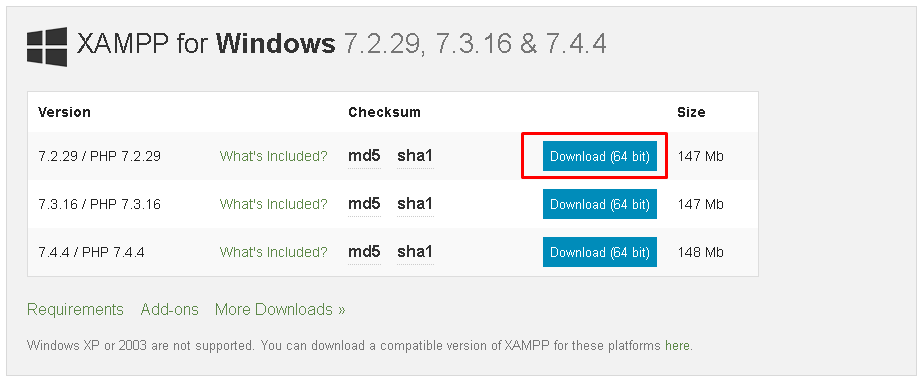
For this example, we will download and install the latest XAMP for the Windows operating system. So we will use the following link to download XAMP version 7.2.29 for the Windows 64-bit. The download size may change according to version but in general, the size of the XAMP installer file named xampp-windows-x64-7.4.4-1-VC15-installer is about 150 MB.
对于此示例,我们将下载并安装适用于Windows操作系统的最新XAMP。 因此,我们将使用以下链接为Windows 64位下载XAMP版本7.2.29。 下载大小可能会因版本而异,但通常,名为xampp-windows-x64-7.4.4-1-VC15-installer的XAMP安装程序文件的大小约为150 MB。
https://www.apachefriends.org/xampp-files/7.2.29/xampp-windows-x64-7.2.29-1-VC15-installer.exe
https://www.apachefriends.org/xampp-files/7.2.29/xampp-windows-x64-7.2.29-1-VC15-installer.exe
安装XAMP(Install XAMP)
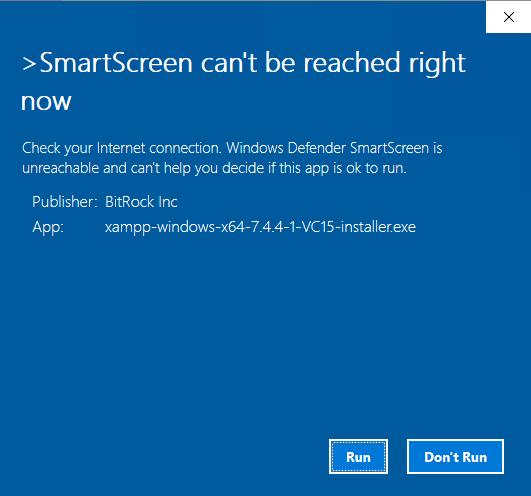
We will start the installation process by double clicking the XAMP installer. If we are using Windows 10 with the SmartScreen endpoint security enabled we will see the followinconfirmation screen. We will click to the Run button to start installation.
我们将通过双击XAMP安装程序来开始安装过程。 如果我们使用启用了SmartScreen端点安全性的Windows 10,我们将看到“ confirminconfirmation”屏幕。 我们将单击“ Run按钮开始安装。
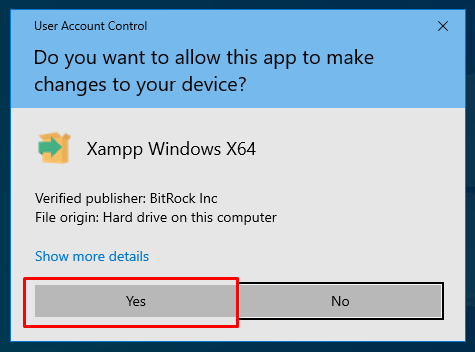
As we will install some applications into windows the installation requires some Administrative pirivelges which will be given with the followin confirmation for the User Account Control. We will simply click to the Yes to continue installation.
当我们将某些应用程序安装到Windows中时,安装需要一些管理权限,这些权限将在后面的用户帐户控制确认中给出。 我们只需单击“ Yes即可继续安装。
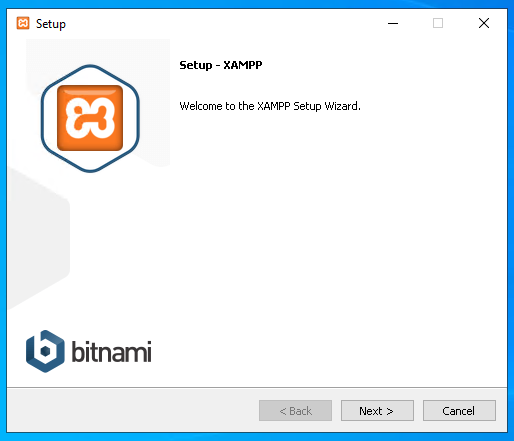
XAMP is a project which is supported and co-provided by the Bitnami. So the start screen of the XAMP installation provides this information where we will click to Next.
XAMP是一个由Bitnami支持和共同提供的项目。 因此XAMP安装的开始屏幕提供了此信息,我们将单击Next 。
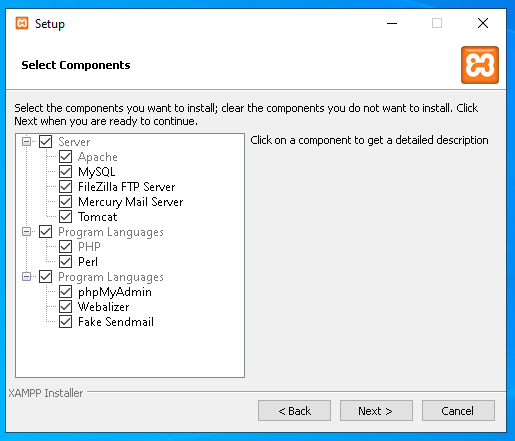
Next step is the most important step where we will select the components we want to install. The components are divided into 2 categories named Server , Program Languages . By default all of these components are selected for installation which is the best practice. Apache Web Server and PHP Programming language installation is must and all other components including MySQL are optional.
下一步是最重要的步骤,我们将选择要安装的组件。 这些组件分为两类,分别称为“ Server ,“ Program Languages 。 默认情况下,将选择所有这些组件进行安装,这是最佳做法。 必须安装Apache Web服务器和PHP编程语言,包括MySQL在内的所有其他组件都是可选的。
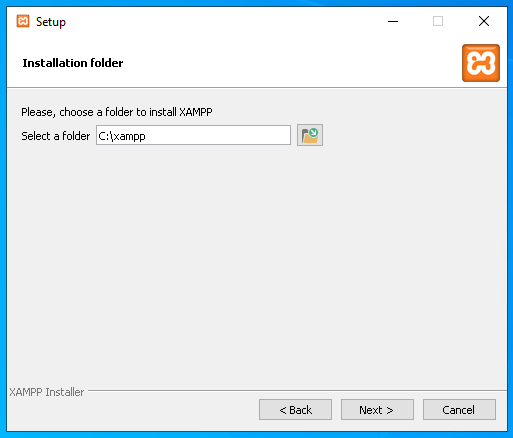
In this step, we will specify the installation path of the XAMP. The default installation path is C:\xamp where all binaries will be installed as well as the default web site files storage location. Alternatively, we can specify the different paths of partitions to install XAMP.
在此步骤中,我们将指定XAMP的安装路径。 默认安装路径是C:\xamp ,将安装所有二进制文件以及默认网站文件的存储位置。 另外,我们可以指定分区的不同路径来安装XAMP。
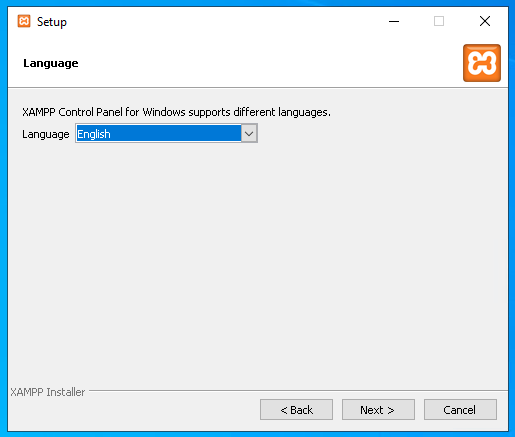
In this screen we will set the XAMP Control Panel language which is English but the only alternative is German langauge.
在此屏幕中,我们将设置XAMP控制面板语言,该语言为English但唯一的替代方法是德语。
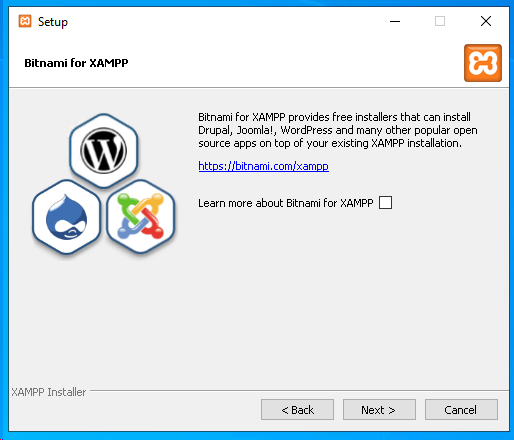
This step is the previous step before the installation starts. We can get more information about the Bitnami for XAMP by checking the given checkbox and clicking Next.
此步骤是安装开始之前的上一步。 通过选中给定的复选框并单击Next我们可以获得有关XAMP Bitnami的更多信息。
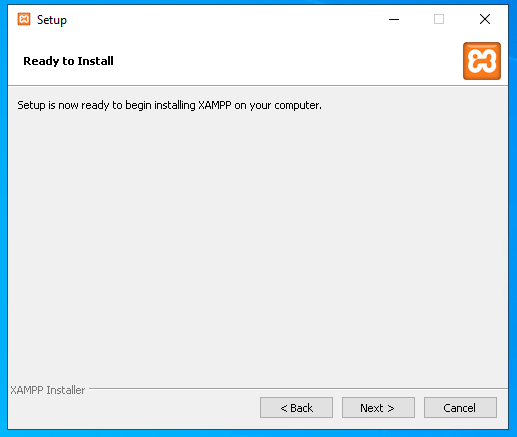
In this screen we will just click to Next which will start copying and installation of the XAMP components.
在此屏幕中,我们只需单击“ Next开始复制和安装XAMP组件。
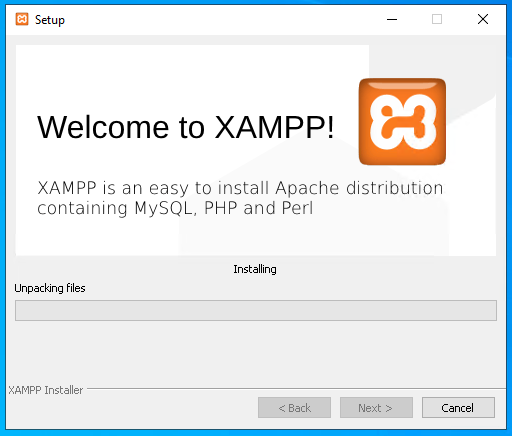
This step will take some time where the XAMP components Apache, MySQL, PHP and others will be installed.
此步骤将花费一些时间,将安装XAMP组件Apache,MySQL,PHP和其他组件。
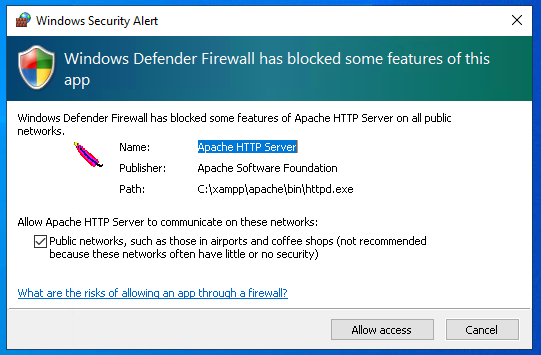
At the end of the Setup process, we will be asked for Firewall configuration to enable Apache HTTP ports 80 and 443 with the following screen. We will just click the Allow accessto allow access to these ports from other computers. If not these ports will be only accessible from the localhost.
在安装过程结束时,将要求您进行防火墙配置,以通过以下屏幕启用Apache HTTP端口80和443。 我们将只单击“ Allow access以允许从其他计算机访问这些端口。 否则,只能从本地主机访问这些端口。
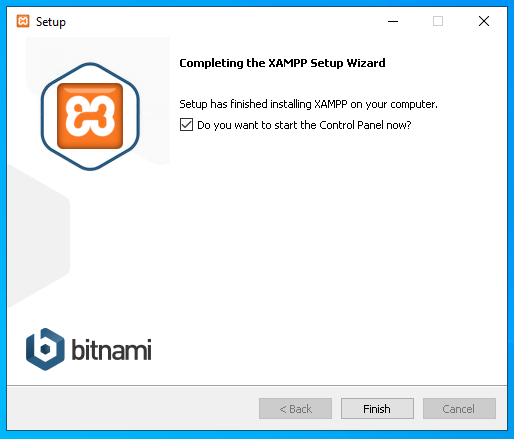
When the setup is completed we will see the following screen where we can open the XAMP Control Panel .
设置完成后,我们将看到以下屏幕,可在其中打开XAMP Control Panel 。
XAMP控制面板(XAMP Control Panel)
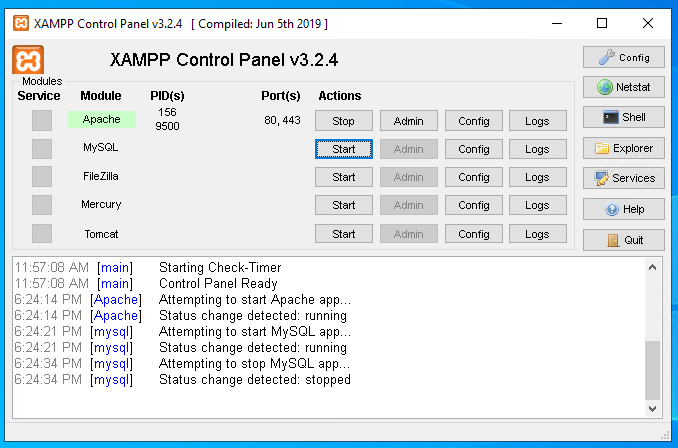
XAMP bundle is controlled with the XAMP Control Panel. XAMP Control provides the following screen where the services are listed and actions like Start , Admin ,Config and Logs for each service. In the following example, the Apache Web Server service is working with the process id 156 and listening for the ports 80 and 443. The MySQL service does not run currently but can be started with the Start button. As you expect the service can be stopped with the Stop button.
XAMP包由XAMP控制面板控制。 XAMP Control提供了以下屏幕,其中列出了服务以及每个服务的操作,如“ Start ,“ Admin ,“ Config和“ Logs ”。 在以下示例中,Apache Web服务器服务正在使用进程ID 156,并正在侦听端口80和443。MySQL服务当前未运行,但可以通过“ Start按钮Start 。 如您所料,可以通过“停止Stop按钮停止该服务。
XAMP配置(XAMP Configuration)
The configurations about the service can be listed, edited from the Config buttons where available configuration files are list. For example, the Apache configurations can be listed like below where different configuration files are provided like httpd.conf , httpd-ssl.conf , httpd-xampp.conf , php.ini , config.inc.php .
可以列出服务的配置,并从Config按钮中列出可用的配置文件,然后对其进行编辑。 例如,可以在下面列出Apache配置,其中提供了不同的配置文件,例如httpd.conf , httpd-ssl.conf , httpd-xampp.conf , php.ini , config.inc.php 。

XAMP日志(XAMP Log)
The Apache and MySQL Services logs the actions about the service, requests, errors, warnings, etc. These log files are can be stored in a single log file or multiple log files according to the log event type. Apache Web Server service provides the following log files.
Apache和MySQL服务记录有关服务,请求,错误,警告等的操作。这些日志文件可以根据日志事件类型存储在单个日志文件或多个日志文件中。 Apache Web服务器服务提供以下日志文件。
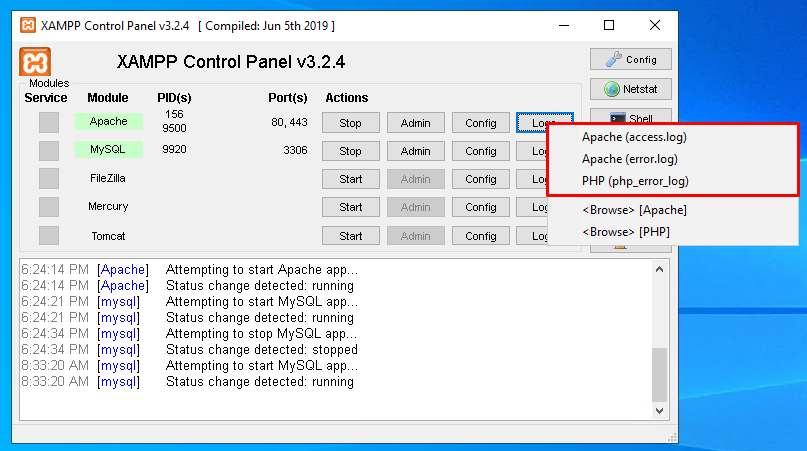
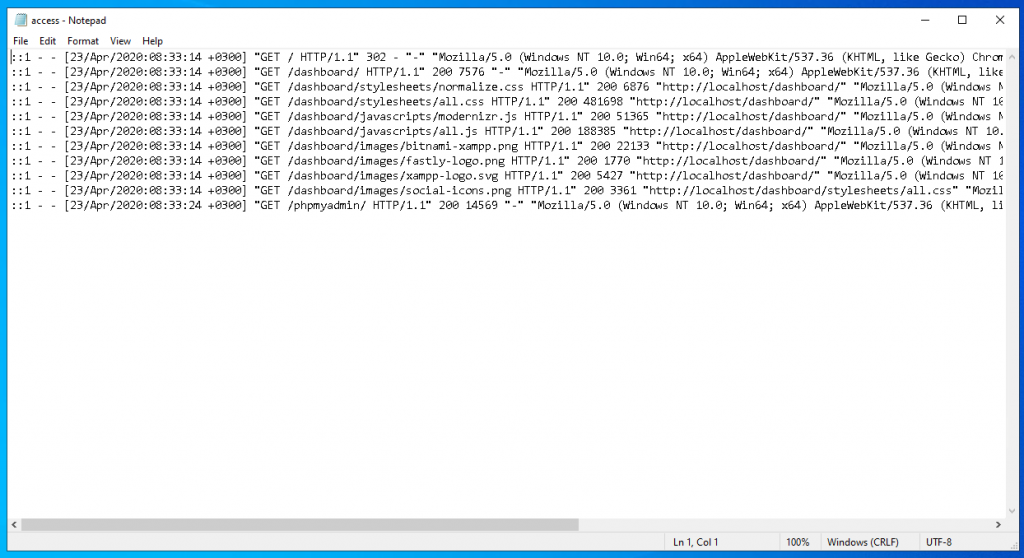
access.log provides events and information about the webserver access requests and response. We can see that information like date, time, the request method, requested URL, HTTP response code, response size the client web browser information are logged by default,
access.log提供有关Web服务器访问请求和响应的事件和信息。 我们可以看到,默认情况下会记录日期,时间,请求方法,请求的URL,HTTP响应代码,响应大小等信息,例如客户端Web浏览器信息,
error.log provides the error logs where all minor and major errors are listed. Information like date, time, error type, process id, error code, error details are listed in the error.log file of the Apache Web Server.
error.log提供错误日志,其中列出了所有次要和主要错误。 日期,时间,错误类型,进程ID,错误代码,错误详细信息等信息在Apache Web服务器的error.log文件中列出。

为XAMP创建PHP网页 (Create a PHP Webpage For XAMP)
The web page scripts, code, tags, style files like HTML, PHP, JavaScript, CSS, images etc are stored in the XAMP installation path under the htdocs directory. In this case which full path is C:\xampp\htdocs . We can see that there are some default files which is a test page for the Apache and PHP.
网页脚本,代码,标签,样式文件(如HTML,PHP,JavaScript,CSS,图像等)存储在htdocs目录下的XAMP安装路径中。 在这种情况下,完整路径为C:\xampp\htdocs 。 我们可以看到有一些默认文件,它们是Apache和PHP的测试页。

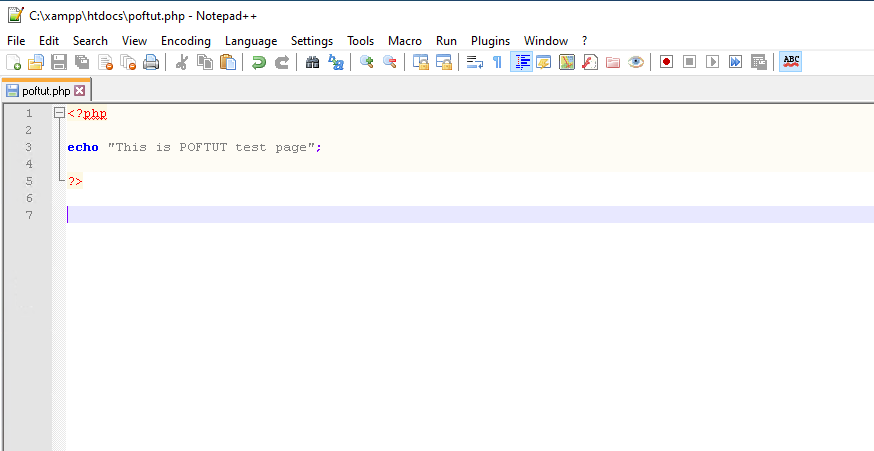
We will create a new PHP file named poftut.php which can be also created by copying the index.php file and renaming it to poftut.php. Then put the following PHP test code into the poftut.php with your favorite text editor or regular windows notepad application.
我们将创建一个名为poftut.php的新PHP文件,也可以通过复制index.php文件并将其重命名为poftut.php来创建。 然后使用您喜欢的文本编辑器或常规的Windows记事本应用程序将以下PHP测试代码放入poftut.php中。
<?php

echo "This is POFTUT test page";

?>
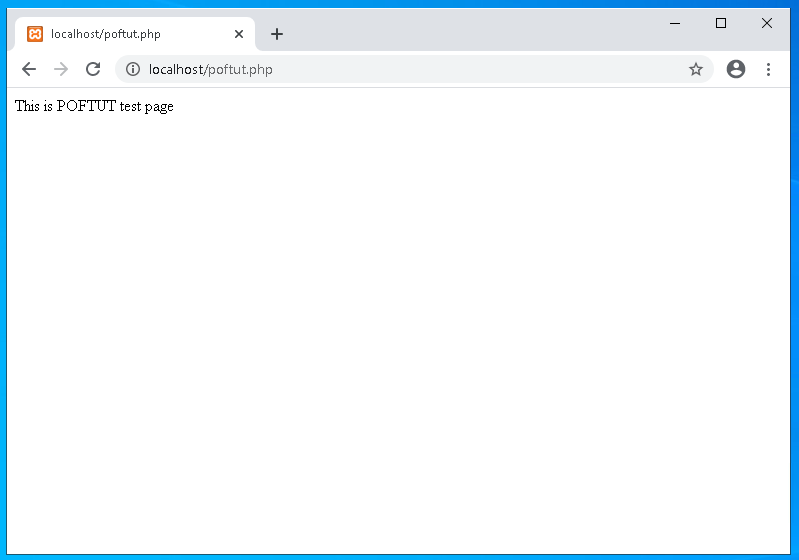
Now we have created our test web page. Now we will open these web pages with the web browser. We will open our web browser, in this case, I use Google Chrome and then navigate to the URL localhost/poftut.php which will run our newly created code inside the poftut.php file.
现在,我们已经创建了测试网页。 现在,我们将使用网络浏览器打开这些网页。 我们将打开网络浏览器,在这种情况下,我使用Google Chrome,然后导航到URL localhost/poftut.php ,它将在poftut.php文件中运行我们新创建的代码。
翻译自: https://www.poftut.com/how-to-download-install-and-configure-xamp-to-create-a-webpage/
xamp配置虚拟域名


 9909
9909

 被折叠的 条评论
为什么被折叠?
被折叠的 条评论
为什么被折叠?
 到【灌水乐园】发言


