


In previous posts we have done installation of the VirtualBox into Windows and Linux Operating systems. In this post we will look how to create Virtual machine or guest in a VirtualBox. For more information about installation look links below.
在以前的文章中,我们已经将VirtualBox安装到Windows和Linux操作系统中。 在本文中,我们将研究如何在VirtualBox中创建虚拟机或来宾。 有关安装的更多信息,请参见下面的链接。
视窗: (Windows:)
How To Install Virtualbox Into Windows?
Linux: (Linux:)
Virtualization With Virtualbox and Installing Virtualbox
创建新的VM(虚拟机) (Create New VM (Virtual Machine))
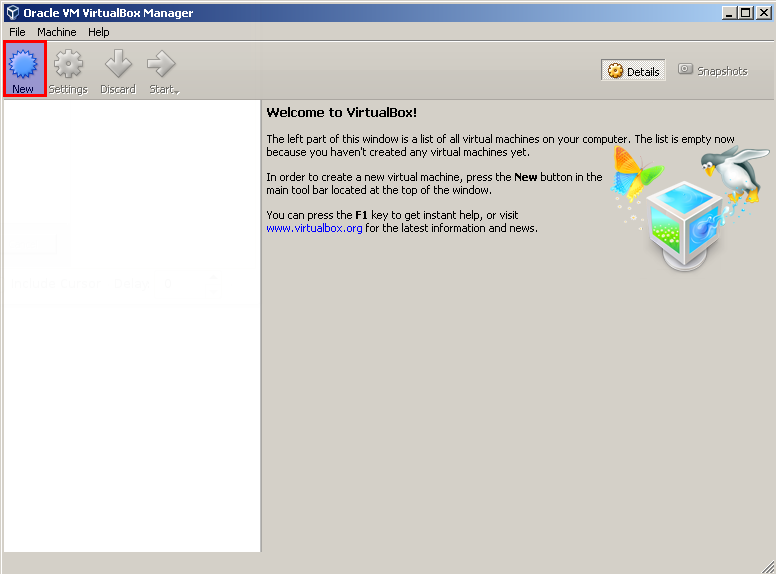
We can create new virtual machine just clicking New button like below. This will open a dialog box which will create new vm with all resources.
我们可以单击下面的“ New按钮来创建新的虚拟机。 这将打开一个对话框,该对话框将使用所有资源创建新的虚拟机。
设置名称,操作系统和版本 (Set Name , Operating System and Version)
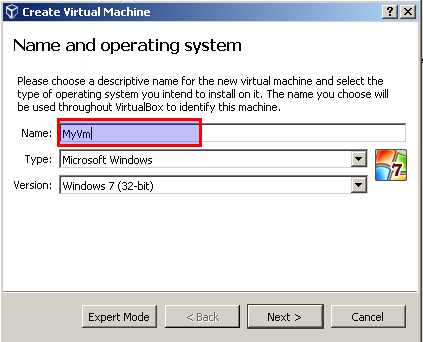
The first step is setting name, operating system and version of the VM. Name will be used by us to remember the VM and so we should set a memorable name for us. In this case we set MyVm .
第一步是设置名称,操作系统和虚拟机版本。 名称将被我们用来记住虚拟机,因此我们应该为我们设置一个令人难忘的名称。 在这种情况下,我们设置MyVm 。
Type is the operating system family like Windows, Linux … The following operating systems are supported currently by VirtualBox
类型是操作系统家族,例如Windows,Linux…VirtualBox当前支持以下操作系统
- Microsoft Windows微软Windows
- Linux Linux
- Solaris 的Solaris
- BSD BSD
- IBM OS/2 IBM OS / 2
- Mac OSX Mac OSX
- Other 其他
The Version box used to set specific version of the operating system like Windows Server 2012 R2, Windows 10 etc. If we will install non listed version we should select the option starts with Other in the version box.
“版本”框用于设置特定的操作系统版本,例如Windows Server 2012 R2,Windows 10等。如果要安装未列出的版本,则应在“版本”框中选择以“ Other开头的选项。
设置内存或RAM(Set Memory or RAM)
We will set RAM size of them VM. Setting the size can be done in two ways. First we can use bar to set ram size. Second we can use text box . The ram size is given as MB value. In this situation we will use default value which is 1024 MB or 1GB
我们将设置它们VM的RAM大小。 可以通过两种方式设置大小。 首先,我们可以使用bar来设置夯的大小。 第二,我们可以使用文本框。 内存大小以MB值给出。 在这种情况下,我们将使用默认值1024 MB或1GB

设置硬盘 (Set Hard Disk)
Next is step is settings hard disk. We have three options. All hard disks are virtual hard disks and stored as single file in host operating system.
下一步是设置硬盘。 我们有三个选择。 所有硬盘均为虚拟硬盘,并作为单个文件存储在主机操作系统中。
- Do not add hard disk and use as disk-less system 不要添加硬盘并用作无盘系统
- Create a virtual hard disk创建一个虚拟硬盘
- Use existing virtual hard disk使用现有的虚拟硬盘
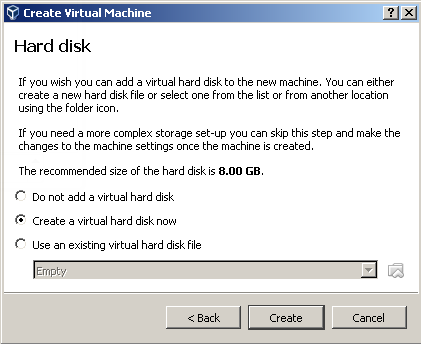
We will use second options where we will create new virtual hard disk.
我们将使用第二个选项来创建新的虚拟硬盘。
设置虚拟磁盘类型 (Set Virtual Disk Type)
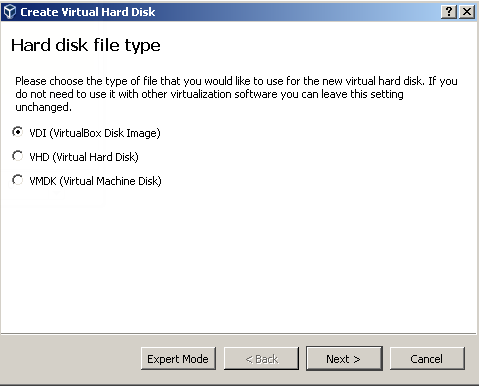
In this step we will set virtual disk type. There are 3 options listed like below.
在这一步中,我们将设置虚拟磁盘类型。 共有3个选项,如下所示。
VDIis native VirtualBox disk type and used if we use this disk with only VirtualBox virtualization or KVMVDI是本机VirtualBox磁盘类型,如果我们仅将此磁盘与VirtualBox虚拟化或KVM一起使用,则使用VDIVHDis old and not popular virtual disk type and can not be used.VHD是旧的并且不流行的虚拟磁盘类型,无法使用。VMDKis VMware disk type used vy various virtualization products like ESxi, Workstation, Player etc. This is most popular disk type because of the VMware. This virtual disks can be used with VMware products too.VMDK是用于各种虚拟化产品(如ESxi,Workstation,Player等)的VMware磁盘类型。由于VMware,这是最流行的磁盘类型。 该虚拟磁盘也可以与VMware产品一起使用。
设置虚拟磁盘行为(Set Virtual Disk Behavior)
This step will set whether disk size is used right now or used with new data is written. In most situations best case is default Dynamically allocated . This will prevent unneeded spaces to be used.
此步骤将设置是立即使用磁盘大小还是写入新数据。 在大多数情况下,最好的情况是默认Dynamically allocated 。 这将防止使用不必要的空间。

设置磁盘大小(Set Disk Size)
In this step we will set the name and path of the virtual disk file. By default virtual disk file is located in the VMs directory. Default size of the virtual disk is 8 GB but it can be changed according to our needs.
在此步骤中,我们将设置虚拟磁盘文件的名称和路径。 默认情况下,虚拟磁盘文件位于VMs目录中。 虚拟磁盘的默认大小为8 GB,但可以根据我们的需要进行更改。

完成虚拟机创建(Finish VM Creation)
After we have created disk file the VM creation process will end and we will see a screen like below.This is our newly created VM named MyVm .
创建磁盘文件后,VM创建过程将结束,并且将看到如下屏幕。这是我们新创建的名为MyVm VM。
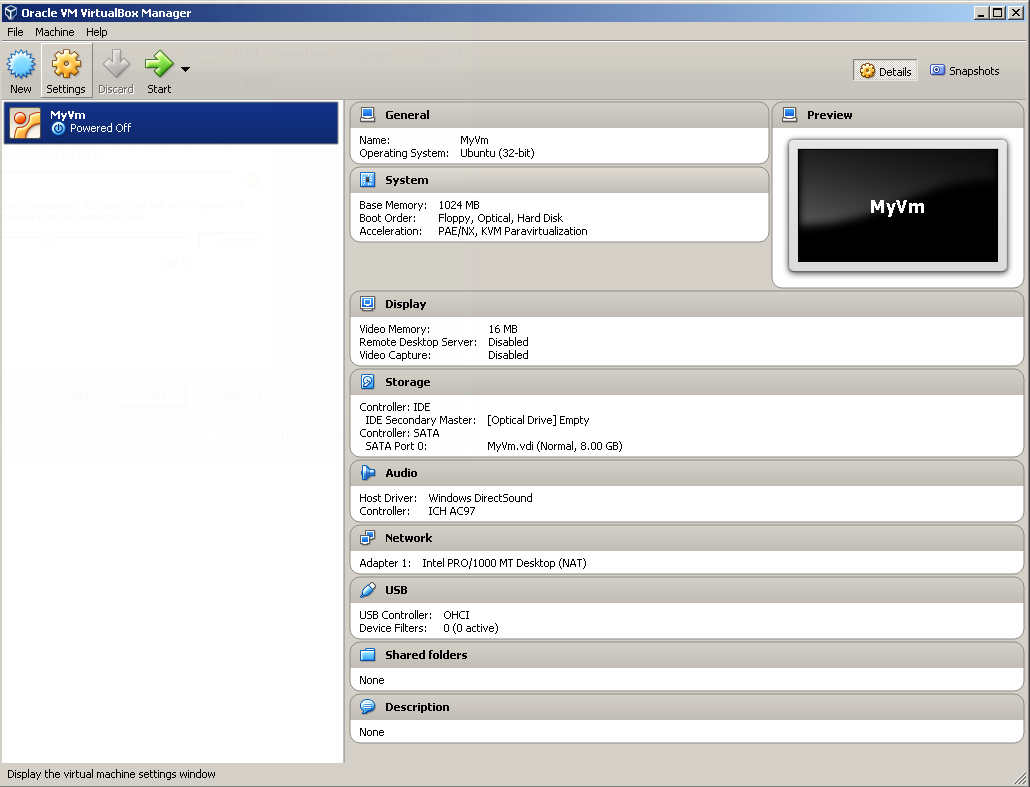
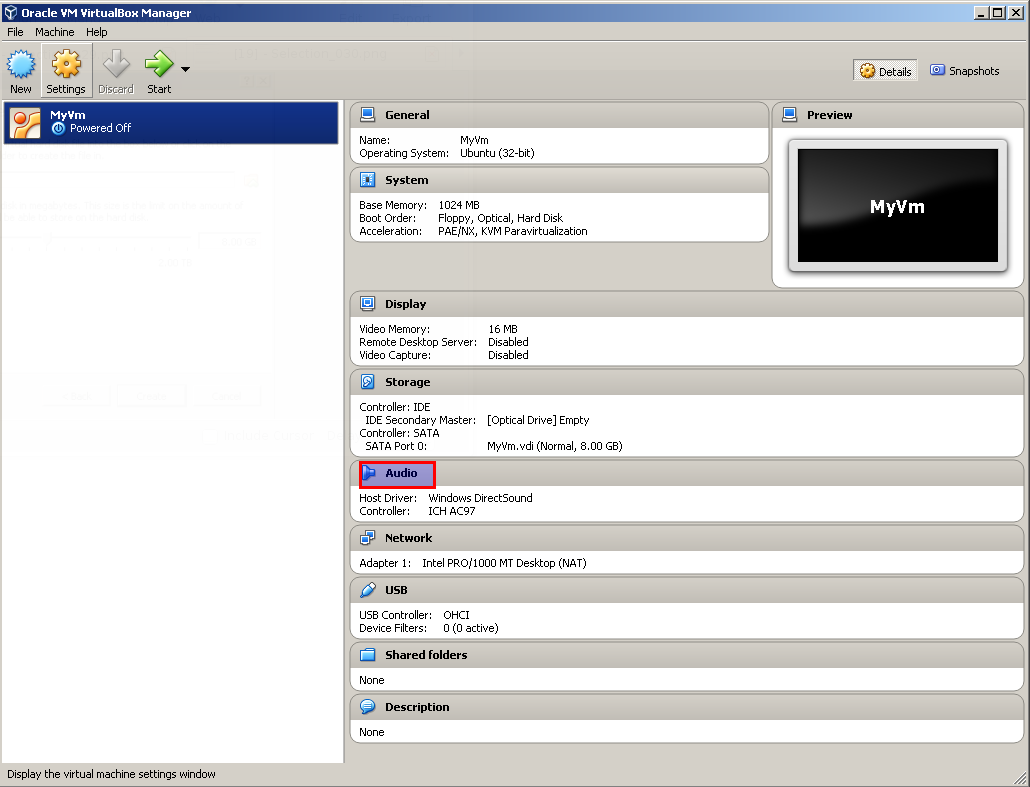
This vm have options shown right pane. This options can be changed just clicking related hardware section. For example if we want to change Audio Device and settings we will click Audio section icon shown below.
该虚拟机的选项在右窗格中显示。 只需单击相关硬件部分即可更改此选项。 例如,如果我们要更改音频设备和设置,我们将单击下面显示的音频部分图标。
翻译自: https://www.poftut.com/how-to-use-virtualbox-creating-virtual-machines-and-guests/


 1813
1813

 被折叠的 条评论
为什么被折叠?
被折叠的 条评论
为什么被折叠?
 到【灌水乐园】发言


