


umount卸载磁盘
Linux distributions like Ubuntu, Debian, CentOS, RHEL, and others use disks by mounting them to the file system. We have already examined mount command in the following tutorial. In this tutorial we will learn how to umount the disk in a Linux system.
Linux发行版(例如Ubuntu,Debian,CentOS,RHEL和其他发行版)通过将磁盘挂载到文件系统来使用磁盘。 在下面的教程中,我们已经研究了mount命令。 在本教程中,我们将学习如何在Linux系统中卸载磁盘。
Linux Mount Command Tutorial With Examples
卸载前(Before Unmount)
Before unmount we should be sure that all changes are written to the file system and disk. So we need to close open files that reside in the file system we want to unmount.
卸载之前,我们应确保所有更改都已写入文件系统和磁盘。 因此,我们需要关闭驻留在要卸载的文件系统中的打开文件。
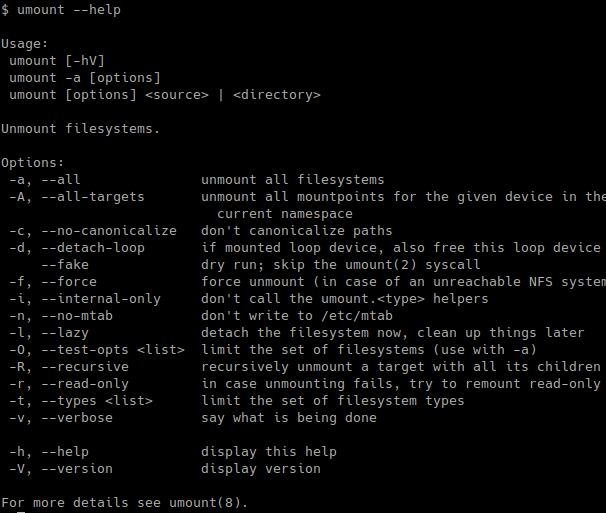
帮帮我 (Help)
umount command help information can be listed with --help like below. We can see some different help options in a brief way like unmount all filesystems, verbose etc.
可以使用--help列出umount命令帮助信息,如下所示。 我们可以通过简短的方式看到一些不同的帮助选项,例如卸载所有文件系统,详细信息等。
列出挂载的文件系统(List Mounted File Systems)
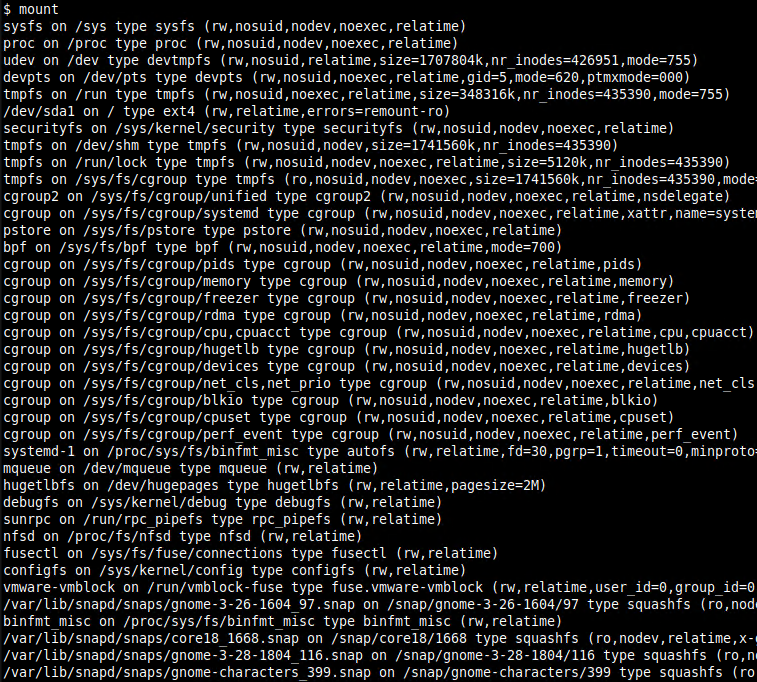
Before unmounting filesystems and partitions we may need to list currently mounted filesystems and partitions.We can use the command mount in order to list currently mounted file systems and partitions with some information.
在卸载文件系统和分区之前,我们可能需要列出当前已安装的文件系统和分区。我们可以使用命令mount来列出当前已安装的文件系统和分区以及一些信息。
$ mount
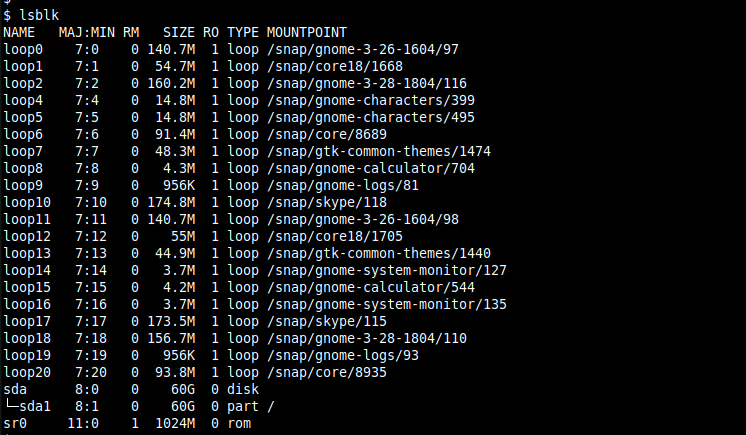
Alternatively lsblk command can be used already mounted file systems which provides more hierarchical list and eliminate unnecassary information.
另外,也可以使用lsblk命令来使用已安装的文件系统,该文件系统提供了更多的层次结构列表并消除了不必要的信息。
$ lsblk
指定数量的分区(Umount Specified Partition)
We will start by unmounting specified partition. We can unmount just providing the partition path. In this example, we will unmount /dev/hda1. We need root privileges in order to complete this job which is gained with the sudo command.
我们将从卸载指定分区开始。 我们可以仅提供分区路径来卸载。 在此示例中,我们将卸载/dev/hda1 。 我们需要root特权才能完成通过sudo命令获得的这项工作。
$ sudo umount /dev/hda1
When the unmount is completed succesfully there will be no message about the process which simply sign the succesfull unmount. If there are some messages which are generally related with the error this means some error which prevents the unmount operation.
成功完成卸载后,将不会有任何消息说明仅对成功的完全卸载进行签名的过程。 如果有些消息通常与该错误有关,则意味着某些错误会阻止卸载操作。
卸载所有分区 (Unmount All Partitions)
If we need to unmount all partitions of file systems currently mounted to the Linux system. We will use -a option which means all.
如果需要卸载当前已安装到Linux系统的文件系统的所有分区。 我们将使用-a选项,表示全部。
$ sudo umount -a
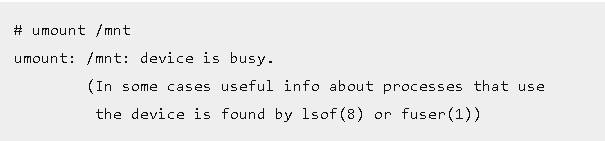
强制卸载 (Force To Unmount)
In some cases write operations can be resume for a long time and we need to unmount the file system. So we can force umount command with -f option like below. The following command will unmount the file system located in /dev/hda1 in a forceful way which may create some minor file system related errors in the next mount. Alternatively, the --force option can be used to force unmount. We can see the error like ” umount:/mnt devices is busy” error like below.
在某些情况下,写操作可以恢复很长时间,我们需要卸载文件系统。 因此,我们可以使用-f选项强制执行umount命令,如下所示。 以下命令将以强制方式卸载位于/ dev / hda1中的文件系统,这可能在下次安装中创建一些与文件系统有关的小错误。 另外,在--force选项可用于强制卸载。 我们可以看到类似“ umount:/ mnt设备正忙”的错误,如下所示。
$ sudo umount -f /dev/hda1
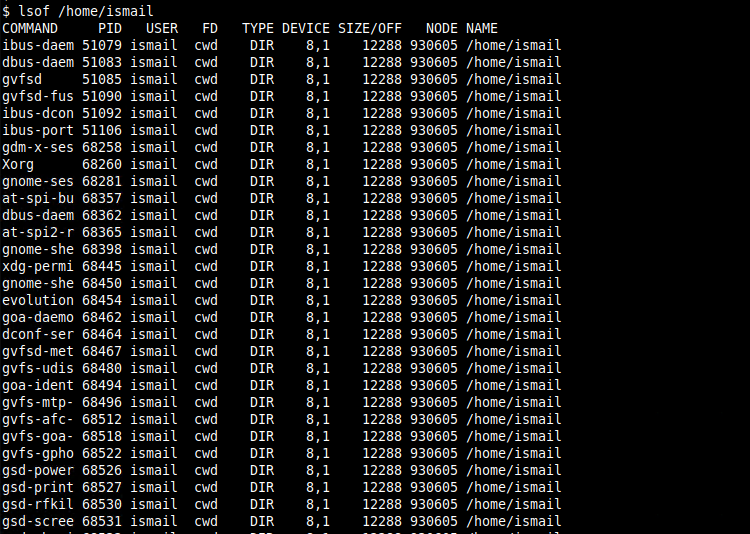
Alternatively we can list already opened file descriptor with the lsof command like below. We will just provide the mount path where the opened files will be list.
另外,我们可以使用lsof命令列出已经打开的文件描述符,如下所示。 我们将只提供列出已打开文件的安装路径。
$ lsof /home/ismail
详细(Verbose)
If umount failed we can find detailed information about the reason. We can use -v option which will list detailed information while trying to unmount.
如果umount失败,我们可以找到有关原因的详细信息。 我们可以使用-v选项,该选项将在尝试卸载时列出详细信息。
$ sudo umount -v /dev/hda1
翻译自: https://www.poftut.com/unmount-disk-in-linux-ubuntu-centos-with-umount-command/
umount卸载磁盘


 1027
1027

 被折叠的 条评论
为什么被折叠?
被折叠的 条评论
为什么被折叠?
 到【灌水乐园】发言


