


http://blog.csdn.net/asmcvc/article/details/51683799
http://blog.csdn.net/asmcvc/article/details/51683799
版权声明:本文为博主原创文章,未经博主允许不得转载。
一、环境配置
1、其他环境
如果之前有用
AndroidStudio开发过安卓应用,
Java环境和AndroidSDK都应该安装过了,否则需要安装一下。
另外需要安装
Node.js(后面需要使用npm)。
2、安装react-native
1) 直接使用npm安装
在cmd命令工具中执行以下命令,注意并非 install React-native,装了react-native在后面init项目的时候会报错,需要卸掉再重装。
npm install -g react-native-cli
2) 先clone代码再npm安装
代码clone成功后,进入目录react-native-cli下,例如我的是
F:\opensource\react-native\react-native-cli,输入命令行:
npm install -g
安装好之后,可以命令行下就有
react-native命令了
二、创建ReactNative项目
命令行:
react-native init HelloAndroid
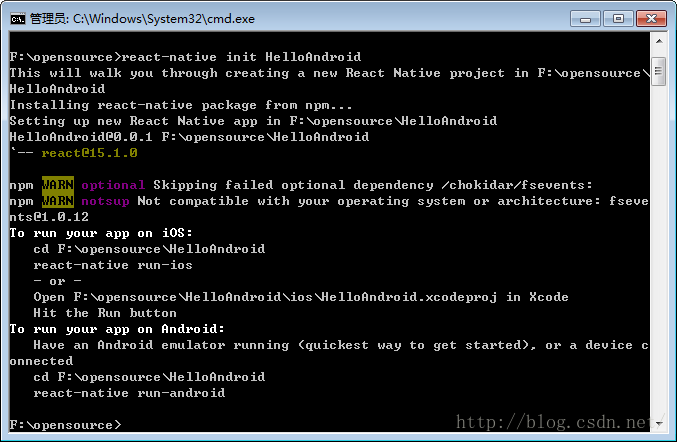
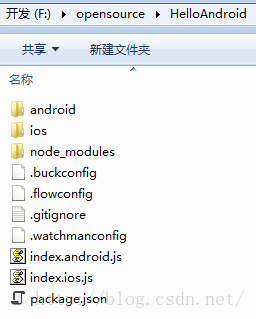
该命令会去拉取下载ReactNative源代码和相关依赖组件,然后创建一个包含了ios和android的项目:
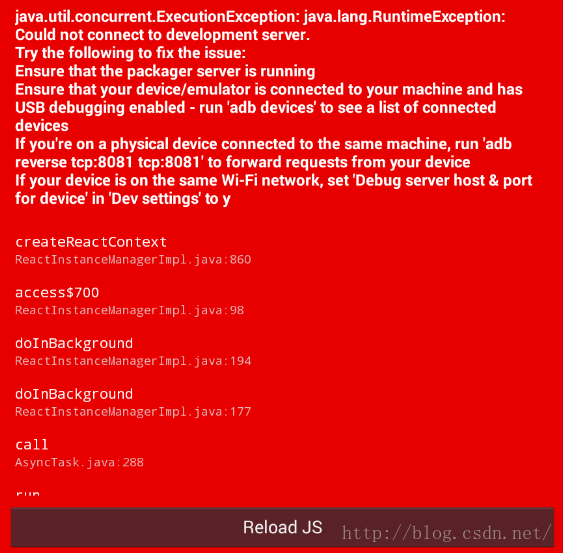
在AndroidStudio上打开HelloAndroid/android目录,等待gradle构建完毕后运行HelloAndroid程序(稍久),可以看到以下ReactNatibe经典报错UI:
06-15 11:27:15.440 4649-4649/com.helloandroid E/unknown:React: Exception in native call from JS
java.lang.RuntimeException: java.util.concurrent.ExecutionException: java.lang.RuntimeException: Could not connect to development server.
Try the following to fix the issue:
Ensure that the packager server is running
Ensure that your device/emulator is connected to your machine and has USB debugging enabled - run 'adb devices' to see a list of connected devices
If you're on a physical device connected to the same machine, run 'adb reverse tcp:8081 tcp:8081' to forward requests from your device
If your device is on the same Wi-Fi network, set 'Debug server host & port for device' in 'Dev settings' to y
    at com.facebook.react.ReactInstanceManagerImpl.createReactContext(ReactInstanceManagerImpl.java:860)
    at com.facebook.react.ReactInstanceManagerImpl.access$700(ReactInstanceManagerImpl.java:98)
    at com.facebook.react.ReactInstanceManagerImpl$ReactContextInitAsyncTask.doInBackground(ReactInstanceManagerImpl.java:194)
    at com.facebook.react.ReactInstanceManagerImpl$ReactContextInitAsyncTask.doInBackground(ReactInstanceManagerImpl.java:177)
    at android.os.AsyncTask$2.call(AsyncTask.java:288)
    at java.util.concurrent.FutureTask.run(FutureTask.java:237)
    at android.os.AsyncTask$SerialExecutor$1.run(AsyncTask.java:231)
    at java.util.concurrent.ThreadPoolExecutor.runWorker(ThreadPoolExecutor.java:1112)
    at java.util.concurrent.ThreadPoolExecutor$Worker.run(ThreadPoolExecutor.java:587)
    at java.lang.Thread.run(Thread.java:841)
 Caused by: java.util.concurrent.ExecutionException: java.lang.RuntimeException: Could not connect to development server.
Try the following to fix the issue:
Ensure that the packager server is running
Ensure that your device/emulator is connected to your machine and has USB debugging enabled - run 'adb devices' to see a list of connected devices
If you're on a physical device connected to the same machine, run 'adb reverse tcp:8081 tcp:8081' to forward requests from your device
If your device is on the same Wi-Fi network, set 'Debug server host & port for device' in 'Dev settings' to y
    at com.facebook.react.common.futures.SimpleSettableFuture.get(SimpleSettableFuture.java:68)
    at com.facebook.react.ReactInstanceManagerImpl.createReactContext(ReactInstanceManagerImpl.java:831)
        ... 9 more
 Caused by: java.lang.RuntimeException: Could not connect to development server.
Try the following to fix the issue:
Ensure that the packager server is running
Ensure that your device/emulator is connected to your machine and has USB debugging enabled - run 'adb devices' to see a list of connected devices
If you're on a physical device connected to the same machine, run 'adb reverse tcp:8081 tcp:8081' to forward requests from your device
If your device is on the same Wi-Fi network, set 'Debug server host & port for device' in 'Dev settings' to y
    at com.facebook.react.bridge.ReactBridge.loadScriptFromAssets(Native Method)
    at com.facebook.react.bridge.JSBundleLoader$1.loadScript(JSBundleLoader.java:32)
    at com.facebook.react.bridge.CatalystInstanceImpl.runJSBundle(CatalystInstanceImpl.java:148)
    at com.facebook.react.ReactInstanceManagerImpl$4.call(ReactInstanceManagerImpl.java:851)
    at com.facebook.react.ReactInstanceManagerImpl$4.call(ReactInstanceManagerImpl.java:832)
    at com.facebook.react.bridge.queue.MessageQueueThreadImpl$1.run(MessageQueueThreadImpl.java:73)
    at android.os.Handler.handleCallback(Handler.java:733)
    at android.os.Handler.dispatchMessage(Handler.java:95)
    at com.facebook.react.bridge.queue.MessageQueueThreadHandler.dispatchMessage(MessageQueueThreadHandler.java:31)
    at android.os.Looper.loop(Looper.java:136)
    at com.facebook.react.bridge.queue.MessageQueueThreadImpl$3.run(MessageQueueThreadImpl.java:197)
        ... 1 more
这是因为我们还未启动react-native的服务。
命令行中进入项目目录,输入react-native start进行构建,等待一段时间。
react-native start
注意这里不是使用run-android,run-android适用于直接在机器上运行调试app。
构建完毕,在浏览器中访问
http://localhost:8081/index.android.bundle?platform=android,
如果可以访问表示服务器端已经可以了。
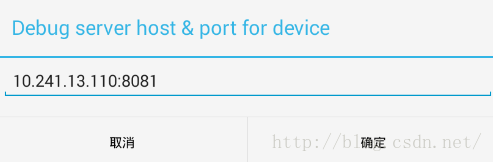
我们摇一摇手机,点击
Dev Settings后,点击
Debug server host & port for device,设置IP和端口。
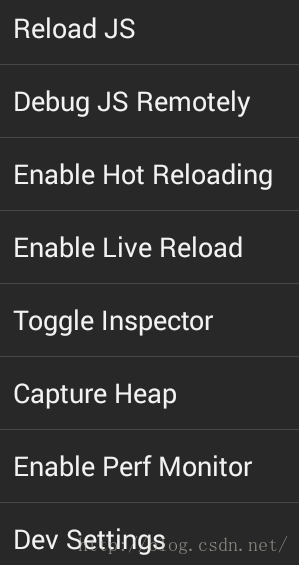

这里的IP是电脑的IP,端口号固定8081。
设置完成后,回到空白页面,再次摇一摇手机,选择Reload JS,程序就运行起来,出现Welcome to React Native!
![]()
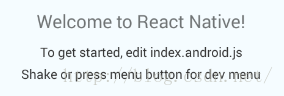
这个信息是在项目目录下
index.android.js里的,可以打开看看:
class HelloAndroid extends Component {
  render() {
    return (
      <View style={styles.container}>
        <Text style={styles.welcome}>
          Welcome to React Native!
        </Text>
        <Text style={styles.instructions}>
          To get started, edit index.android.js
        </Text>
        <Text style={styles.instructions}>
          Shake or press menu button for dev menu
        </Text>
      </View>
    );
  }
}
注意
Android5.0以上版本命令方式:
打开Android SDK目录 xxx\Android\sdk\platform-tools。在当前文件路径呼出命令行,输入:
adb reverse tcp:8081 tcp:8081
点击Reload JS 即可成功拉取ReactNative bundle。
参考:


 6492
6492

 被折叠的 条评论
为什么被折叠?
被折叠的 条评论
为什么被折叠?
 到【灌水乐园】发言


