


第一步:安装http-proxy-middleware
$ npm install http-proxy-middleware --save
$ # or
$ yarn add http-proxy-middleware
第二步:创建`src/setupProxy.js`,配置内容如下
const proxy = require("http-proxy-middleware");

module.exports = function (app) {
    app.use(proxy("/apps/analysis/**", {
        target: "http://10.154.2.119:9000/",
        changeOrigin: true
    }));
    app.use(proxy("/apps/access/**", {
        target: "http://10.154.2.119:9000/",
        changeOrigin: true
    }));
    app.use(proxy("/apps_laravel/yq/analysis/**", {
        target: "http://10.154.2.119:9000/",
        changeOrigin: true
    }));
};
请求接口的基地址如下:
let baseUrl = '/apps/analysis/';
let baseAccessUrl = '/apps/access/';
let lavarelBaseUrl = '/apps_laravel/yq/analysis/';
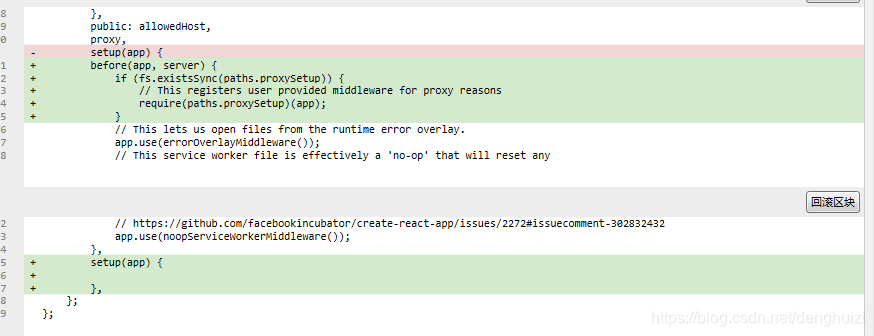
let baseStaticUrl = 'http://localhost:3000/';第三步:重新编译运行,出现Proxy created表示代理转发成功。遇到的问题: 第三步没有成功,则手动配置 1.在config/paths.js添加

2. config/webpackDevServer.config.js中修改
如下是react项目自带的配置代理的说明:
### Configuring the Proxy Manually

> Note: this feature is available with `react-scripts@2.0.0` and higher.

If the `proxy` option is **not** flexible enough for you, you can get direct access to the Express app instance and hook up your own proxy middleware.

You can use this feature in conjunction with the `proxy` property in `package.json`, but it is recommended you consolidate all of your logic into `src/setupProxy.js`.

First, install `http-proxy-middleware` using npm or Yarn:

```bash
$ npm install http-proxy-middleware --save
$ # or
$ yarn add http-proxy-middleware
```

Next, create `src/setupProxy.js` and place the following contents in it:

```js
const proxy = require('http-proxy-middleware');

module.exports = function(app) {
  // ...
};
```

You can now register proxies as you wish! Here's an example using the above `http-proxy-middleware`:

```js
const proxy = require('http-proxy-middleware');

module.exports = function(app) {
  app.use(proxy('/api', { target: 'http://localhost:5000/' }));
};
```

> **Note:** You do not need to import this file anywhere. It is automatically registered when you start the development server.

> **Note:** This file only supports Node's JavaScript syntax. Be sure to only use supported language features (i.e. no support for Flow, ES Modules, etc).

> **Note:** Passing the path to the proxy function allows you to use globbing and/or pattern matching on the path, which is more flexible than the express route matching.


 417
417


 被折叠的 条评论
为什么被折叠?
被折叠的 条评论
为什么被折叠?
 到【灌水乐园】发言


