


 本文介绍了如何使用Cloud Foundry UAA实现OAuth2授权服务器,并通过Spring Boot和Spring Security构建资源服务器和客户端。详细阐述了授权码授予类型的流程,提供代码示例展示如何配置资源服务器、客户端和演示应用程序的交互,以及如何处理权限授权。
在上一篇文章中,我介绍了如何使用Cloud Foundry UAA项目启动OAuth2授权服务器,以及如何使用OAuth2授权代码流程中涉及的一些参与者来填充它。
我在Digital Ocean网站上发现这篇文章在描述OAuth2授权代码流方面做得很好,因此,与其重新散列该流中涉及的内容,不如直接使用Spring Boot / Spring Security实现该流。
下图受此处的启发,显示了授权码授予类型的高级流程:

我将有两个应用程序-一个资源服务器公开用户的一些资源,以及一个客户端应用程序代表用户访问这些资源。 如前面的博客文章所述,可以启动授权服务器本身。
文章的其余部分可以更轻松地跟随我的github存储库中的代码
授权服务器
可以使用我之前的博客文章中描述的步骤轻松启动Cloud Foundry UAA服务器。 一旦完成,可以使用以下uaac命令来填充运行样本所需的不同凭据。
这些脚本将为客户端应用程序创建客户端证书,并添加一个名为“ user1”的用户,其范围为“ resource.read”和“ resource.write”。
# Login as a canned client
uaac token client get admin -s adminsecret

# Add a client credential with client_id of client1 and client_secret of client1
uaac client add client1 \
   --name client1 \
   --scope resource.read,resource.write \
   -s client1 \
   --authorized_grant_types authorization_code,refresh_token,client_credentials \
   --authorities uaa.resource


# Another client credential resource1/resource1
uaac client add resource1 \
  --name resource1 \
  -s resource1 \
  --authorized_grant_types client_credentials \
  --authorities uaa.resource


# Add a user called user1/user1
uaac user add user1 -p user1 --emails user1@user1.com


# Add two scopes resource.read, resource.write
uaac group add resource.read
uaac group add resource.write

# Assign user1 both resource.read, resource.write scopes..
uaac member add resource.read user1
uaac member add resource.write user1
资源服务器
资源服务器通过以下方式公开了一些端点,这些端点使用Spring MVC表示并使用Spring Security进行保护:
@RestController
public class GreetingsController {
@PreAuthorize("#oauth2.hasScope('resource.read')")
@RequestMapping(method = RequestMethod.GET, value = "/secured/read")
@ResponseBody
public String read(Authentication authentication) {
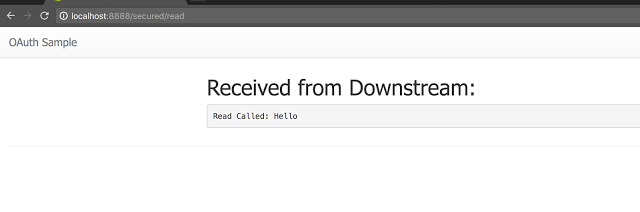
return String.format("Read Called: Hello %s", authentication.getCredentials());
}
@PreAuthorize("#oauth2.hasScope('resource.write')")
@RequestMapping(method = RequestMethod.GET, value = "/secured/write")
@ResponseBody
public String write(Authentication authentication) {
return String.format("Write Called: Hello %s", authentication.getCredentials());
}
}公开了两个端点uri –授权用于范围“ resource.read”的“ /安全/读取”和授权用于范围“ resource.write”的“ /安全/写入”
保护这些端点并将应用程序标记为资源服务器的配置如下:
@Configuration
@EnableResourceServer
@EnableWebSecurity
@EnableGlobalMethodSecurity(securedEnabled = true, prePostEnabled = true)
public class ResourceServerConfiguration extends ResourceServerConfigurerAdapter {

    @Override
    public void configure(ResourceServerSecurityConfigurer resources) throws Exception {
        resources.resourceId("resource");
    }

    @Override
    public void configure(HttpSecurity http) throws Exception {
        http
                .antMatcher("/secured/**")
                .authorizeRequests()
                .anyRequest().authenticated();
    }
}
该配置以及描述如何验证令牌的属性是使资源服务器运行所需的全部。
客户
使用Spring Security OAuth2的OAuth2的客户端配置也相当简单,@ EnableAuth2SSO批注提取所有必需的配置以为OAuth2流连接Spring安全过滤器:
@EnableOAuth2Sso
@Configuration
public class OAuth2SecurityConfig extends WebSecurityConfigurerAdapter {
    @Override
    public void configure(WebSecurity web) throws Exception {
        super.configure(web);
    }

    @Override
    protected void configure(HttpSecurity http) throws Exception {
        http.csrf().disable();

        //@formatter:off
        http.authorizeRequests()
                .antMatchers("/secured/**")
                    .authenticated()
                .antMatchers("/")
                    .permitAll()
                .anyRequest()
                    .authenticated();

        //@formatter:on

    }

}要调用下游系统,客户端必须将OAuth令牌作为标头传递到下游调用中,方法是通过挂接一个称为OAuth2RestTemplate的专用RestTemplate来完成,该模板可以从上下文中获取访问令牌并将其传递到下游连接了一个安全的下游呼叫,如下所示:
public class DownstreamServiceHandler {

    private final OAuth2RestTemplate oAuth2RestTemplate;
    private final String resourceUrl;


    public DownstreamServiceHandler(OAuth2RestTemplate oAuth2RestTemplate, String resourceUrl) {
        this.oAuth2RestTemplate = oAuth2RestTemplate;
        this.resourceUrl = resourceUrl;
    }


    public String callRead() {
        return callDownstream(String.format("%s/secured/read", resourceUrl));
    }

    public String callWrite() {
        return callDownstream(String.format("%s/secured/write", resourceUrl));
    }

    public String callInvalidScope() {
        return callDownstream(String.format("%s/secured/invalid", resourceUrl));
    }

    private String callDownstream(String uri) {
        try {
            ResponseEntity<String> responseEntity = this.oAuth2RestTemplate.getForEntity(uri, String.class);
            return responseEntity.getBody();
        } catch(HttpStatusCodeException statusCodeException) {
            return statusCodeException.getResponseBodyAsString();
        }
    }
}
示范
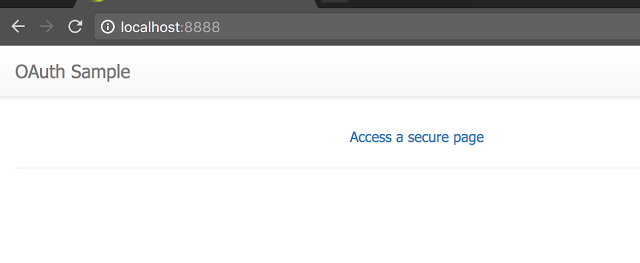
可以使用此处的说明启动客户端和资源服务器。 一旦所有系统启动,访问客户端将向用户显示一个页面,如下所示:
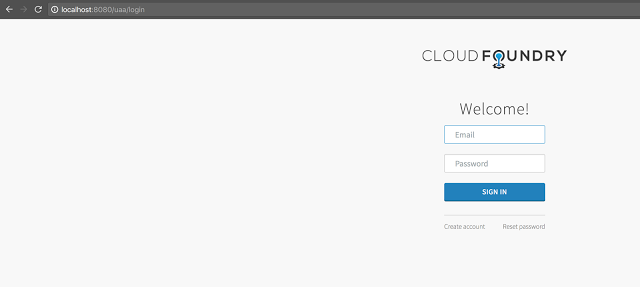
访问安全页面将导致授权服务器显示登录页面:
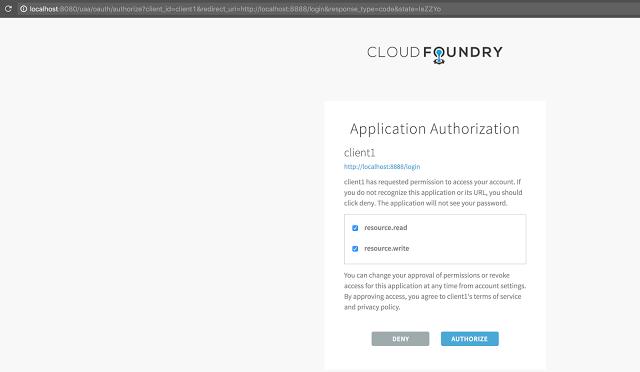
客户端正在向用户请求“ resource.read”和“ resource.write”范围,提示用户授权这些范围:
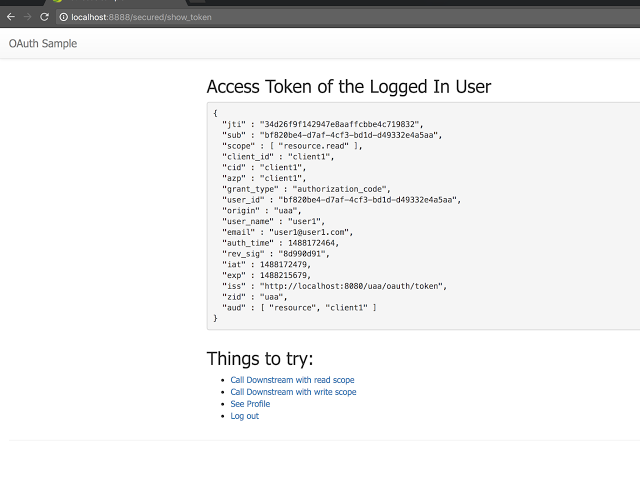
假设用户已授权“ resource.read”但未授权“ resource.write”,则令牌将呈现给用户:
在这一点上,如果请求的下游资源要求范围为“ resource.read”,则应检索它:
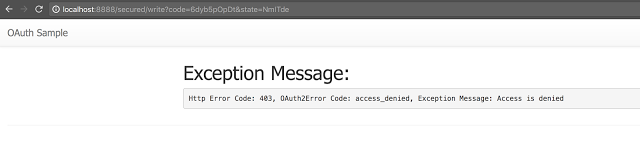
并且,如果请求的下游资源具有用户未授权的范围,在这种情况下为“ resource.write”:
参考
- 大多数代码基于此处提供的Cloud Foundry UAA应用程序示例– https://github.com/pivotal-cf/identity-sample-apps
- 帖子中的代码在这里 :https://github.com/bijukunjummen/oauth-uaa-sample
翻译自: https://www.javacodegeeks.com/2017/03/using-uaa-oauth2-authorization-server-client-resource.html


 2万+
2万+

 被折叠的 条评论
为什么被折叠?
被折叠的 条评论
为什么被折叠?
 到【灌水乐园】发言


