


目录
4 设置以Windows Service方式启动Gitblit
参考资料:
https://juejin.cn/post/6844903943458275341
https://www.pianshen.com/article/3892340872/
https://www.e-learn.cn/topic/3246779
https://www.imooc.com/article/292121gitlab gitblit功能,使用对比如何?
https://www.zhihu.com/question/28485788需要安装的工具:Git、tortoiseGit、Gitblit
Java 库用来管理、查看和处理 Git 的资料库工具,相当于 Git 的 Java 管理工具。通俗点来说就是一个相当于 SVN 的工具,用于多个人共同开发同一个项目,共用资源的目的。
1 软件安装
- 搭建环境:windows 系统、Java SE 12.0.2、JSC(选择64位的)
Java SE 12.0.2 和JSC 直接按照指示安装即可,接着需要配置 Java 的环境。
右击我的电脑,点击属性,选择高级系统设置:

1.1 java 环境配置
| 变量名 | 变量值 |
|---|---|
| JAVA_HOME | C:\Program Files\Java // 要根据自己的实际路径配置 |
| Path | %JAVA_HOME%\jdk-12.0.2\bin、%JAVA_HOME%\jre1.8.0_221\bin |
在终端输入 java 或者 havac 验证是否安装正确。
1.2 安装 GitBlit
首先从网上下载并安装最新版的 Git 与 vscode(用于编辑文档),其次从 Gitblit 官方网站:http://www.gitblit.com/ 下载最新版本。软件 GitBlit 是一个压缩包,解压后即可使用:

2 GitBlit 配置
使用 vscode 打开 GitBlit 软件根目录:
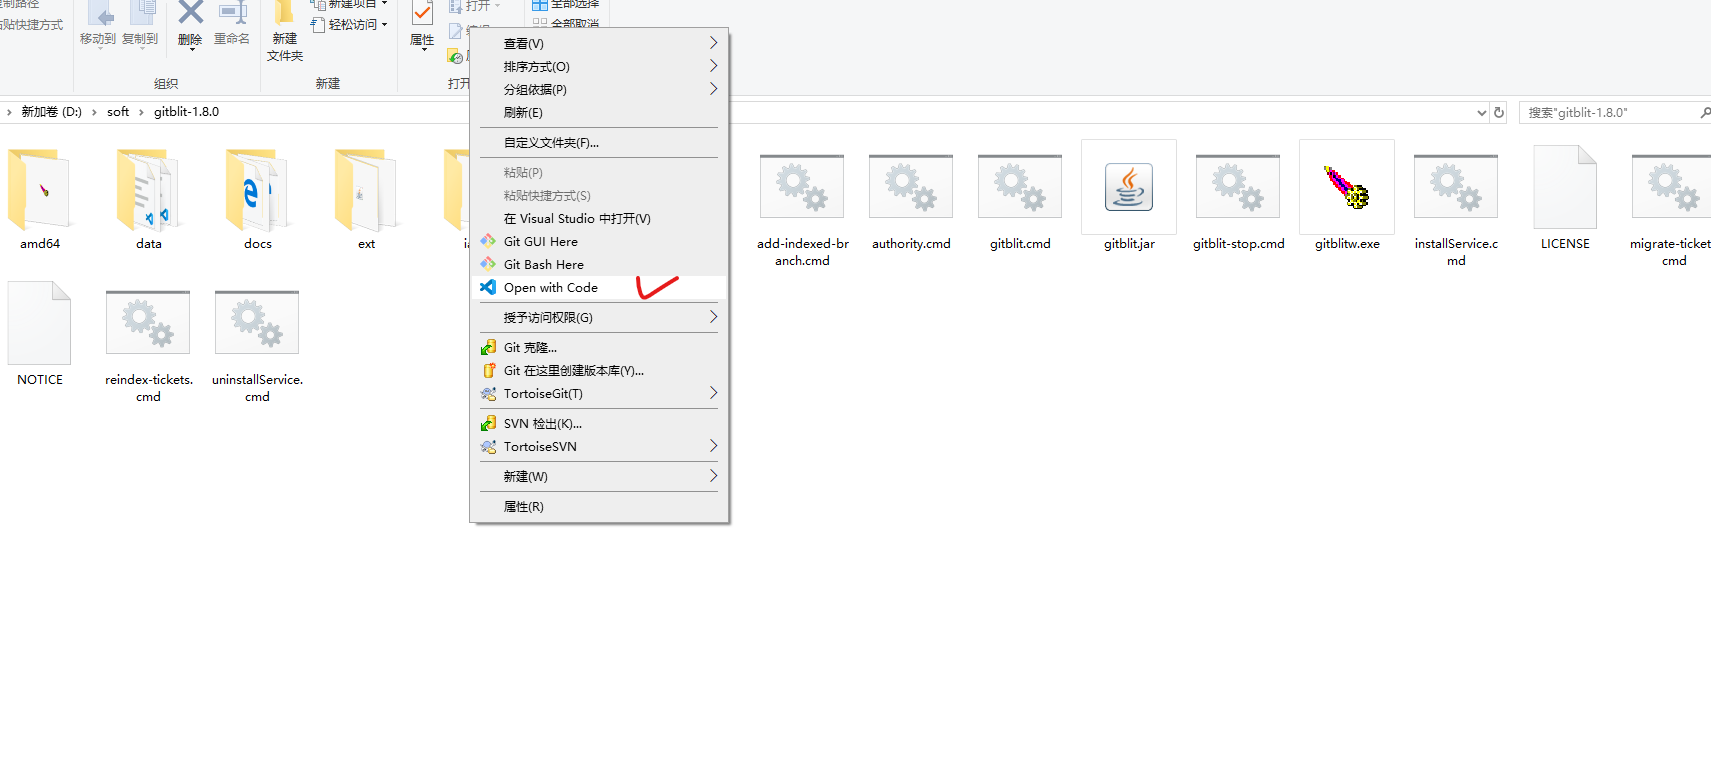
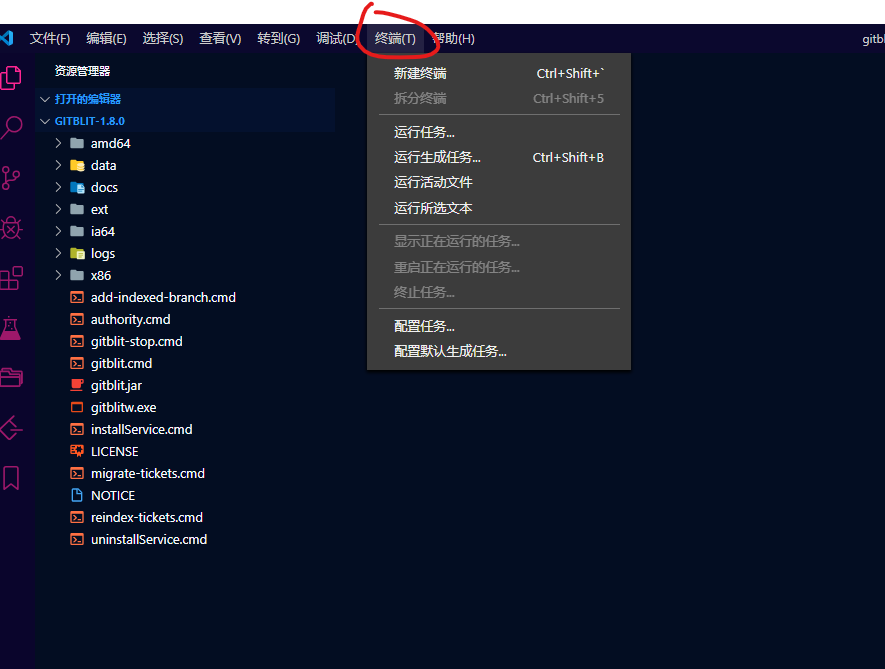
创建终端:
将 data/defaults.properties 复制到根目录,并重命名为 my.properties:
$ cp data/defaults.properties my.properties
打开 data/gitblit.properties 文件,注释掉 include = defaults.properties 这句,添加 include = my.properties 这句,说明使用的是 my.properties 配置文件:
{% asset_img properties.png properties %}
在 my.properties 中查找 server.httpPort 并添加值:


接着修改 server.httpBindInterface 为 192.168.42.73(绑定的 IP 地址)。最后,在终端输入 .\gitblit.cmd,便可以启动 GitBlit 了。之后在浏览器输入地址:https://localhost:8443/ 便可以开启服务器,弹出一个警告窗口,直接选择 高级 并接受风险:

最终界面如下:

方法二:
直接修改data/gitblit.properties,不需要 my.properties,直接如下操作:
#
# GITBLIT.PROPERTIES
#
# Define your custom settings in this file and/or include settings defined in
# other properties files.
#

# Include Gitblit's 'defaults.properties' within your configuration.
#
# NOTE: Gitblit will not automatically reload "included" properties.  Gitblit
# only watches the 'gitblit.properties' file for modifications.
#
# Paths may be relative to the ${baseFolder} or they may be absolute.
#
# COMMA-DELIMITED
# SINCE 1.7.0
include = defaults.properties

#
# Define your overrides or custom settings below
#
git.repositoriesFolder = D:/GitServer
server.httpPort = 10101
server.httpBindInterface = 192.168.42.30
server.httpsBindInterface = localhost
server.httpsPort = 8443
server.certificateAlias = localhost
- git.repositoriesFolder:服务器地址(最好不要有中文和空格)
- server.httpPort:http 端口号
- server.httpBindInterface:http IP 地址
3 GitBlit 使用
启动 gitblit 界面,在左上角有个登录框,初始值用户名和密码均为 admin,然后便可以添加用户和团队并设置其权限:

3.1 添加 rsa 密钥
选择用户中心:

在 SSH Key 栏可以看到一个空白的输入框,其内容可以通过如下方式获取:
- 再次添加一个终端并在终端输入:
$ ssh-keygen -t rsa # 生成密钥
$ cat ~/id_rsa.pub  # 查看密钥
便可以获取本地使用的 rsa 密钥,复制到 SSH Key 框中,点击 添加 按钮即可。
4 设置以Windows Service方式启动Gitblit
4.1 方法一
前面我们是以运行gitblit.cmd的方式启动Gitblit的,如果不想每次开机都去双击执行它,跟随系统自启岂不是美哉。下面我们看怎么实现。
- 打开installService.cmd文件 文件位于根目录下。我的是
D:\gitblit-1.8.0\installService.cmd,用EditPlus或者记事本打开。 - 编辑installService.cmd文件
#修改ARCH,32位系统:SET ARCH=x86,64位系统:SET ARCH=amd64
SET ARCH=amd64
#添加 CD 为程序目录
SET CD=D:\gitblit-1.8.0
#修改StartParams里的启动参数,给空就可以了。
 --StartParams="" ^
复制代码- 保存
- 以管理员身份运行installService.cmd文件。
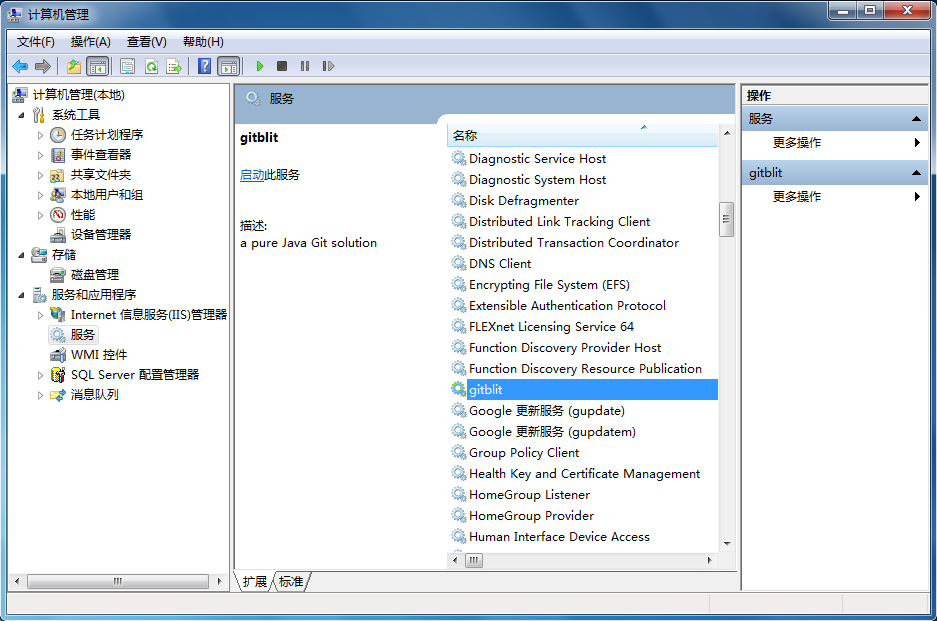
- 在计算机-管理-服务下,就能看到已经存在的gitblit服务了。
4.2 方法二
gitbilt 作为服务启动
- 编辑installService.cmd文件
- 查找
SET ARCH系统32则设置为x86 64位则设置为amd64 - 设置CD为程序目录
- 查找
--StartParams设置为“”

Gitbilt作为服务启动测试
- 以管理员身份运行
installService.cmd - 打开服务中心查找gitbilt ,启动后 访问上述页面;


 1万+
1万+


 被折叠的 条评论
为什么被折叠?
被折叠的 条评论
为什么被折叠?
 到【灌水乐园】发言


