机器学习库Dlib+VS2015

简介

Dlib库是一个基于C++开发的机器学习算法的工具库,广泛应用在机器人、嵌入式设备、移动手机和高性能计算设备中,以用于解决实际问题。 
下面给出Dlib库的官网连接:

http://dlib.net/

由于最近打算在VS平台上实现fhog特征,发现该库含有该特征,故打算安装试试效果。

安装步骤

1.解压Dlib

  1.首先将Dlib-19.2下载到D盘中(其他盘亦可)。 
   2.解压放置在D盘目录下。 
  

2.使用CMake制作Dlib.lib

  解压得到的文件不包含lib文件,需要用CMake制作出来,建立一个空的build文件夹作为输出文件夹。 


   这里写图片描述 
  

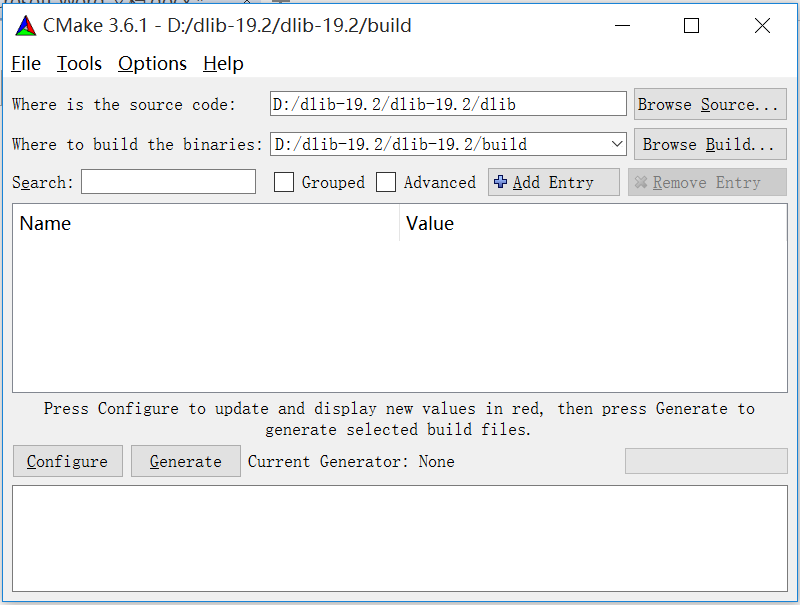
  点击Generate,选择对应的VS版本,19.2只支持VS2015,故选择VS2015 ,使用默认Compliers。 


  点击finish,最后编译完成 


提醒:它会报一个跟CUDA相关的错误,不用管它,我猜测是关于深度学习的应用,我电脑没有安装深度学习相关的东西所以就没理这个错误,最后结果表明确实这个错误不影响使用。

3.VS2015添加DLib库

编译完成后在build里出现一个dlib工程项目,用VS2015打开dlib.sln。 
这里写图片描述 
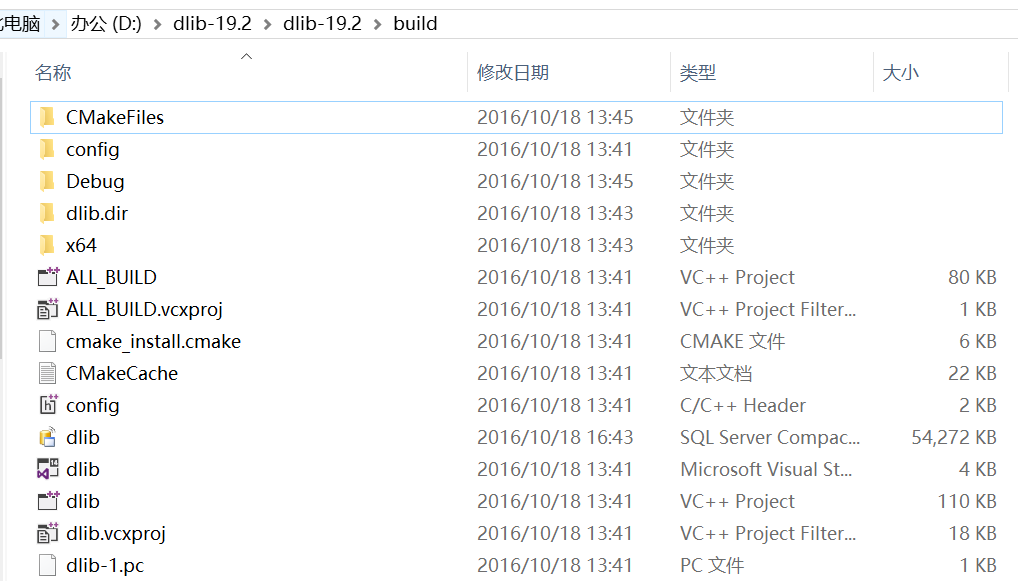
生成解决方案得到debug文件夹,里面既是所需要的dlib。 
这里写图片描述 

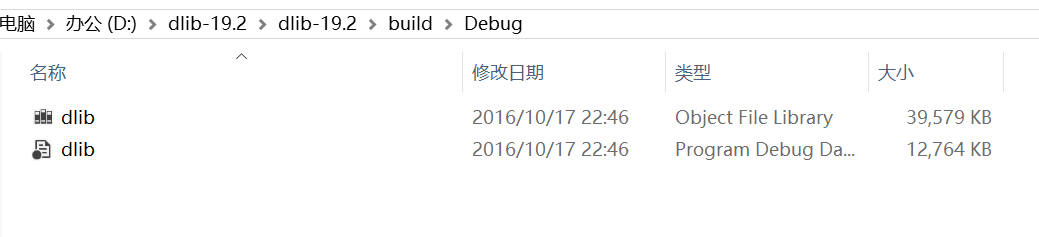
Note:dlib中加入DLIB_JPEG _SUPPORT方可读入jpg格式的图像  


项目:

接着在VS2015中添加DLib附加库,随便新建一个Win32控制台程序,为保证对所有工程都有效,在属性管理器里进行全局更改。 
这里写图片描述 
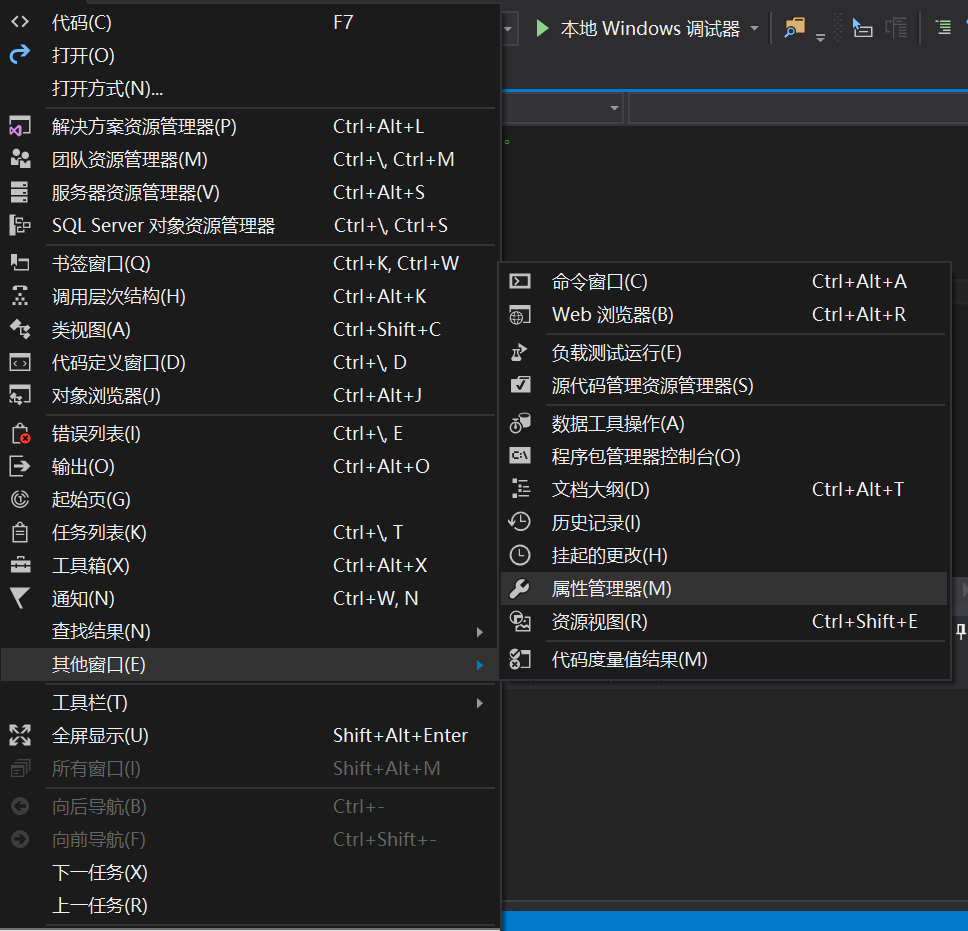
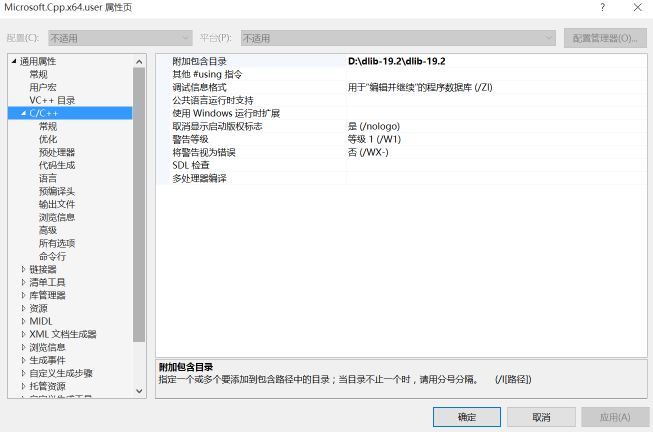
双击Microsoft.Cpp.x64.user弹出属性页,在链接器-常规里添加附加包含目录(注意路径名字) 
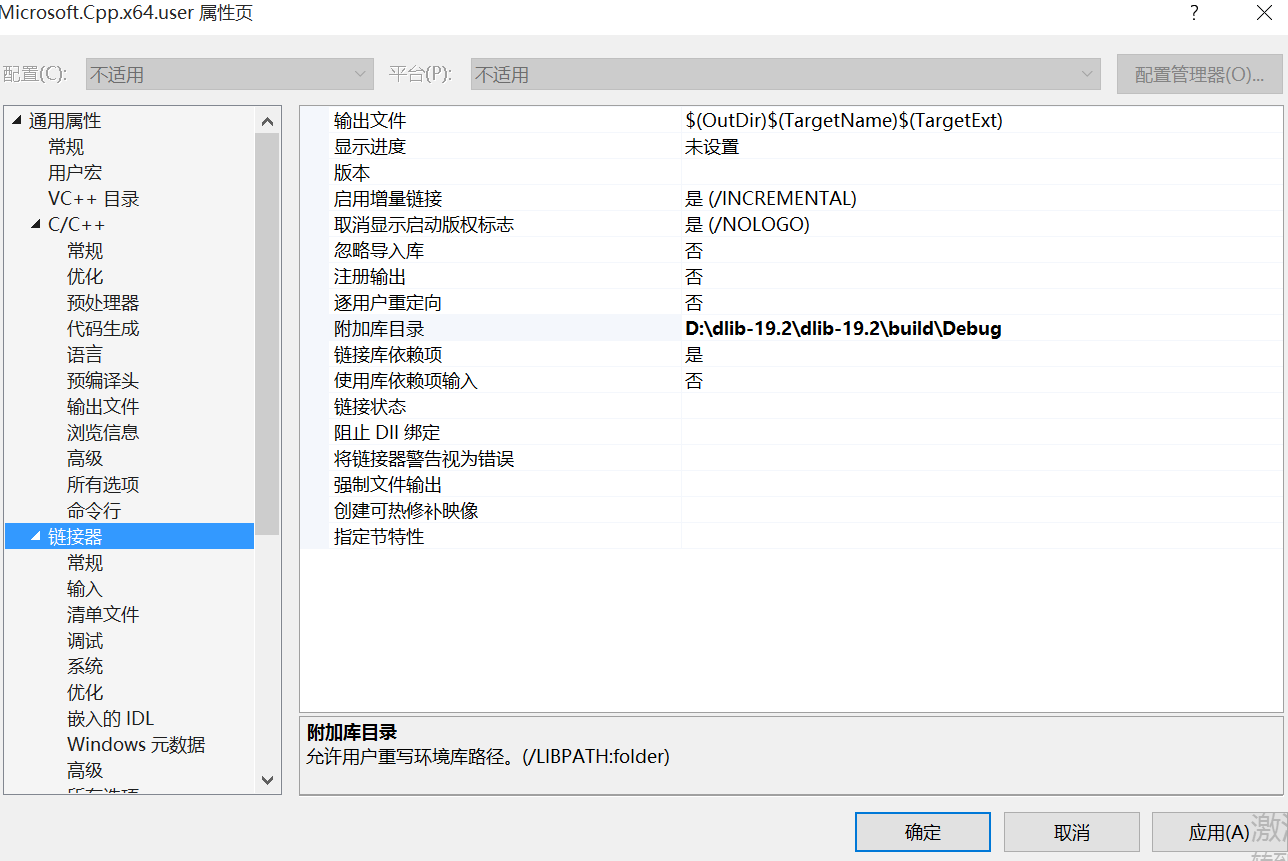
这里写图片描述 
然后附加库目录 
这里写图片描述 
以及附加依赖项 
这里写图片描述 
以上就是dlib的库添加过程。上述包含目录和附加库目录添加过程也可在VC++目录完成。

自己的项目时还需在包括头文件前加上#define DLIB_JPEG_SUPPORT   或 在该项目的预处理器中加入DLIB_JPEG_SUPPORT 
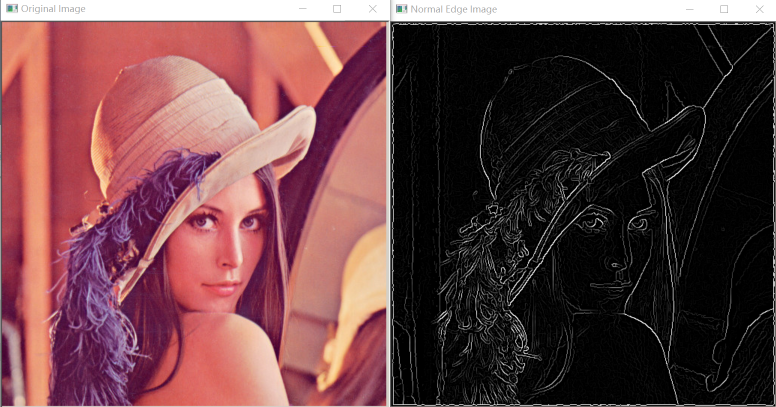
4.示例测试

最后写个程序来测试是否成功,程序为一个简单的Canny边缘检测示例程序,是examples里的示例程序。

// face.cpp : 定义控制台应用程序的入口点。
//

#include "stdafx.h"
#include <dlib/gui_widgets.h>
#include <dlib/image_io.h>
#include <dlib/image_transforms.h>
#include <fstream>


using namespace std;
using namespace dlib;

//  ----------------------------------------------------------------------------

int main(int argc, char** argv)
{
    try
    {

        // 声明图像
        array2d<rgb_pixel> img;

        string img_path = "lena.jpg";
        load_image(img, img_path);

        // 高斯模糊
        array2d<unsigned char> blurred_img;
        gaussian_blur(img, blurred_img);

        // sobel边缘检测
        array2d<short> horz_gradient, vert_gradient;
        array2d<unsigned char> edge_image;
        sobel_edge_detector(blurred_img, horz_gradient, vert_gradient);

        //非极大边缘抑制
        suppress_non_maximum_edges(horz_gradient, vert_gradient, edge_image);

        // 显示结果
        image_window my_window(edge_image, "Normal Edge Image");

        // We can also easily display the edge_image as a heatmap or using the jet color
        // scheme like so.
        image_window win_hot(heatmap(edge_image));
        image_window win_jet(jet(edge_image));

        // also make a window to display the original image
        image_window my_window2(img, "Original Image");

        // Sometimes you want to get input from the user about which pixels are important
        // for some task.  You can do this easily by trapping user clicks as shown below.
        // This loop executes every time the user double clicks on some image pixel and it
        // will terminate once the user closes the window.
        point p;
        while (my_window.get_next_double_click(p))
        {
            cout << "User double clicked on pixel:         " << p << endl;
            cout << "edge pixel value at this location is: " << (int)edge_image[p.y()][p.x()] << endl;
        }

        // wait until the user closes the windows before we let the program 
        // terminate.
        win_hot.wait_until_closed();
        my_window2.wait_until_closed();


        // Finally, note that you can access the elements of an image using the normal [row][column]
        // operator like so:
        cout << horz_gradient[0][3] << endl;
        cout << "number of rows in image:    " << horz_gradient.nr() << endl;
        cout << "number of columns in image: " << horz_gradient.nc() << endl;
    }
    catch (exception& e)
    {
        cout << "exception thrown: " << e.what() << endl;
    }
}

//  ----------------------------------------------------------------------------


  • 1
  • 2
  • 3
  • 4
  • 5
  • 6
  • 7
  • 8
  • 9
  • 10
  • 11
  • 12
  • 13
  • 14
  • 15
  • 16
  • 17
  • 18
  • 19
  • 20
  • 21
  • 22
  • 23
  • 24
  • 25
  • 26
  • 27
  • 28
  • 29
  • 30
  • 31
  • 32
  • 33
  • 34
  • 35
  • 36
  • 37
  • 38
  • 39
  • 40
  • 41
  • 42
  • 43
  • 44
  • 45
  • 46
  • 47
  • 48
  • 49
  • 50
  • 51
  • 52
  • 53
  • 54
  • 55
  • 56
  • 57
  • 58
  • 59
  • 60
  • 61
  • 62
  • 63
  • 64
  • 65
  • 66
  • 67
  • 68
  • 69
  • 70
  • 71
  • 72
  • 73
  • 74
  • 75
  • 76
  • 77
  • 78
  • 79
  • 80


这里写图片描述 


  • 0
    点赞
  • 1
    收藏
    觉得还不错? 一键收藏
  • 0
    评论

“相关推荐”对你有帮助么?

  • 非常没帮助
  • 没帮助
  • 一般
  • 有帮助
  • 非常有帮助
提交
评论
添加红包

请填写红包祝福语或标题

红包个数最小为10个

红包金额最低5元

当前余额3.43前往充值 >
需支付:10.00
成就一亿技术人!
领取后你会自动成为博主和红包主的粉丝 规则
hope_wisdom
发出的红包
实付
使用余额支付
点击重新获取
扫码支付
钱包余额 0

抵扣说明:

1.余额是钱包充值的虚拟货币,按照1:1的比例进行支付金额的抵扣。
2.余额无法直接购买下载,可以购买VIP、付费专栏及课程。

余额充值