


CentOS6 安装sonarsource
- sonarqube下载地址: https://sonarsource.bintray.com/Distribution/sonarqube/
wget https://sonarsource.bintray.com/Distribution/sonarqube/sonarqube-6.5.zip -P /usr/local/src
- 1

- 1
- 安装环境准备
CentOS6 + OpenJDK8 + MySQL7
- 1
- 1
- 安装jdk
sudo yum install java-1.8.0-openjdk -y
- 1
- 1
- 安装MySQL7
参考安装MySQL: http://blog.csdn.net/wh211212/article/details/53105335
- 创建sonar数据库用于启动sonar
CREATE DATABASE sonar CHARACTER SET utf8 COLLATE utf8_general_ci;
GRANT ALL PRIVILEGES ON sonar.* TO 'sonar'@'127.0.0.1' IDENTIFIED BY '@Aniusonar..0';
FLUSH PRIVILEGES
- 1
- 2
- 3
- 1
- 2
- 3
- 解压sonar到/opt
sudo yum install unzip -y
cd /usr/local/src
unzip sonarqube-6.5.zip -d /opt/
cd /opt && mv sonarqube-6.5 sonarqube
- 1
- 2
- 3
- 4

- 1
- 2
- 3
- 4
- 更改sonar启动的jvm参数,避免启动报错
cd /opt/sonarqube/conf/
# 编辑sonar.properties
sonar.web.javaOpts=-Xmx4G -Xms2G -XX:MaxMetaspaceSize=256M -XX:+HeapDumpOnOutOfMemoryError
# 编辑wrapper.conf
wrapper.java.initmemory=64
wrapper.java.maxmemory=128
- 1
- 2
- 3
- 4
- 5
- 6
- 1
- 2
- 3
- 4
- 5
- 6
- 启动sonar
cd /opt/sonarqube/bin/linux-x86-64/
./sonar.sh start
./sonar.sh stop
- 1
- 2
- 3
- 1
- 2
- 3
- 配置nginx反向代理sonar
server {
    listen       80;
    server_name  sonar.aniu.so; # 自定义
    access_log  /var/log/nginx/sonar.aniu.so.access.log  main;
    error_log  /var/log/nginx/error/sonar.aniu.so.error.log;

    location / {
        root   /opt/sonarqube;
        index  index.html index.htm index.php;
    }

    error_page  404              /404.html;

    error_page   500 502 503 504  /50x.html;
    location = /50x.html {
        root   /usr/share/nginx/html;
    }

    location ~ {
        proxy_pass   http://0.0.0.0:9009;
    }
}
- 1
- 2
- 3
- 4
- 5
- 6
- 7
- 8
- 9
- 10
- 11
- 12
- 13
- 14
- 15
- 16
- 17
- 18
- 19
- 20
- 21
- 22
- 1
- 2
- 3
- 4
- 5
- 6
- 7
- 8
- 9
- 10
- 11
- 12
- 13
- 14
- 15
- 16
- 17
- 18
- 19
- 20
- 21
- 22
- 浏览器访问http://sonar.aniu.so/如下:
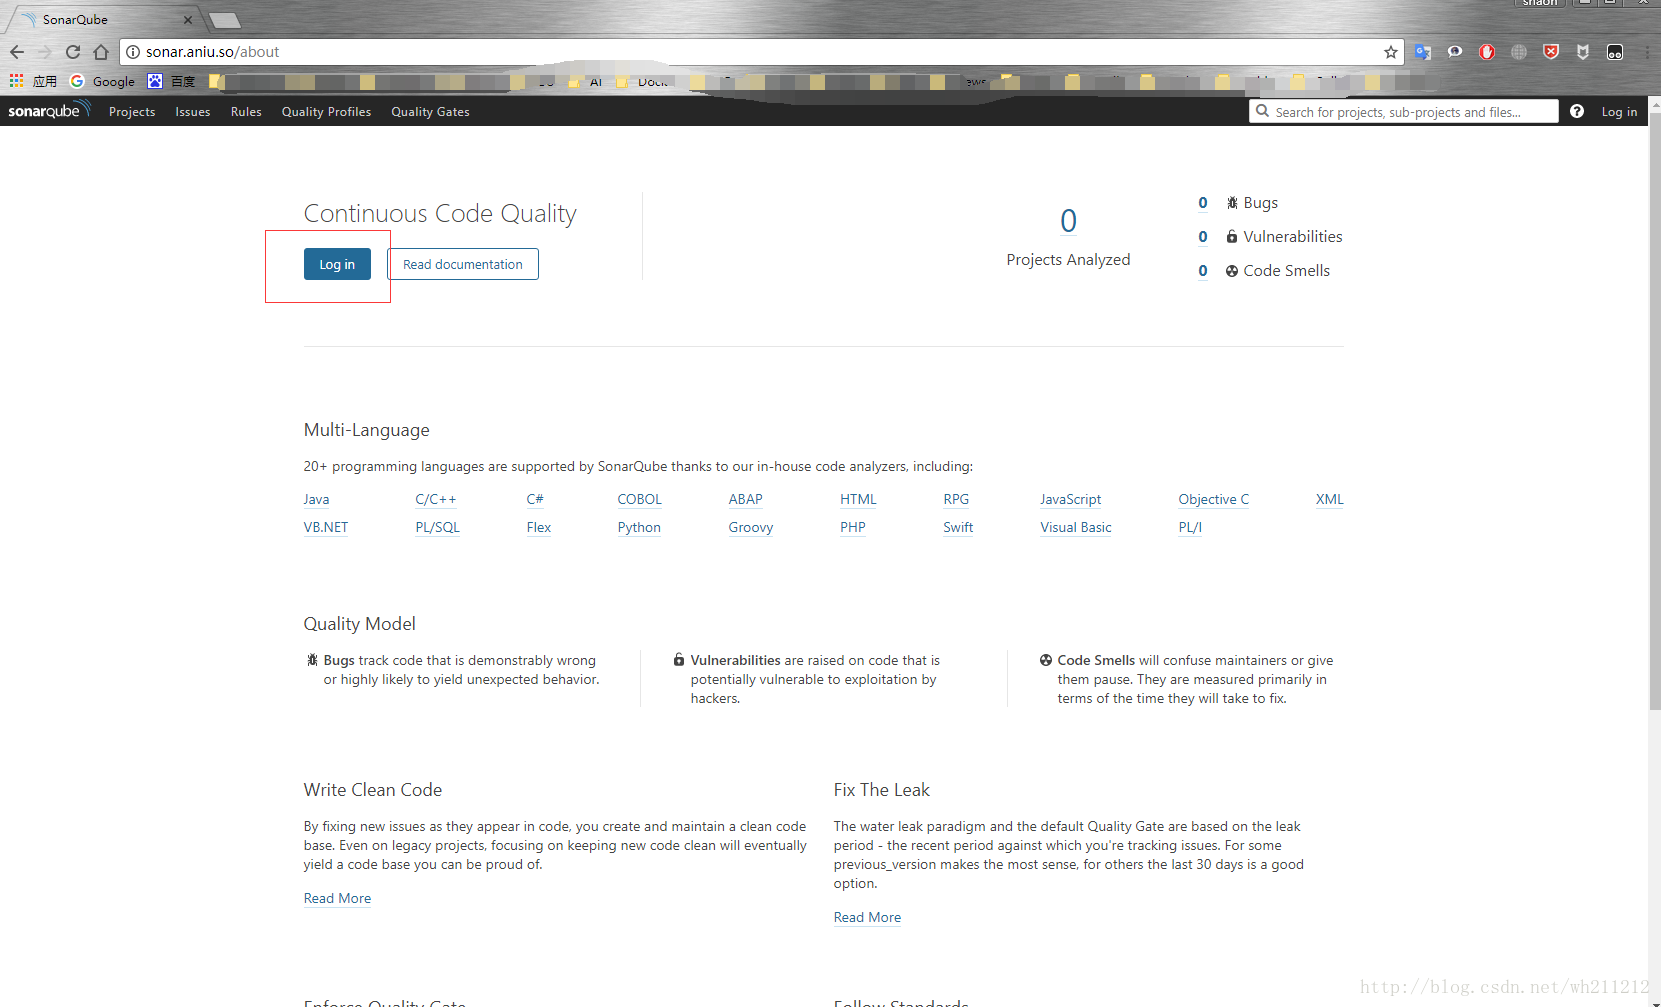
默认登录: 用户名 admin 密码 admin
配置为自启动服务
- 创建自启动脚本文件/etc/init.d/sonar
 vi /etc/init.d/sonar
 #
 #!/bin/sh
#
# rc file for SonarQube
#
# chkconfig: 345 96 10
# description: SonarQube system (www.sonarsource.org)
#
### BEGIN INIT INFO
# Provides: sonar
# Required-Start: $network
# Required-Stop: $network
# Default-Start: 3 4 5
# Default-Stop: 0 1 2 6
# Short-Description: SonarQube system (www.sonarsource.org)
# Description: SonarQube system (www.sonarsource.org)
### END INIT INFO
/usr/bin/sonar $*
- 1
- 2
- 3
- 4
- 5
- 6
- 7
- 8
- 9
- 10
- 11
- 12
- 13
- 14
- 15
- 16
- 17
- 18
- 19
- 1
- 2
- 3
- 4
- 5
- 6
- 7
- 8
- 9
- 10
- 11
- 12
- 13
- 14
- 15
- 16
- 17
- 18
- 19
- 添加启动服务
# ln -s /opt/sonaruube/bin/linux-x86-64/sonar.sh /usr/bin/sonar
# chmod 755 /etc/init.d/sonar
# chkconfig --add sonar
- 1
- 2
- 3
- 1
- 2
- 3


 3103
3103

 被折叠的 条评论
为什么被折叠?
被折叠的 条评论
为什么被折叠?
 到【灌水乐园】发言


